

The CimTrak App Server is a host for web-based applications which allow Administrators the capability to manage and configure the application from a separate Administrator management workstation from virtually anywhere. Of the applications for the App Server, the Web Management Console acts as a web-based version of the classical Management Console which supports all of the features of the classical Management Console. The Web Management Console supports the selection of files and configurations on attached components to “lock” and configure an action to take in the event a change is detected. The Web Management Console provides access to a series of reports that detail changes made based on a series of saved baselines stored in the Master Repository. This capability can be used to superimpose changes over the stored baselines to immediately identify what aspects of the “locked” file were changed
CIMTRAK App Server Installation – Windows GUI
Right click on the CimTrak App Server file and select “Run as Administrator.” This will be sure to allow the CimTrak™ App Server complete access to all necessary files and directories on the local computer. You will be prompted by the CimTrak App Server Installer.

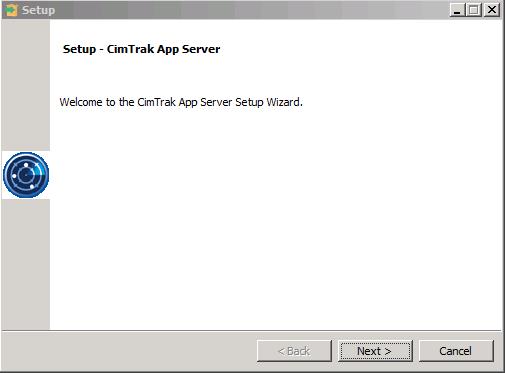
Click on Next to proceed with the CimTrak App Server (Web Management Console).
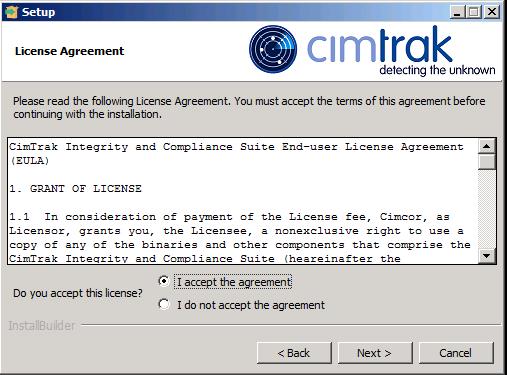
Click on “I accept the agreement” to accept the license agreement and click on Next.
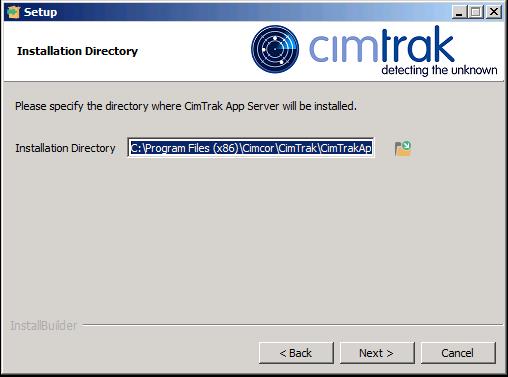
You will then be prompted by the CimTrak App Server’s Installation Directory screen. Enter the directory location , if you want to change the default location and click on Next.
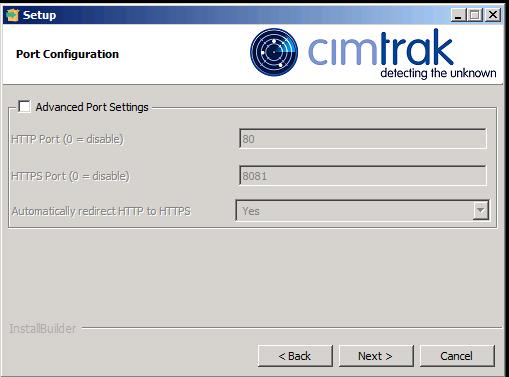
If you want to change the default port for cimtrak app server, Select Advanced Port settings and specify the custom port. Click on Next.
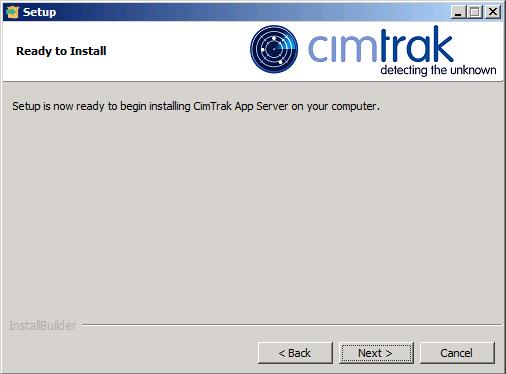
CimTrak app serve is ready to insall, click on Next to continue with the installation.
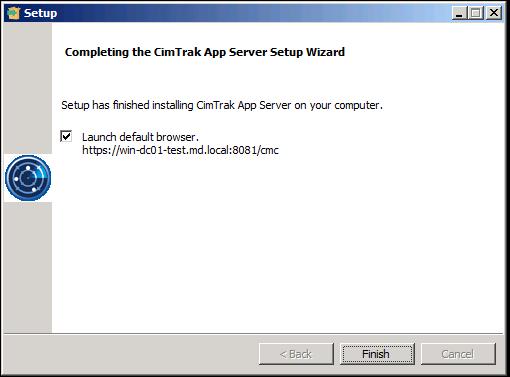
Click on Finish to complete the installation of CimTrak App server.
The Cimtrak Web Management Console is hosted from the App Server and can be reached by accessing the server’s alternate HTTP port (port 8080) followed by the abbreviation “cmc” (Cimtrak Web Management Console)
through an internet browser.It is suggested that you use the secure HTTPS (port 8081) connection by.
Note: The “loopback”: 127.0.0.1; can only be used from the client machine hosting the CimTrak App Server. In order to connect to the running CimTrak™ App Server from another machine, please enter the IPv4 address for the machine that the CimTrak App Server is running from.
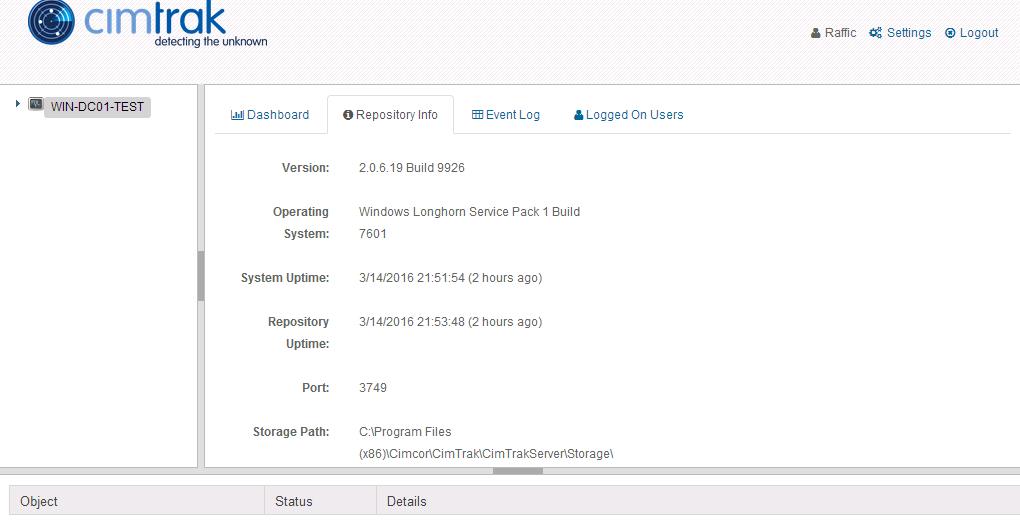
You will then be automatically redirected to the Cimtrak Web Management Console’s login screen. Login with the cimtrak username and password.

Entering valid credentials will result in a connection with the desired Cimtrak Master Repository and will allow you to continue into the dashboard of the Cimtrak Web Management Console
That’s it. We are done with the installation of CimTrak app server (Web Management Console). We will discuss in detailed about configuration of ESXi monitoring using CimTrak web management console in upcoming posts. I hope this is informative for you. Thanks for reading!!!. Be social and share it in social media, if you feel worth sharing it.