

You need to add your virtual/cloud infrastructure to the product’s Inventory prior to creating backup, replication, or recovery jobs. The discovered infrastructure is added to the internal product database, which is refreshed every 1 hour by default. You can add VMware vCenter Server, ESXI hosts and also Amazon EC2 Accounts. Prior to adding your AWS account to inventory, you need to create and retrieve AWS Access Key ID and Secret Access Key. These are used by NAKIVO Backup & Replication to to sign programmatic requests to AWS, such as retrieving the list of instances, creating snapshots, and so on. This article will explain procedure for Adding VMware vCenter Server to Nakivo Backup & Replication v6.
Adding VMware vCenter Server to Nakivo Backup & Replication v6
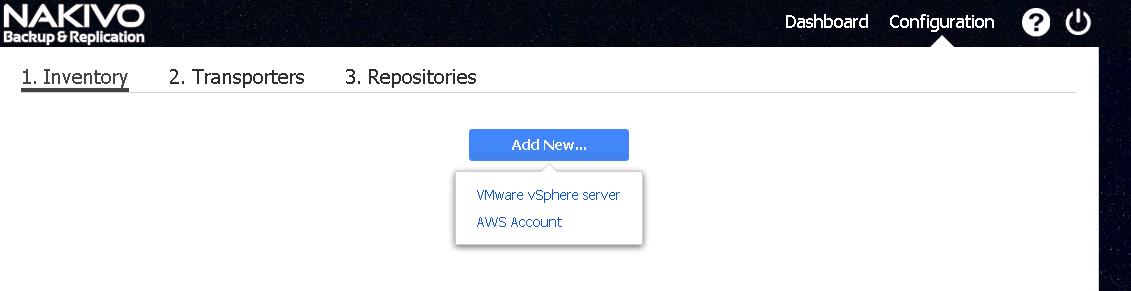
- Login to web console of Nakivo Backup & Replication. Click Configuration in the upper right corner. Click on Add New under Inventory, Select ” VMware vSphere Server”
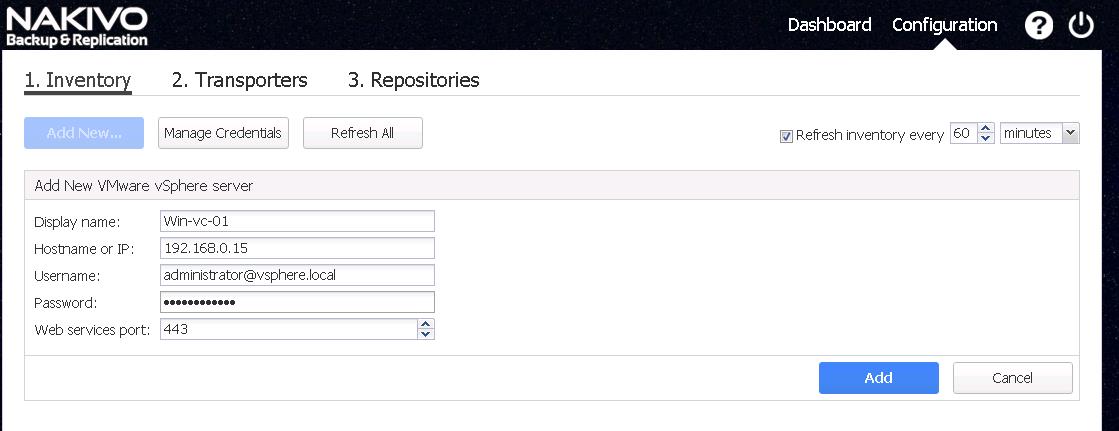
2. In the Hostname or IP field, specify the hostname or IP address of the vCenter server or standalone ESX(i) host that you want to add to the inventory.In the Username and Password fields, specify credentials of the vCenter server or standalone ESX(i) host that you want to add to the inventory. Click on Add. Specify the Web services port in the appropriate field and click Add.
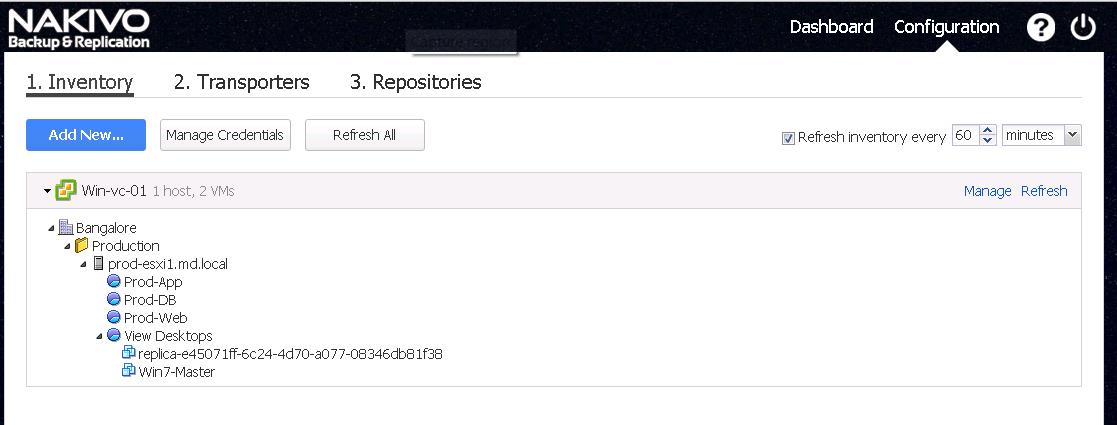
3. Once vCenter server is successfully added into Nakivo inventory, It displays the complete Inventory details including ESXi hosts and Virtual machines.
That’s it. We are done with adding vCenter server into Nakivo backup & Replication inventory. In the upcoming post, we will talk about configuring Transporter in detail. Thanks for Reading!! I hoped this is informative for you. Be social and share it in social media, if you feel worth sharing it.