

NAKIVO Backup & Replication is VMware-Certified, purely agentless, can be installed on Linux and Windows, deployed as a pre-configured VMware Virtual Appliance and AWS Amazon Machine Image, as well as can be installed directly on Synology NAS to create a high-performance VM backup appliance. NAKIVO Backup & Replication has a simple and intuitive Web interface, supports live applications and databases, provides instant recovery of VMs, files, and application objects directly from compressed and de-duplicated backups, speeds up data transfer with network acceleration, and reduces data size with global deduplication and compression. This post will explain the step by step procedure to understand deploying NAKIVO Backup & Replication V6 on VMware vSphere.The Virtual Appliance (VA) has two disks: the first one (20 GB) contains the Linux OS with NAKIVO Backup & Replication, and the second one (500 GB) is used as a backup repository.
Deploying NAKIVO Backup & Replication V6 on VMware vSphere
1.Download NAKIVO_Backup_Replication_VA_v6.0.1.12926_Full_Solution_Trial from NAKIVO.
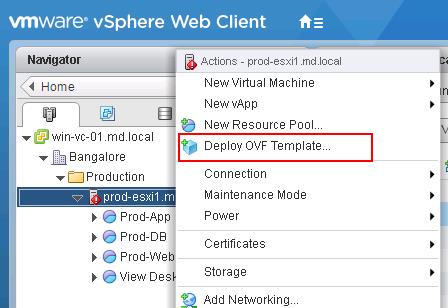
2. Login to vSphere Web-client to start the deployment of the NAKIVO virtual Appliance v6 on VMware vSphere Platform. Right click the vSphere cluster or ESXi host and Select “Deploy OVF Template”
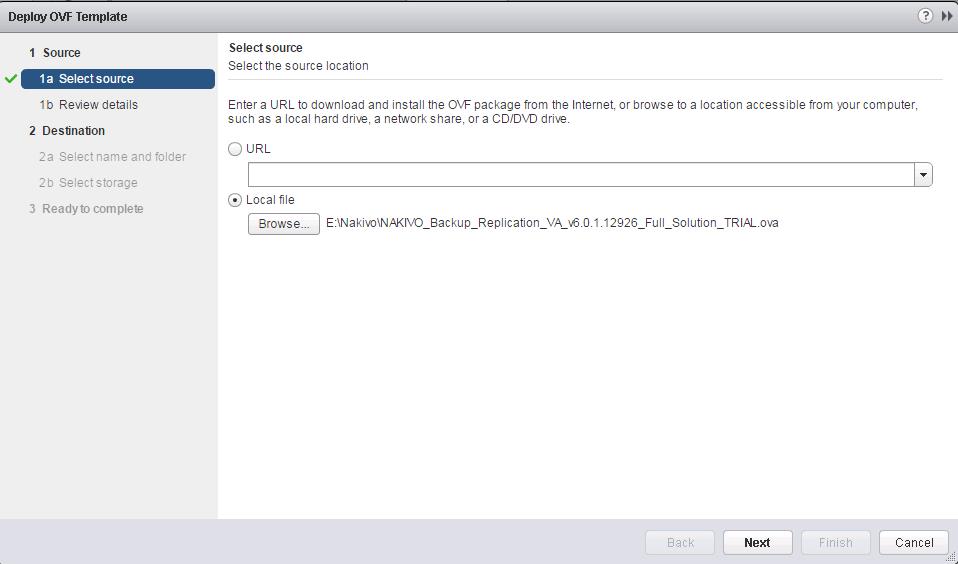
3. Browse the directory and select the downloaded file “NAKIVO_Backup_Replication_VA_v6.0.1.12926_Full_Solution_TRIAL.ova”
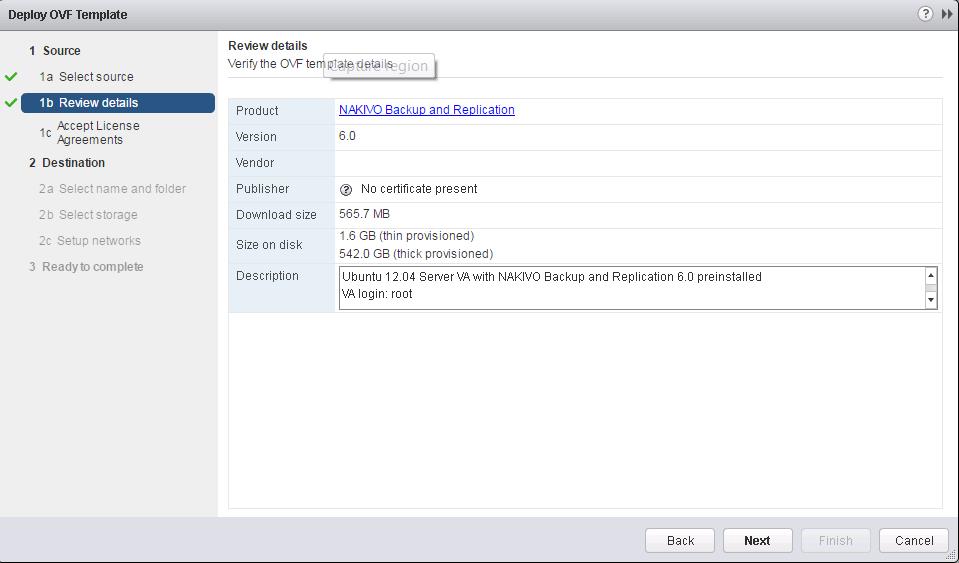
4. Review the OVF template details. In Description, you find the appliance OS information and login credentials.
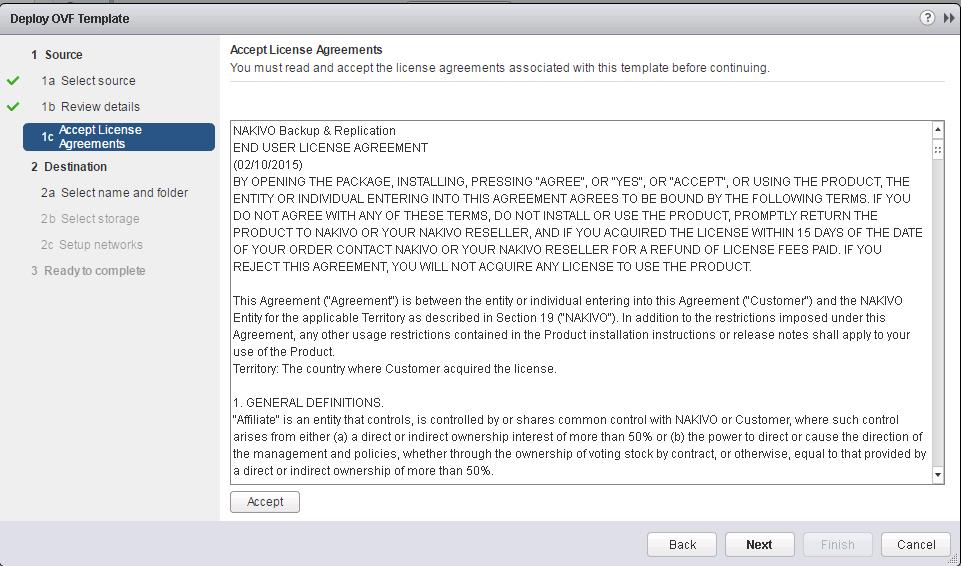
5. Accept the Nakivo backup license agreement.
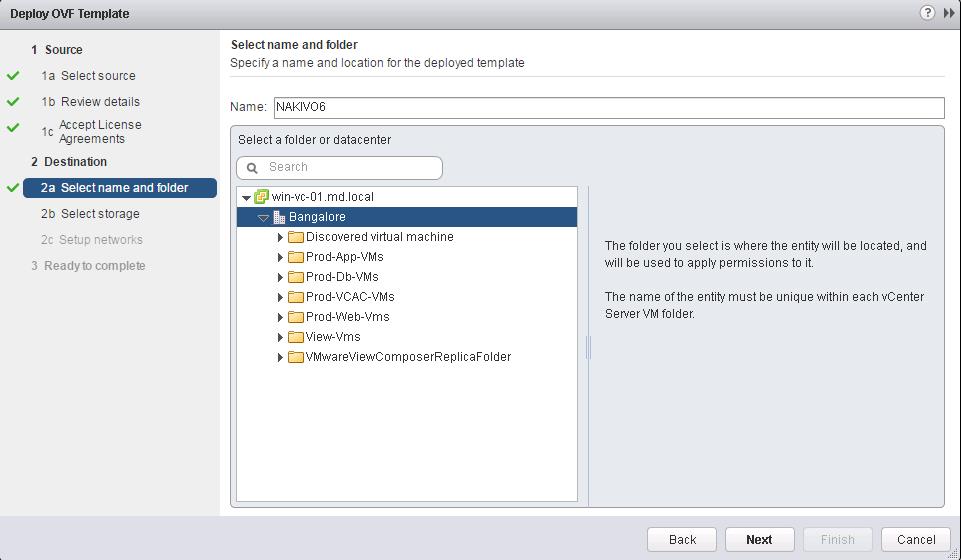
6. Provide the name for the virtual machine and Select the folder or datacenter location. Click Next.
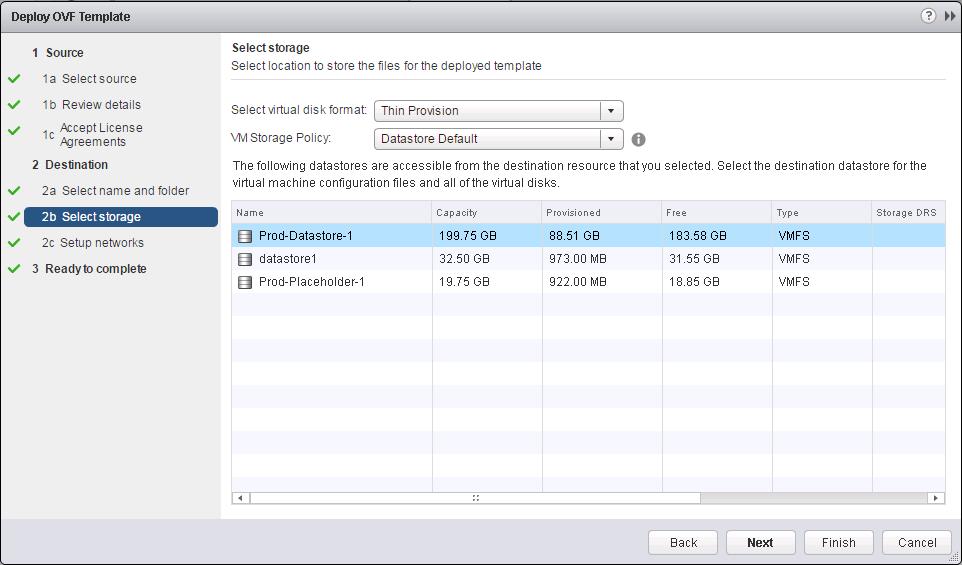
7. Select a datastore where you would like to keep the Virtual Appliance disk and click Next. If you deploy the Virtual Appliance disks using the Thin Provision option, then the disks will not reserve space on your datastore and will only consume space when actual data (such as your backups) is written to disks.
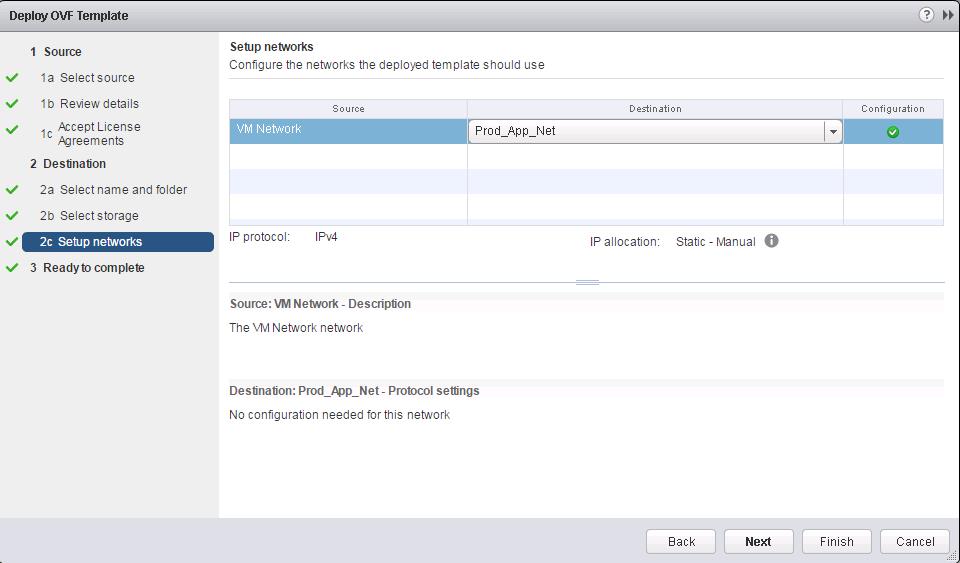
8. Select the Virtual machine port group from the drop-down to connect to the Nakivo backup and replication virtual appliance. Click on Next.
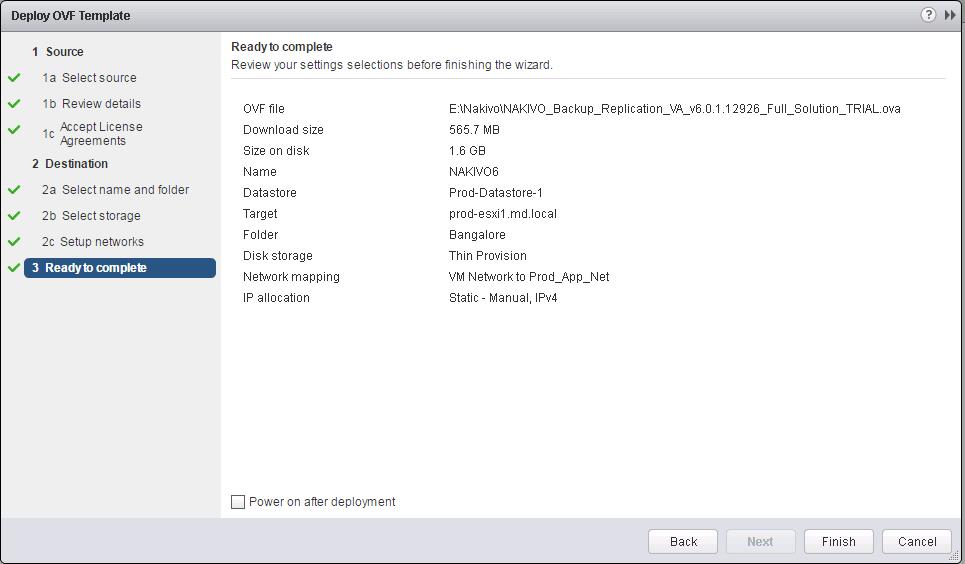
9. Click on Finish to complete the deployment of Nakivo backup & Replication virtual appliance.
That’s it. We have completed the deployment of Nakivo Backup & Replication virtual appliance. Once deployment is completed, We need to configure the appliance before we schedule the backup of virtual machine. In the upcoming posts, we will discuss about how to configure Nakivo backup virtual appliance. I hope this is informative for you. Thanks for Reading!! Be social and share it in social media, if you feel worth sharing it.