

Hyper-V provides a simple and reliable virtualization solution to help you improve your server utilization and reduce costs. Hyper-V allows you to virtualize your server workloads by running those workloads on virtual machines. You can use virtual machines to consolidate multiple workloads on one physical server, to improve server availability and to increase efficiency in developing and testing software. VMware vSphere and Microsoft Hyper-V are the top hypervisors competing with each other. Here is an excellent comparison between VMware and Hyper-V (VMware vs Hyper-V). Hyper-V enables you to create and manage a virtualized computing environment by using virtualization technology. In this article, we will discuss how to install the Hyper-V role in Windows Server 2016. There are three ways where you can install Hyper-v 2016.
Having the Hyper-V role on a Windows Server 2016(full installation)
Having the Hyper-V role on a Windows Server 2016(core installation)
Using the Free Hyper-V Server 2016
The Windows hypervisor technology in Microsoft Hyper-V Server 2016 is the same as what’s in the Hyper-V role in Windows Server 2016. We have already discussed about the installation procedure of Microsoft Hyper-V Server 2016. In this article, we will discuss how to install the Hyper-V role in Windows Server 2016.
Take a look at the detailed video to enable the Hyper-V role on windows server 2016/2019. Please do subscribe to the VMware Arena’s Youtube Channel
Install Hyper-V role in Windows Server 2016
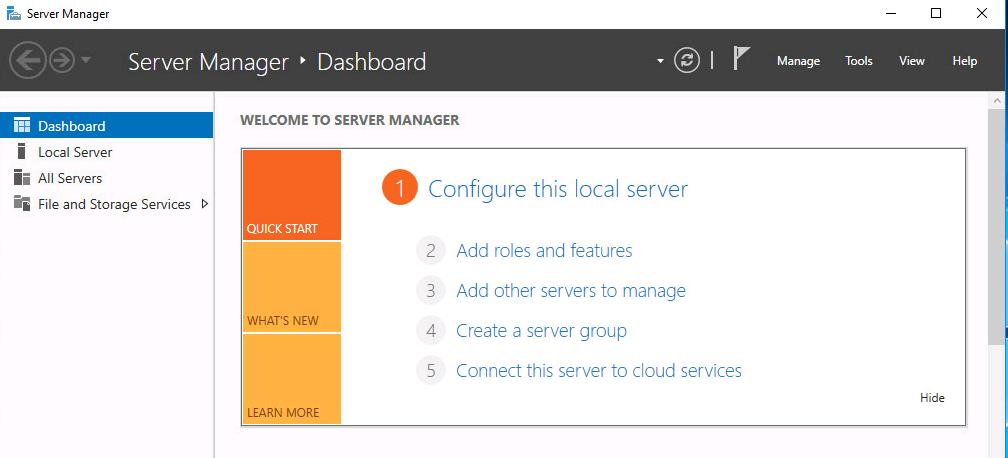
Log in to Windows Server 2016 and Open Server Manager. Click on “Add roles and features”
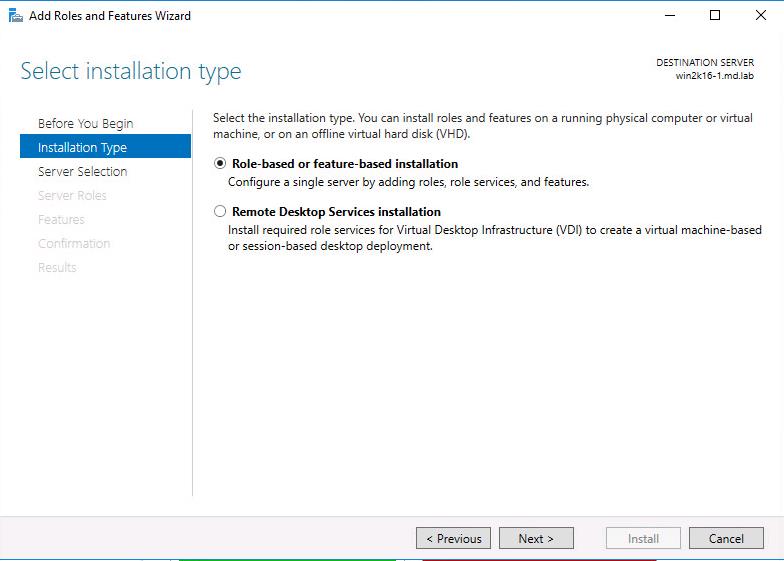
Select Role-based or Feature-based installation to configure a single server by adding roles, role services and features. Click on Next to continue.

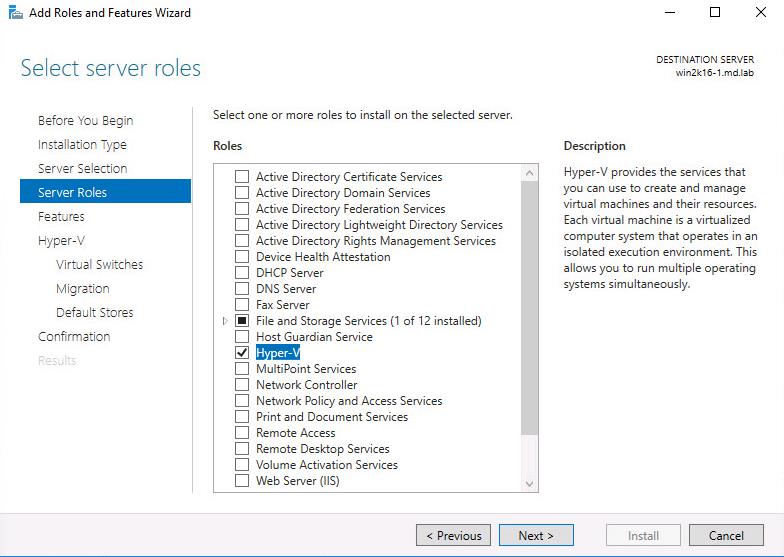
Select Hyper-V under server roles to install Hyper-V role on windows server 2016 and click on Next.

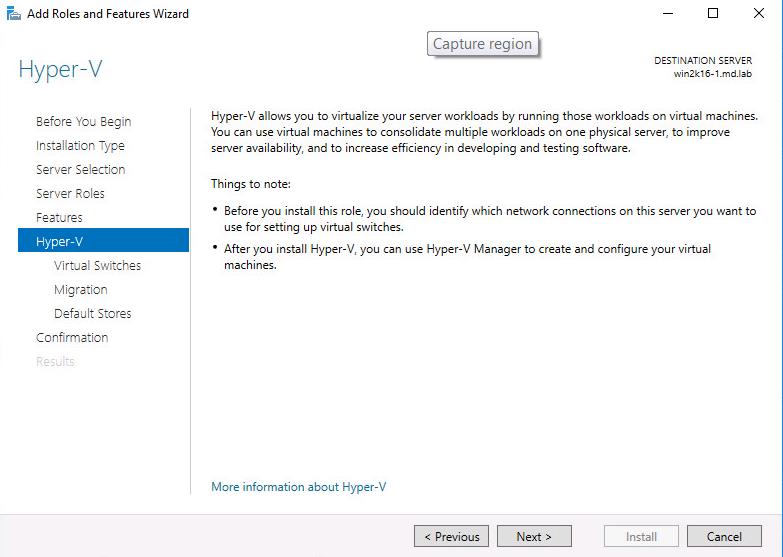
On the Install Hyper-V role page, Click on Next to continue.

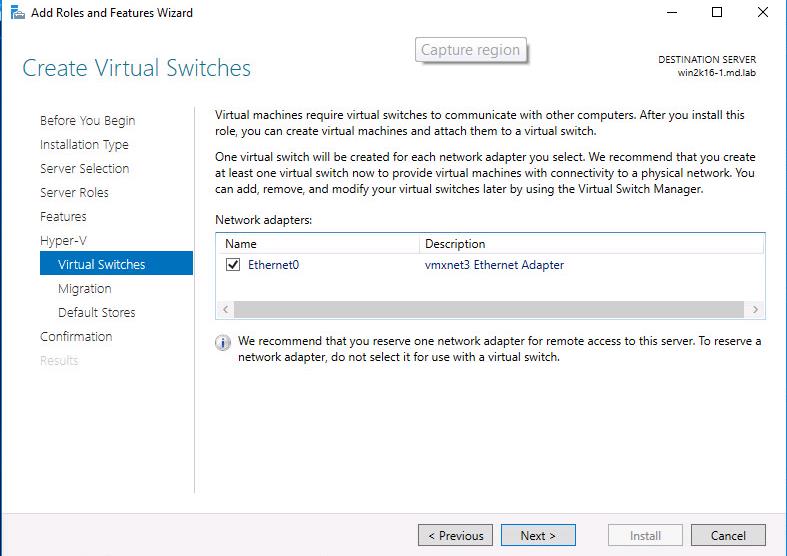
Virtual machines require virtual switches to communicate with other computers. Once you install the Hyper-V role, you can create virtual machines on top of the Hyper-V Server and attach the virtual machines to a virtual switch. One Virtual switch will be created for each network adapters you select.
It is recommended to create at least one Virtual switch during installation to provide connectivity to virtual machines with the physical network. You can add, remove, and modify virtual switches later using Virtual machine manager in Hyper-V using Hyper-V Manager.
Select the Network adapter to create virtual switches and click on Next.

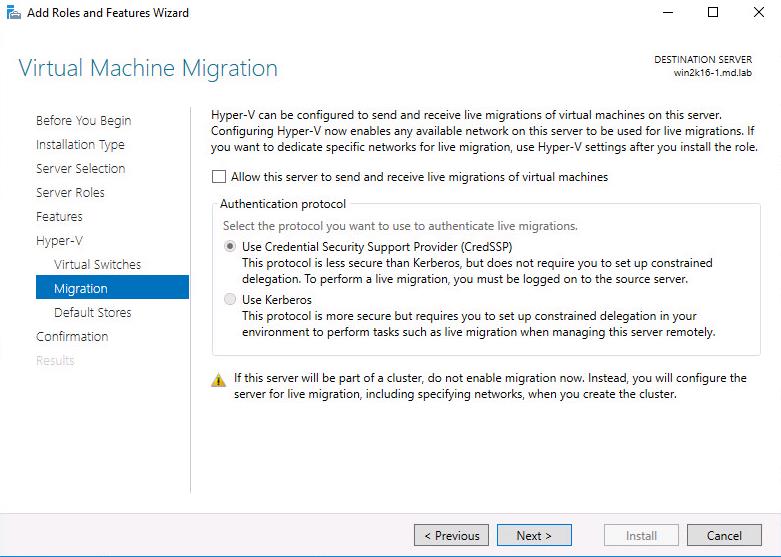
Hyper-V can be configured to send and receive live migration of virtual machines on the server. Configuring Hyper-V now enables any available network on this server to be used for live migration.
You can dedicate the network for live migration anytime after the Hyper-V installation. You can also choose the authentication protocol to be used for live migration. Click on Next.

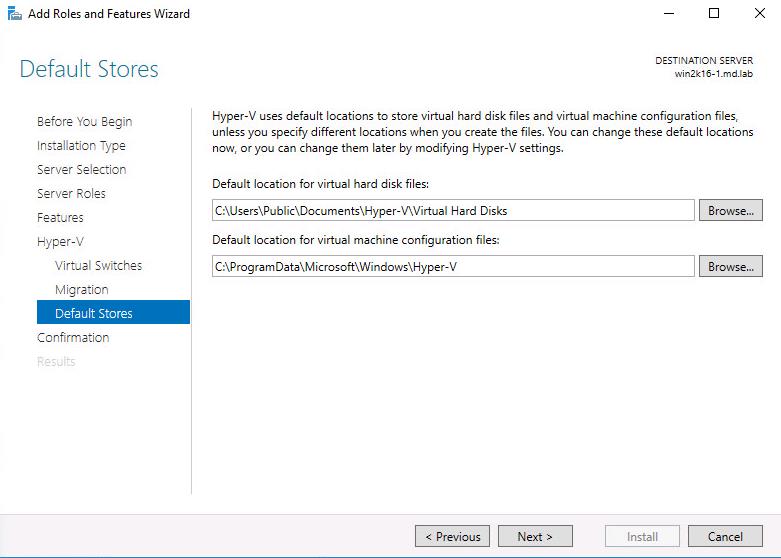
Hyper-V uses default locations to store virtual machines hard disk files and virtual machine configuration files unless you specify the different locations during virtual machine creation. Specify the location on a need basis, click on Next.

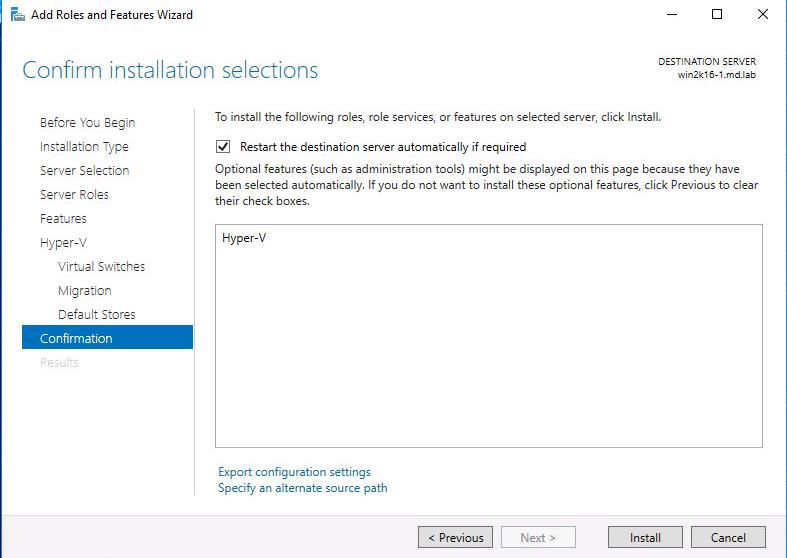
Confirm the Hyper-V role install on the server and click on Install to begin the install Hyper-V role in windows server 2016.

Once the installation is completed, reboot the server for the configuration changes to take effect. That’s it. You can manage the Hyper-V server using Hyper-V Manager. I hope this is informative for you. Thanks for Reading!! Be social and share it in social media, if you feel worth sharing it.