

Once the installation of Microsoft Hyper-V 2016 is completed, the next step is to configure the Hyper-V server 2016. Microsoft Hyper-V server 2016 includes a utility to make the initial configuration. The SCONFIG utility, which has been available since Windows Server 2008 R2, is very easy to use and is usually the preferred configuration option if scripting is not required. You must be a member of the Administrators group to use the tool. SCONFIG utility allows you to configure various settings such as Domain/Workgroup settings, Computer name settings, Local administrator settings, Network settings, Windows Update settings, Remote Desktop settings, Date& time settings and Power operations of the Microsoft Hyper-V server 2016. In this article, we will discuss how to configure Microsoft Hyper-v Sever Network settings.
Take a look at the detailed video to Install & Configure Microsoft Hyper-V server 2016/2019. Please do subscribe to the VMware Arena’s Youtube Channel
Configuring Network Settings of Hyper-V Server 2016:
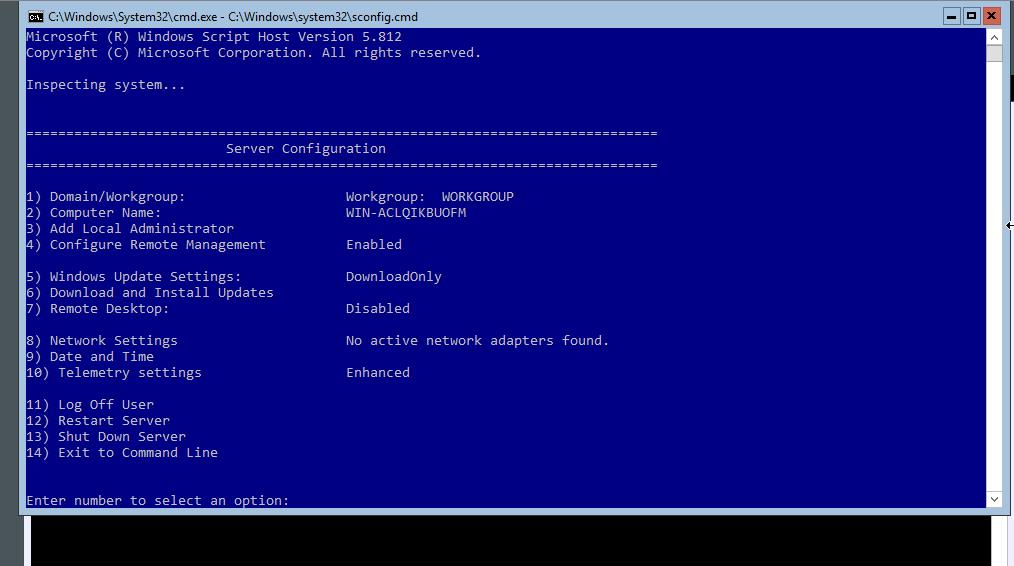
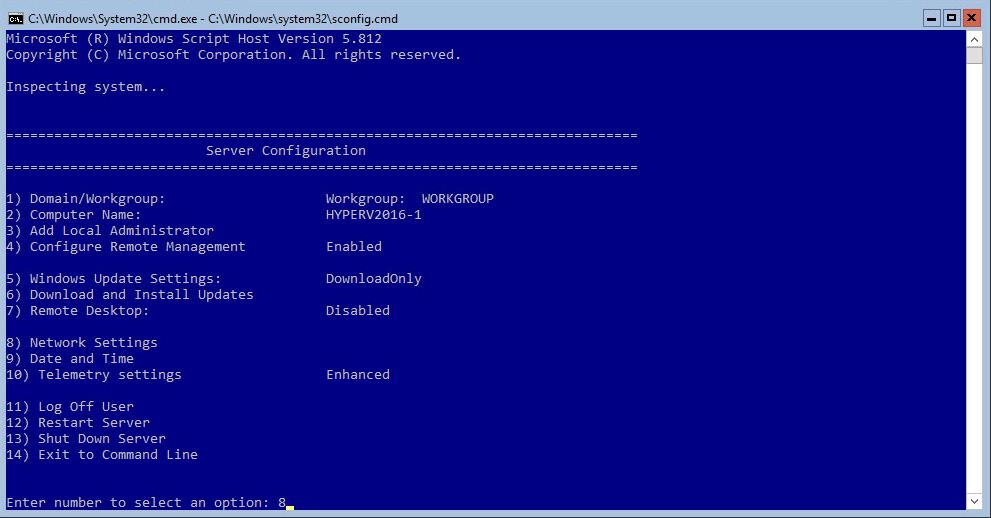
Login to the Hyper-V node using administrator credentials, Sconfig.cmd will be automatically opened after the login. You can simply enter the numbers as specified to configure the respective configuration.
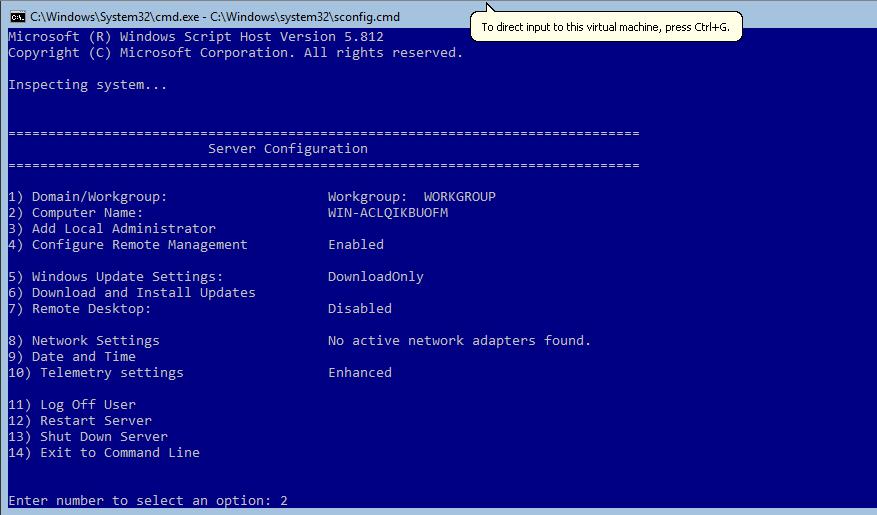
The existing computer name will be displayed in front of the computer’s name. If you want to change the Hyper-v hostname. Press 2 and Hit Enter.
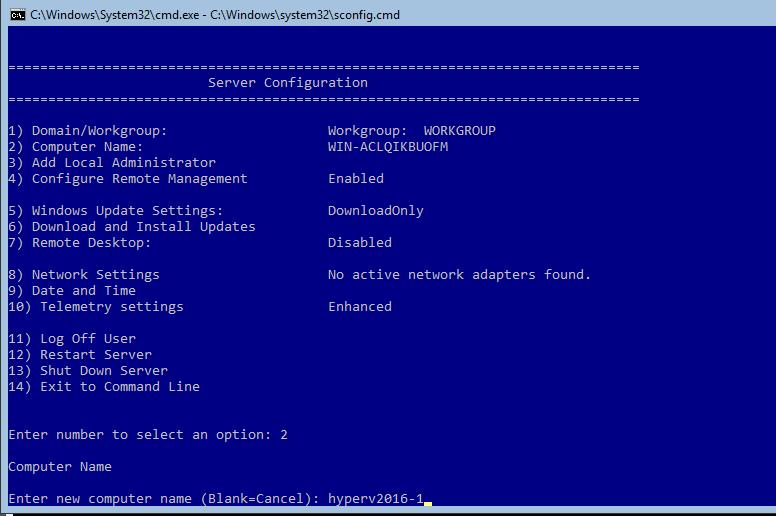
Enter the new computer name for the Hyper-v host and hit enter to update the Computer name. You are required to restart the server to apply any changes to domain or workgroup membership. By default, running virtual machines are automatically saved prior to restarting the Hyper-V Server.
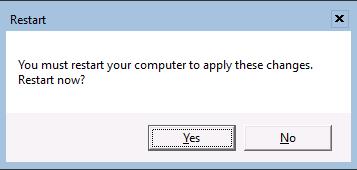
Click on Yes to restart the Hyper-v host to apply the changes made to the server.
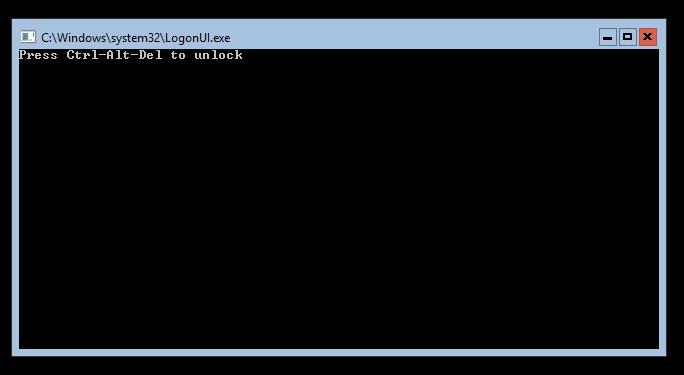
Press Ctrl-Alt-Del to unlock the server after the server reboot.
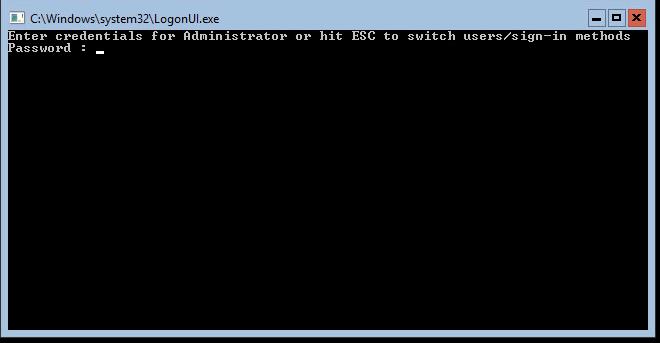
Log in with your administrator credentials
After Hyper-v 2016 host reboot, You can notice the new computer name is updated. Next, we will proceed to configure the Network configuration of Hyper-v 2016 Server. To configure the Network settings, Enter “8” and hit Enter.
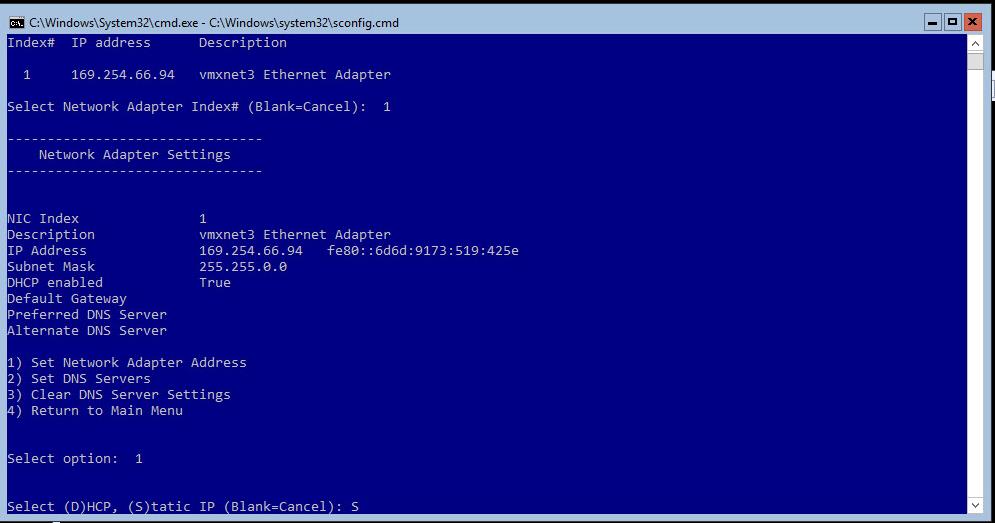
The configuration option will provide the list of available network adapters installed on your server hardware. You can Enter the Network adapter Index number to configure the IP settings of that particular network adapter. In my example, I want to configure my network adapter with Index Number#1. I Entered number “1” and Hit Enter.

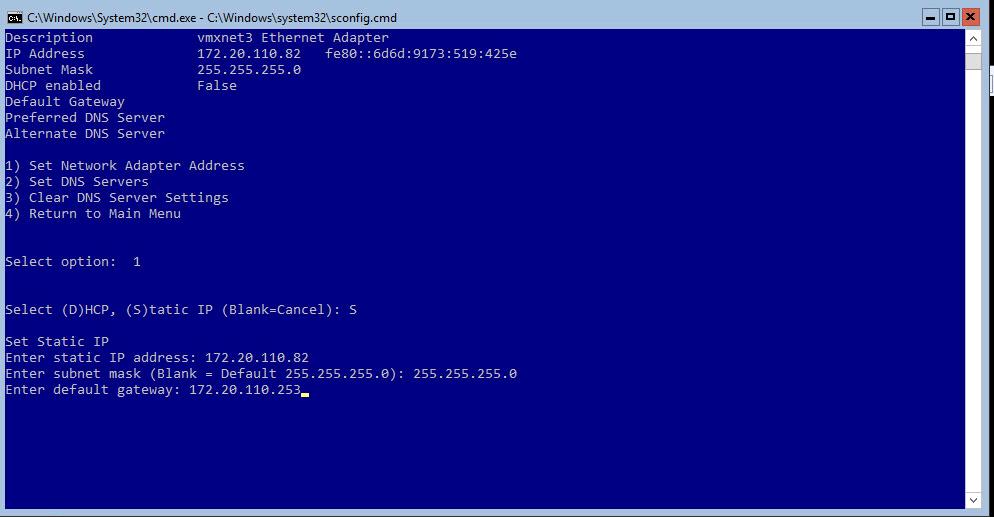
Type “D” to configure DHCP IP configuration or “S” to configure static IP settings. It is always recommended to configure static IP settings for Hyper-V servers. Enter “S” and hit Enter.
Enter the IP address, Subnet mask and Default gateway settings for the network adapter of the Hyper-V host.
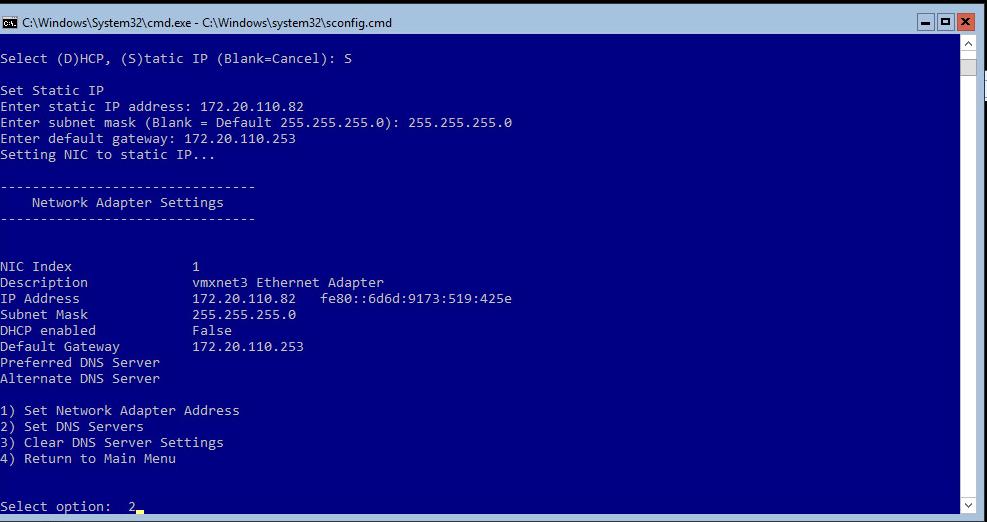
Once the Static IP settings are assigned, Enter “2” to configure DNS server settings for your Hyper-V host.
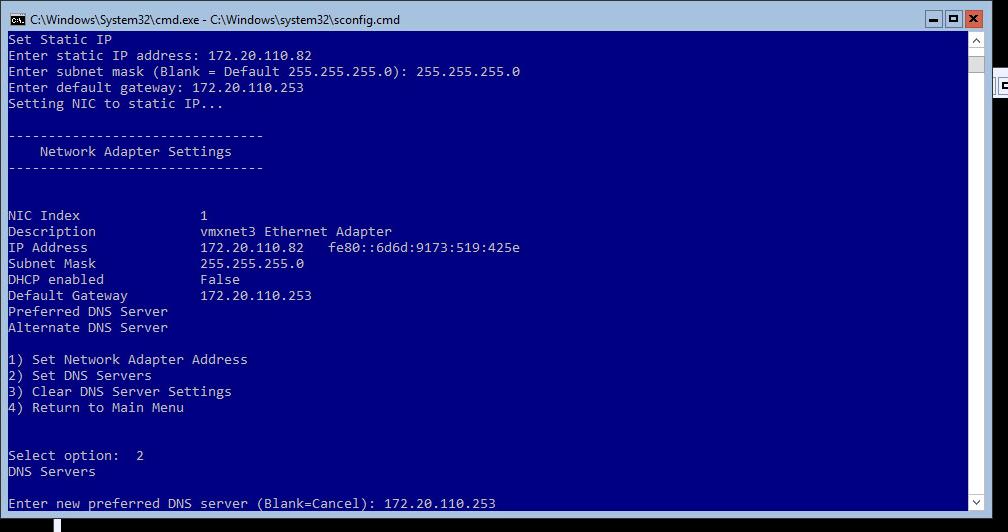
Enter the IP address of your preferred DNS server and alternate DNS server and Hit “Enter”.
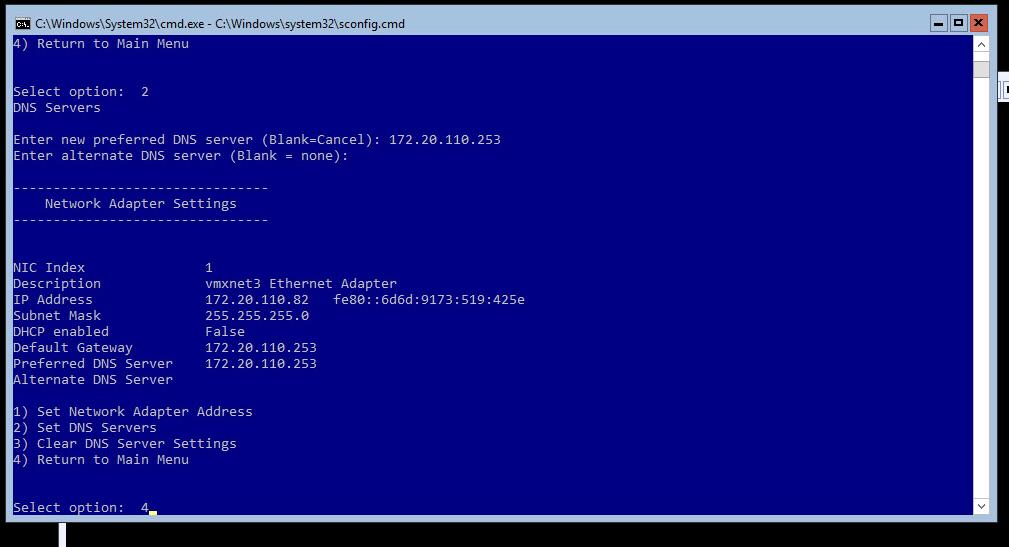
Enter number#4 to return to the main menu.
That’s it. We are done with configuring Microsoft Hyper-V Server 2016 network settings. We will discuss in detail about other configuration options in the upcoming posts. I hope this is informative for you. Thanks for Reading!! Be social and share it on social media, if you feel worth sharing it.