This post describes about the steps to shrink the VMDK disk using VMware Converter. If you are looking for vCenter converter Installation, Please refer my blog post onConverter Installation
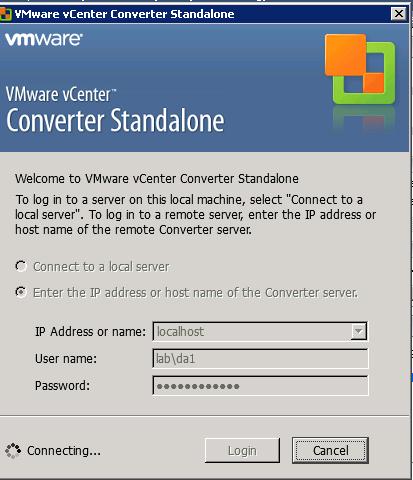
Log in to vCenter Converter either by selecting localhost if the converter is installed on the local host or by IP address in case of remote machine.
Click on Convert Machine to start the conversion
Select VMware Infrastructure virtual machine, If you want to convert a VM running on the vCenter or ESX server.
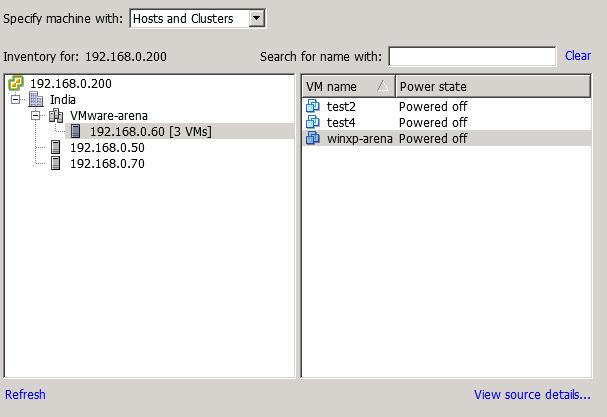
Specify vCenter or ESX server IP address along with the Login Credentials. Here I am connecting my vCenter Server 192.168.0.200 with domain credentials.
Once we have connected to our vCenter, Converter shows the complete information about my vCenter inventory along with clusters, hosts and virtual machines. Please refer the above snapshot of vCenter inventory and the below Convereter captured information from vCenter.
Select the Virtual Machine which you want to shrink or resize the Virtual disk and click on View Source details and it shows the machine details of that particular virtual machine.
My virtual machine has 20 GB of disk. In which 1.61 GB is used and formatted with NTFS.Now Source machine ” winxp-arena” is selected
Specify the name for the destination virtual machine. Here i have mentioned as “winxp–aerna-new” for my destination virtual machine. The destination virtual machine is nothing but the converted virtual machine and click on Next to continue.
Select the datastore and the Virtual Machine hardware version of the destination virtual machine.
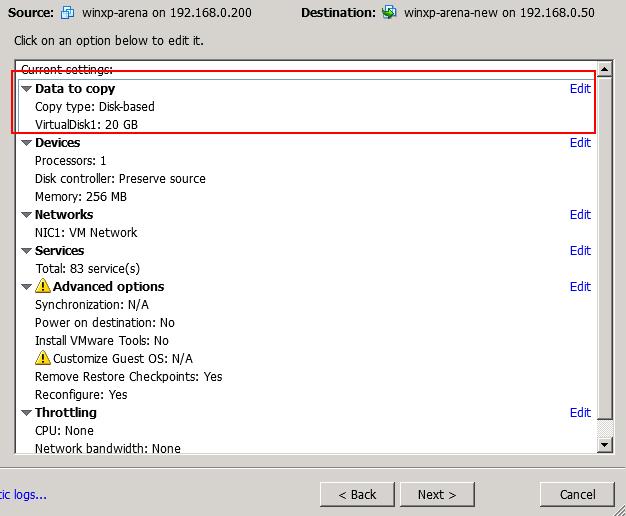
Now, We can edit the options like Disk , Devices, networks,etc for the destination virtual machine. Click on the edit to edit the particular settings. Since we are going to resize the vmdk in this post, Click on Edit for the Data to copy.
There are 2 options
1.Copy all disks and maintain the layout
It coverts the VM as same layout as the source machine.
2. Select volumes to Copy
With this option, we can edit the disk size or number of disks for the destination virtual machine.
Edit the Capacity/Size of the C: drive for the destination virtual machine. Since the used space in the source machine in C: drive is 1.61 GB. We will not be able to select the volume size less than that. That is the minimum value (1.6 GB) in our scenario. Refer the below snapshot, it gives 4 options
1. Maintain Size (19.99 GB) – Total size of the VMDK disk
2. Maintain Size (1.61 GB) – Used space of the C: drive in that VMDK
3. Specify size in GB
4. Specify size in MB
Here I have specified the C: drive space as 10 GB instead of selecting total capacity of 20 GB
I addition to the disk size option, we also have the option to select the disk type of the vmdk either flat or thin. Nothing but thick or thin.
Click on Next. It shows the summary page of Source and Destination machine and conversion information of this particular conversion. Click on Finish to start the conversion.
We have resized the disk and the above steps is similar for the Virtual-to-Virtual (v2v) conversion also.