

vCloud Automation Center appliance (vCAC) appliance OVF needs to be downloaded from the VMware website. This pre-configured virtual appliance that is deployed from an Open Virtualization Format (OVF) template. vCAC appliance includes the Web console, which provides a single portal for self-service provisioning and management of cloud services, as well as authoring, administration, and governance. You need to deploy atleast one vCloud Automation Center(vCAC) appliance. You can deploy multiple instances of vCloud Automation Center behind a load balancer to achieve the greater level of availability. Let’s take a step by step look to deploy and configure vCAC appliance.
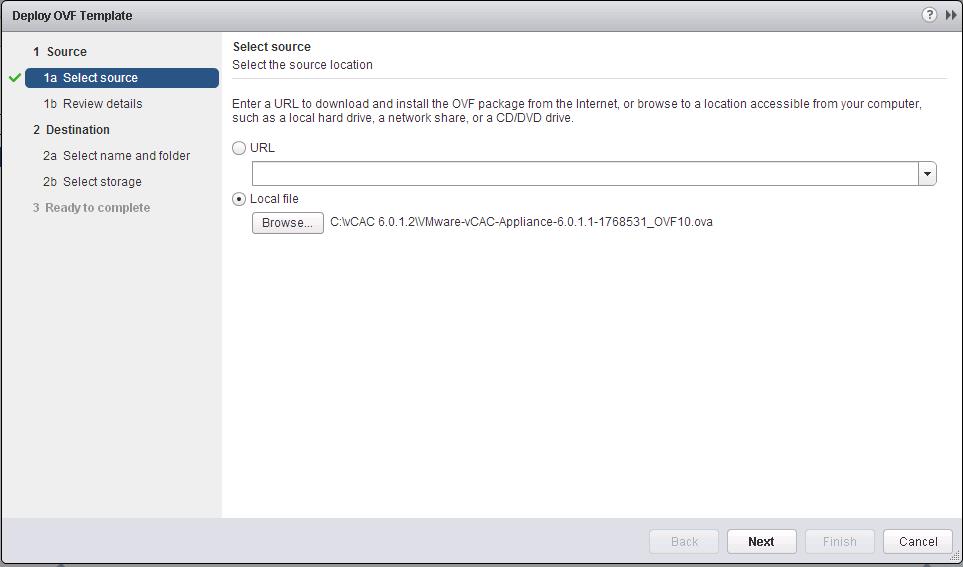
Download the vCAC appliance from the VMware Website and save it in your local disk. Connect to your vCenter using vSphere web Client. Select the Cluster or Host to deploy this virtual appliance. Right-click the ESXi host and Select “Deploy OVF Template”. Click on Browse to browse towards the location of vCAC appliance OVF file and click on Next.
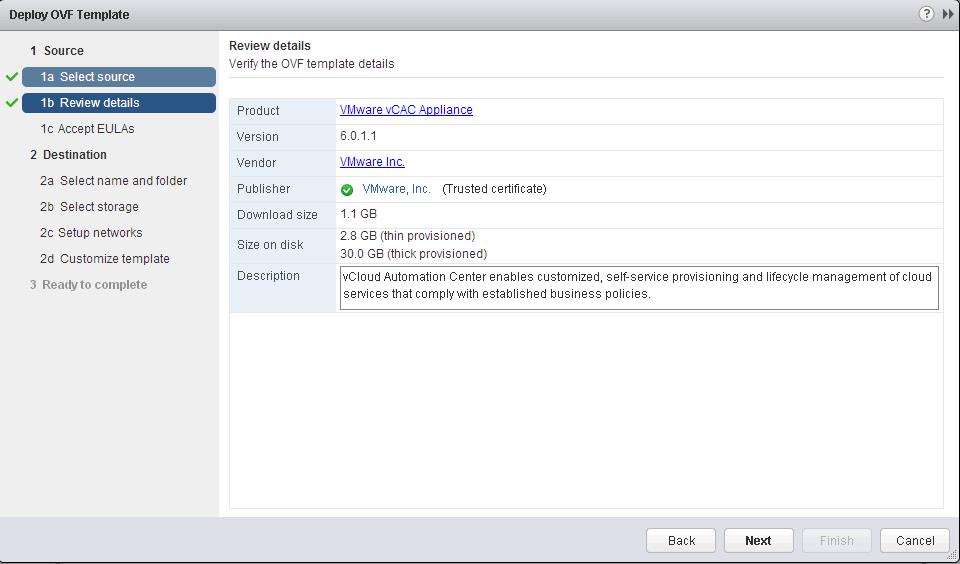
Review the OVF template details and Click on Next.
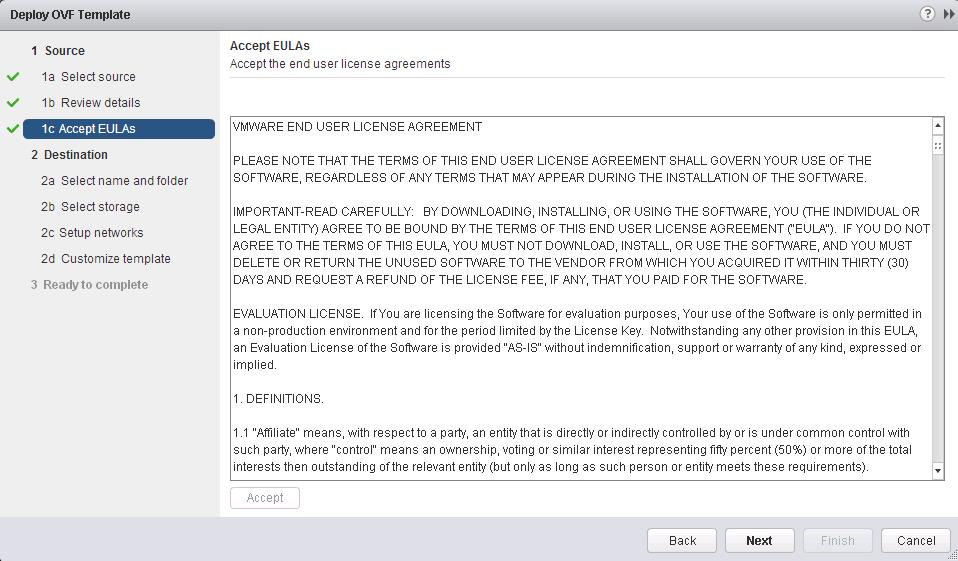
Accept the end user license agreement and click on next.
Specify the name and location for the deployed OVF template and Click on Next.

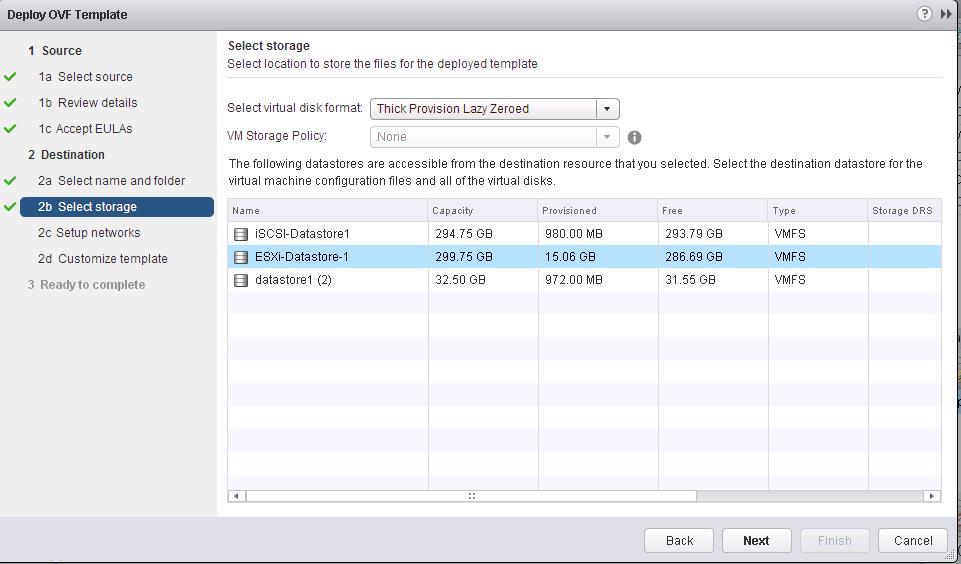
Select the Datastore to deploy the vCAC appliance and click on Next.
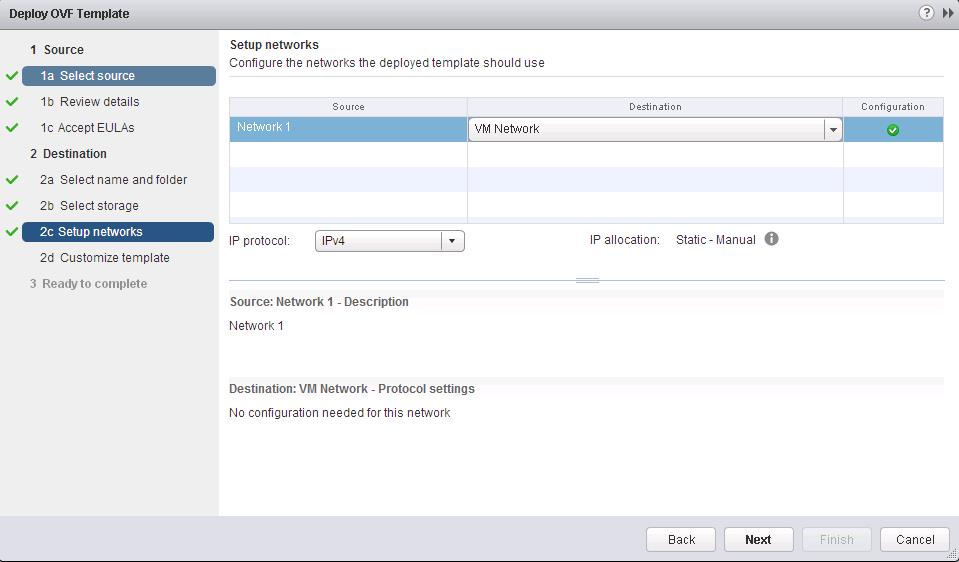
Select the PortGroup to connect for the vCAC appliance and Click on Next.
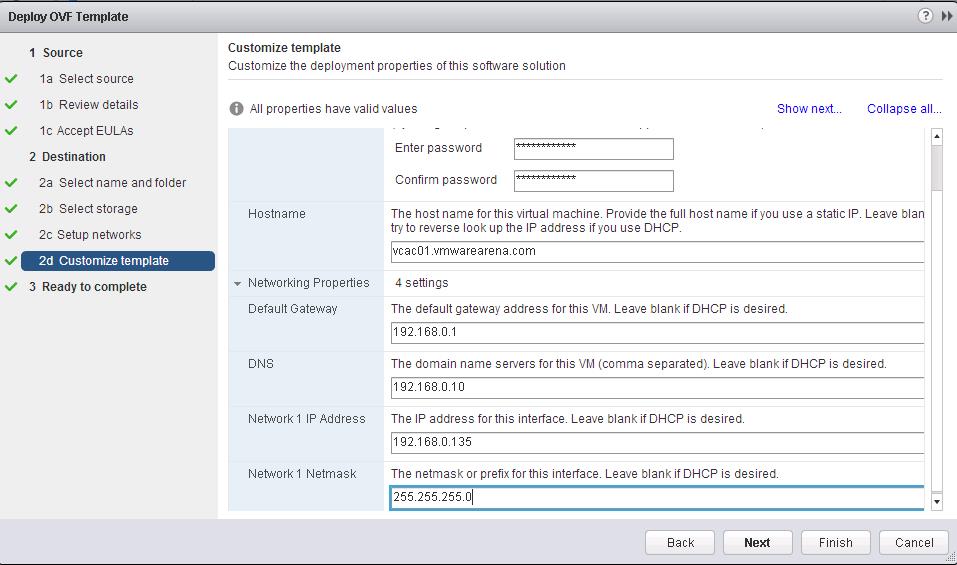
Specify the deployment properties like Password and IP settings for the vCAC appliance. Click on Next.
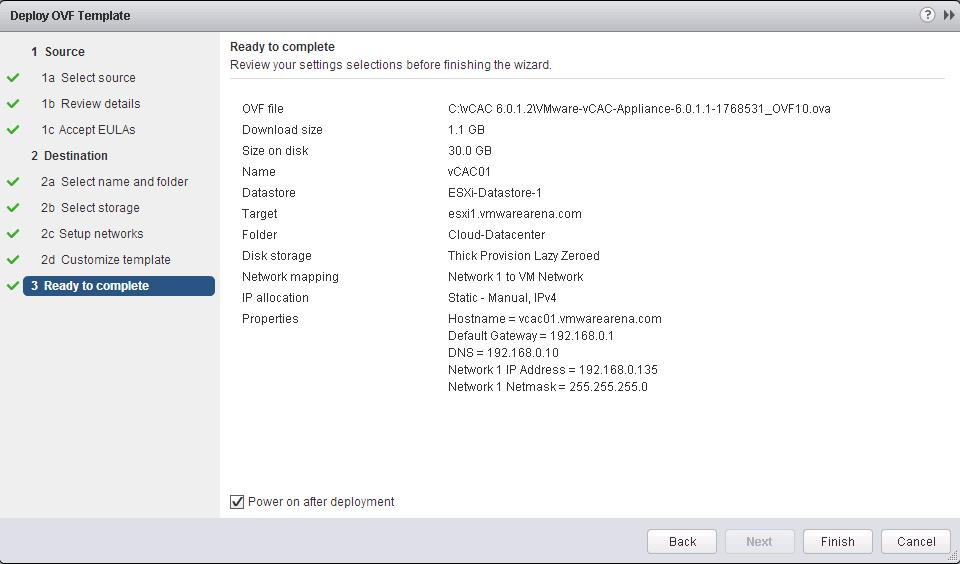
Review your settings selection and click on finish to start the OVF deployment.
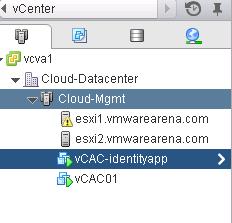
Once OVF deployment is sucessfull, you will be able to see the vCAC virtual appliance VM ruining under your cluster.
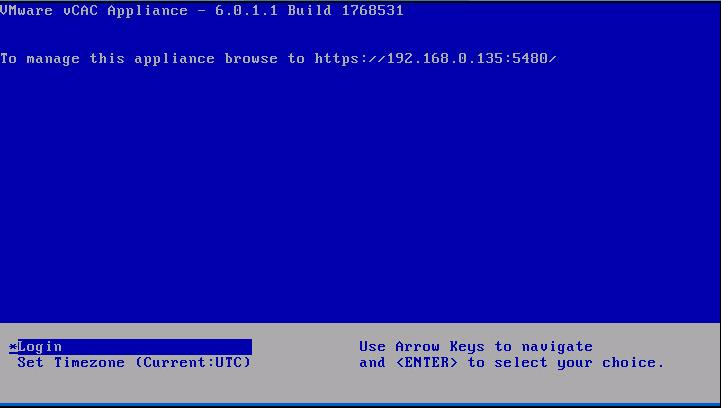
Access your vCAC (vCloud Automation Center) appliance admin page using the below URL
https://<IP or Hostname of vCAC appliance>:5480
login with username ‘root’ and the password that was specified during OVF deployment.

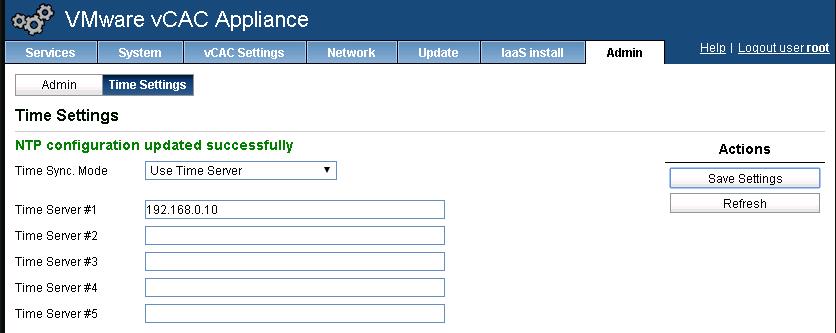
Click on Admin Tab, then go to Time Settings. Change the Time Sync mode to ‘Use Time Server’ and update the NTP server details and click on Save Settings.
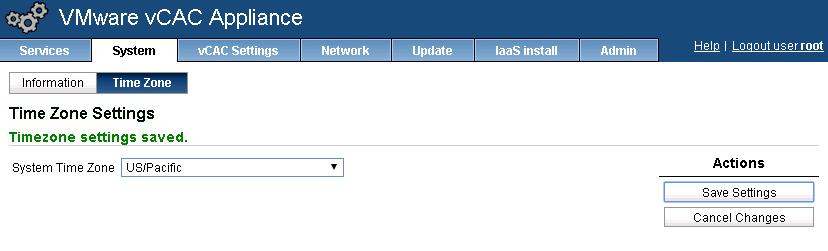
Under System Tab, Click on Time Zone and update your Time Zone information.
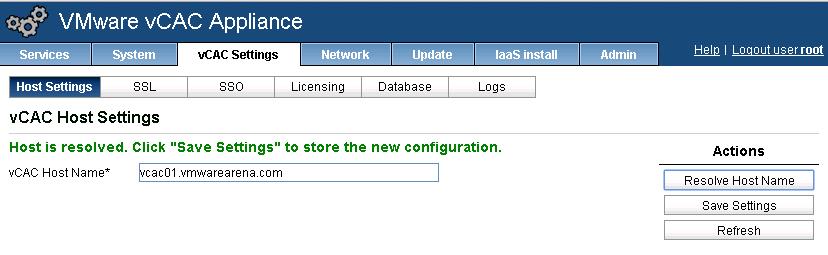
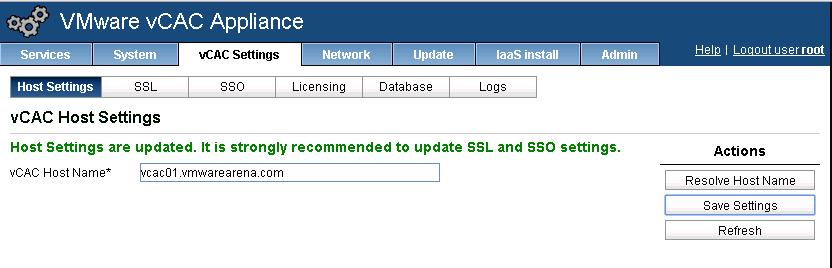
Navigate towards the vCAC Settings tab -> Host Settings, and click on Resolve Hostname. *make sure the hostname is all lowercase*. Click on Save settings.
 Click on the SSL tab under vCAC settings and you can import a SSL certificate. As this is the lab environment, I will be using self-signed certificate here. Select Generate Self-Signed Certificate from Chose Action dropdown.
1.. Type a common name for the certificate in the Common Name text box. You can use the fully qualified domain name of the virtual appliance. Make sure the FQDN is EXACTLY the same as the CAFE Host Settings in the previous step. *make sure the hostname is all lowercase.
2. Type in a company name or organization name
3. Type in your organizational unit
4. Type in your country code
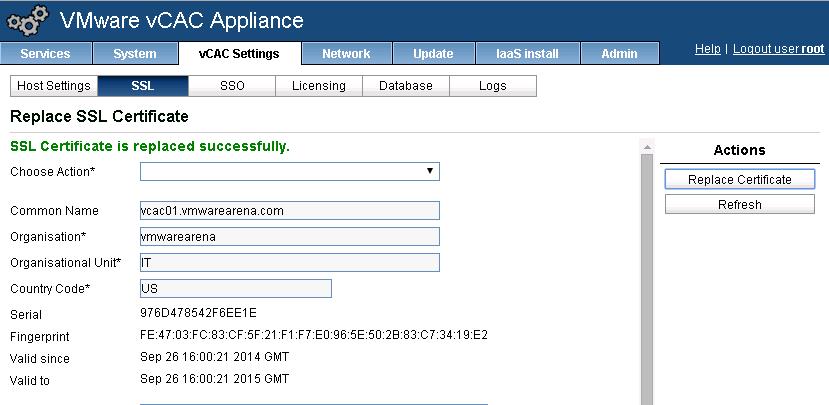
5. Click on Replace Certificate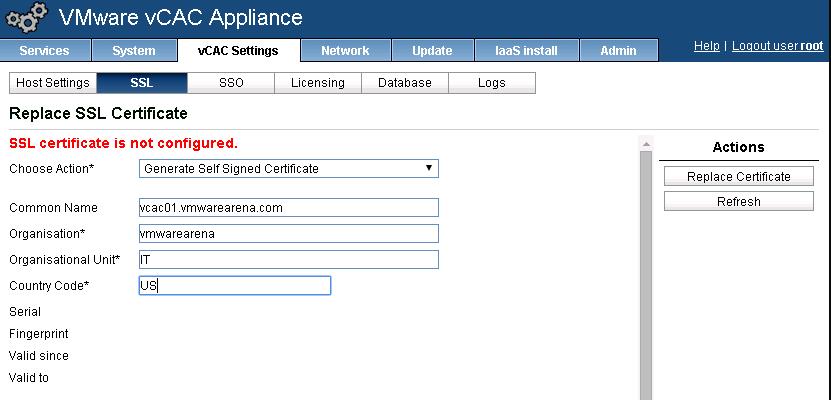
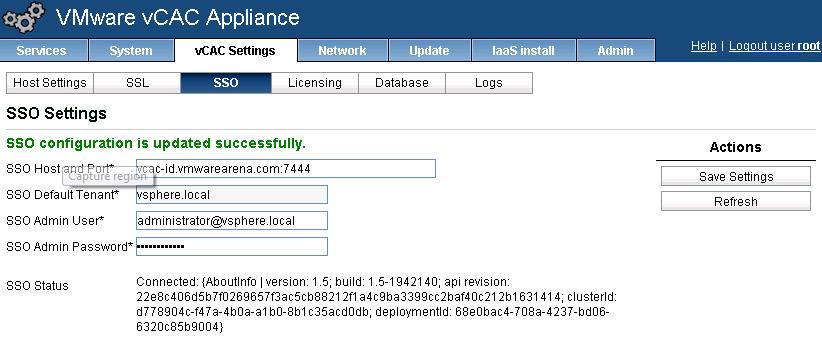
Click on the SSO tab to configure SSO settings of vCAC appliance
1.. Type the FQDN of the Identity Appliance (vcac-id.vmwarearena.com:7444) in the SSO Host and Port option. Leave the default Tenant name.
2. Type the default administrator name administrator@vsphere.local in SSO Admin User option
c. Type the SSO administrator password in the SSO Admin Password text box.
d. Click Save
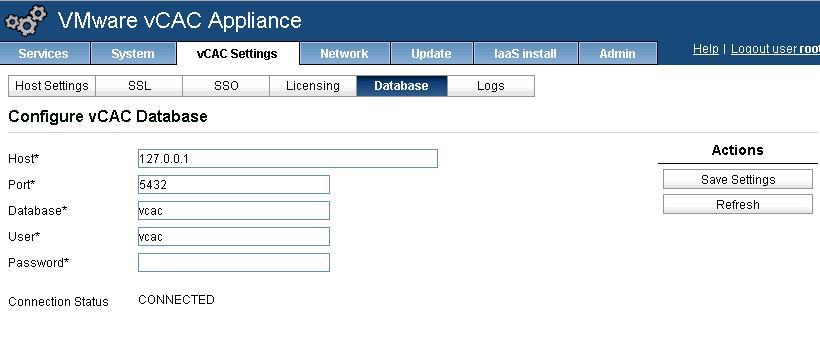
 Internal PostgreSQL database is used by default. This settings needs to be modified, If you want to use an external database. Since this is my lab environment, I am going to use the default embedded PostgresSQL database.
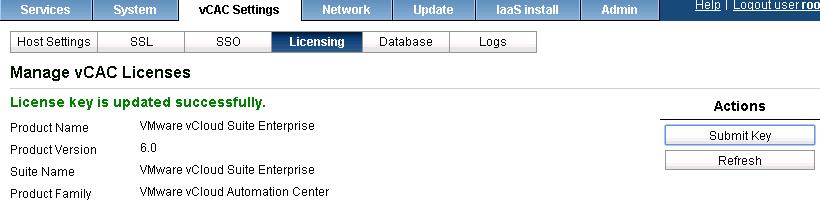
Update the License information under ->vCAC settings -> Licensing tab
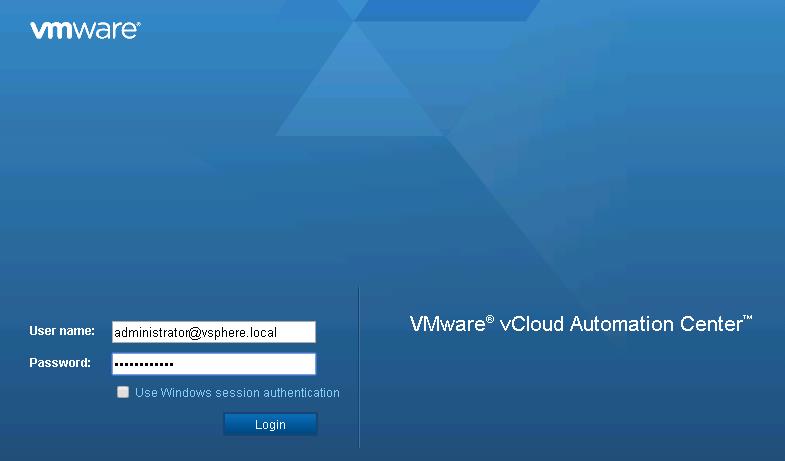
That’s it , we are done with configuring vCAC appliance settings. Verify that you will be able to access the vCloud Automation Center (vCAC) console using the below URL
https://vcac-appliance-hostname.domain.name/shell-ui-app
In my case, https://vcac-01.vmwarearena.com/shell-ui-app. Login with your SSO credentials.
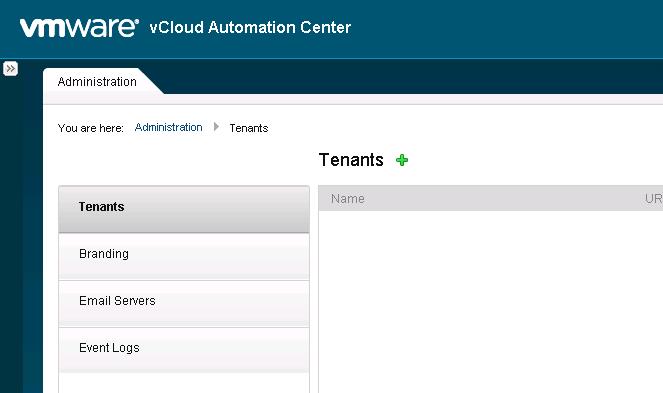
That’s it. I am able to successfully login to vCAC console.
 We are done!!!. We have successfully deployed and Configured vCAC appliance. We will see how to utilize the vCAC in upcoming posts. I hope this is informative for you. Thaks for Reading!!!. Be Social and share it in social media, if you feel worth sharing it.