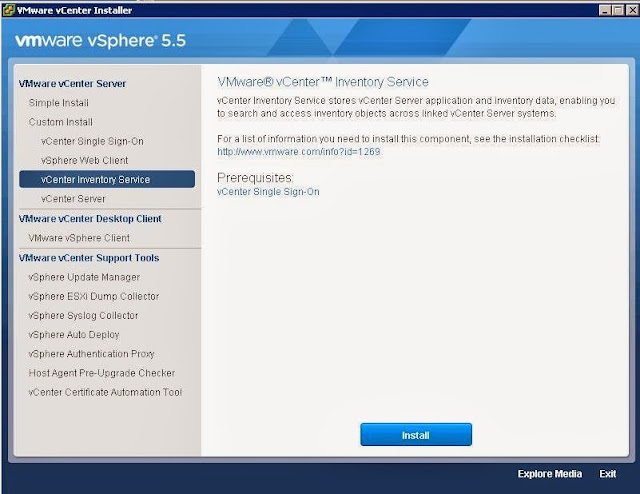
From the VMware vCenter Installer, Select vCenter Inventory Service under Custom Install and click on Install
Select the Language for the Installer from the drop down and click on OK.
Installer will detect the earlier version of vCenter Inventory service and it will be upgraded to vCenter Inventory Service to 5.5
Read the End user License Agreement and click on “I accept the terms in the license agreement” and click on Next.
Select the checkbox “Keep my existing database” to retain your existing data in the vCenter Inventory service and click on Next.
Enter the Fully Domain name for the vCenter Inventory Service local system and click on Next.
Review the Port numbers for the vCenter Inventory service and click on Next
Select the Inventory Size which suits your environment and click on Next
Enter the password for the SSO administrator account and click on Next
Click on Install to start the vCenter Inventory Service installation.
Once installation is completed, Click on Finish.
I hope this is informative for me. Thanks for Reading !!!


