This article will explain more about configuring NAKIVO Backup & Replication V6 for VMware vSphere. During the post deployment configuration , you will be allowed to configure the hostname , network settings, Backup Storage, Timezone. NAKIVO console also provides as option to update the NAKIVO software and monitor the system performance. Once you have done the basic settings like hostname, backup storage and timezone, you can launch the NAKIVO’s web-portal to add the vCenter server to configure the backup for the Virtual machines running on that.
Configuring NAKIVO Backup & Replication V6
- Once Nakivo backup and replication appliance deployment is completed. Power on the Virtual Machine from the vCenter Server.
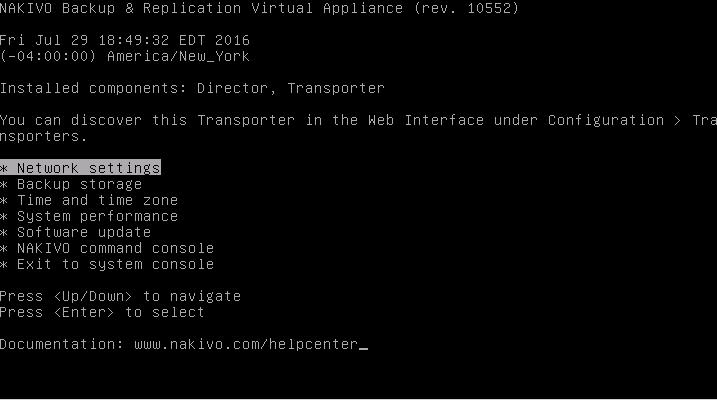
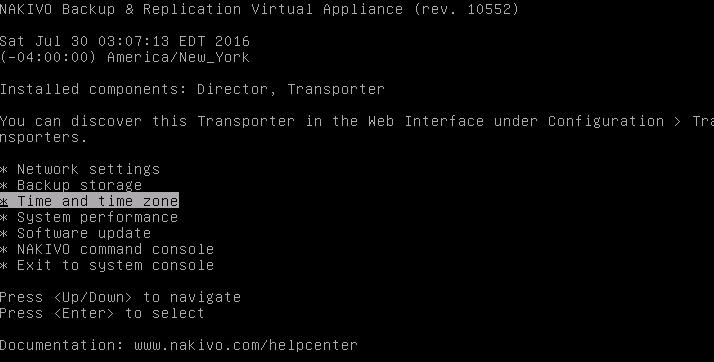
- Once the Nakivo appliance is up , you will get console to configure system systems. Just select “Network Settings” & press enter to modify the hostname & IP details.

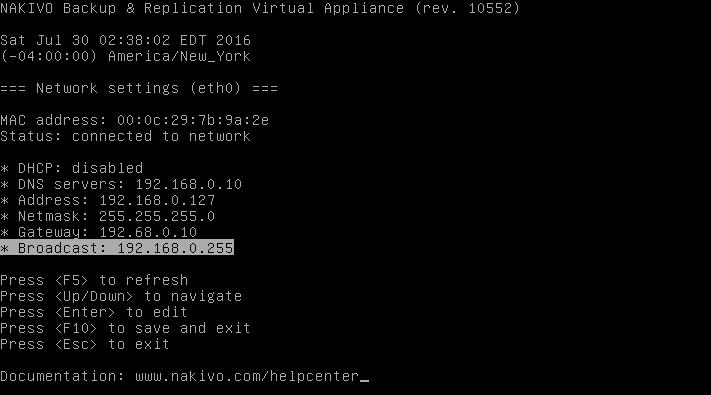
3. Navigate to the hostname and set the new hostname. You can also modify the network settings. Since i don’t have DHCP servers in my lab, I have disabled the DHCP and assigned static IP settings. Press <F10> to save and exit.

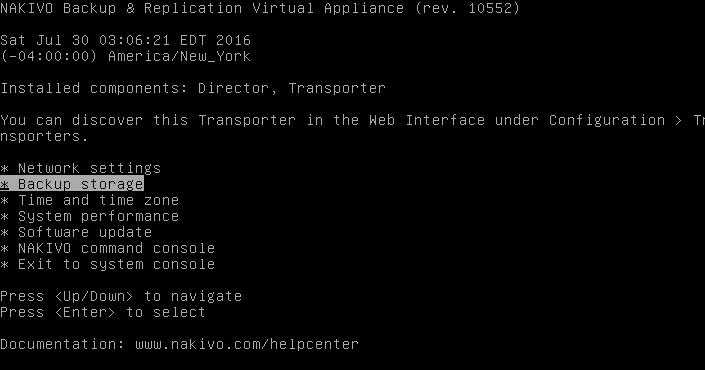
4. From the main menu, select backup storage to configure the backup storage.

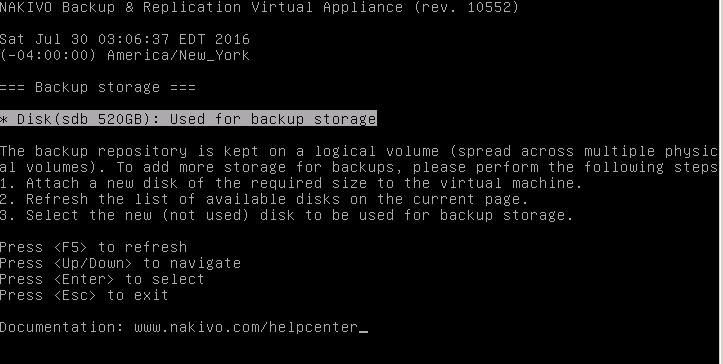
5. Since one disk is configured as backup repository during appliance deployment.. It provides option to add newly attached disks to the backup repository.

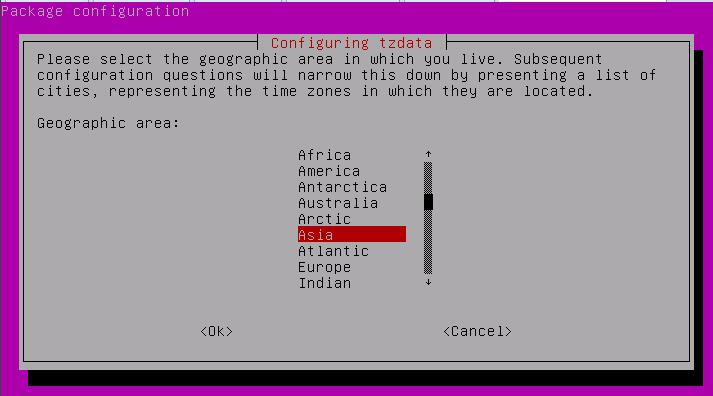
6. Select Time and time zone to configure the desired timezone. Select “Change time zone” to modify the timezone.

7. Select the appropriate geographic area based on your server location.

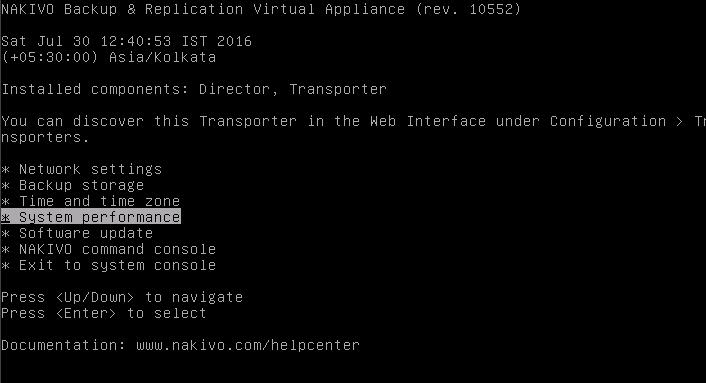
8. Select the appropriate time zone from the list. Select ok to exit the main menu.


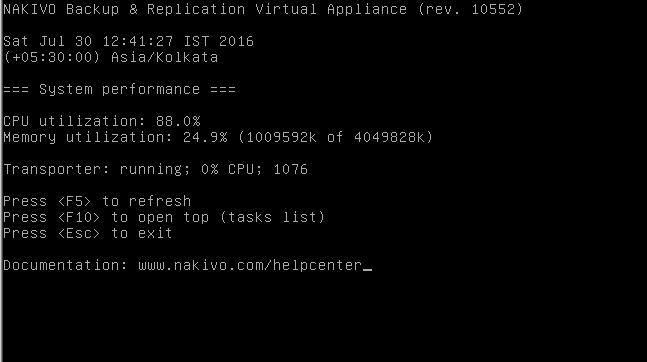
9. In the main menu, you can find the NAKIVO’s System Performance. It provides the VA’s performance statistics

10. It displays the CPU and Memory utilization of Nakivo backup & replication virtual appliance. From the main menu, select “Exit to System console” .

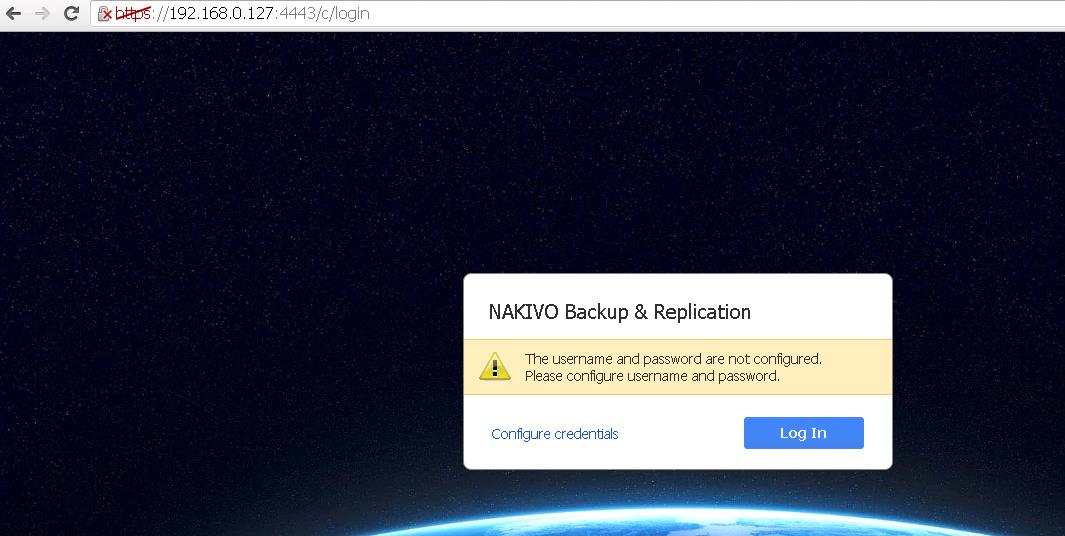
11. By default, NAKIVO’s web portal uses port 4443. (https://192.168.0.127:4443) . The initial web page login will allow you to configure new user name & password. Click on Configure credentials.

12. Enter the desired username and password to configure the credentials.Click on Done.


That’s it. We are done with the initial Configuration of NAKIVO Backup & Replication V6. In next post, we will take a look at how to add VMware vCenter server into Nakivo backup & Replication v6. I hope this is informative for you. Thanks for Reading!!. Be social and share it in social media, if you feel worth sharing it.