

VMware Identity Manager is an Identity as a Service (IDaaS) offering, providing application provisioning, self-service catalog, conditional access controls and Single Sign-On (SSO) for SaaS, web, cloud and native mobile applications. With VMware Identity Manager, you can set up and manage authentication methods and access policies, customize a catalog of resources for your organization’s applications and provide a secure multi-device managed user access to those resources. Such resources include Web applications, Citrix-based applications, and Horizon desktop and application pools. In this article, We will discuss in detail about the procedure to deploy VMware Identity Manager to integrate with VMware NSX-T.
Before downloading the VMware Identity Manager, You need to check the compatible version of VIDM for the product which you are planning to integrate with VIDM. In my case, I am going to integrate VMware NSX-T to VMware Identity Manager (VIDM). So ensure the Product Interoperability and compatible version of VIDM for the version of NSX-T deployed in your infrastructure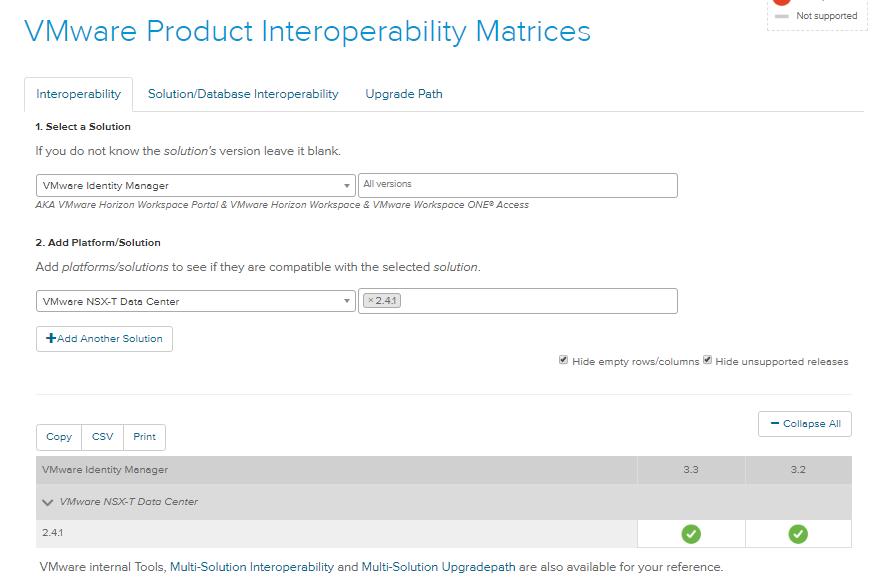
Deploy VMware Identity Manager
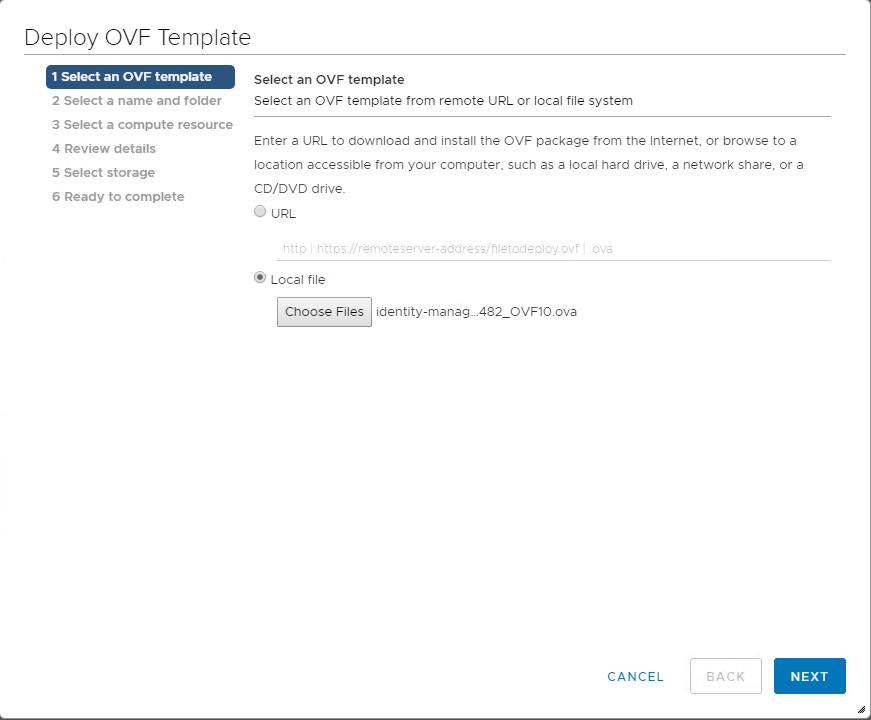
Download the VMware Identity Manager OVA file from the VMware website. Log in to the vCenter server, Right-click the cluster to deploy VIDM appliance, Select Deploy OVF Template. Select Local File and click”Choose Files”. Select the OVA file downloaded. Click Next.
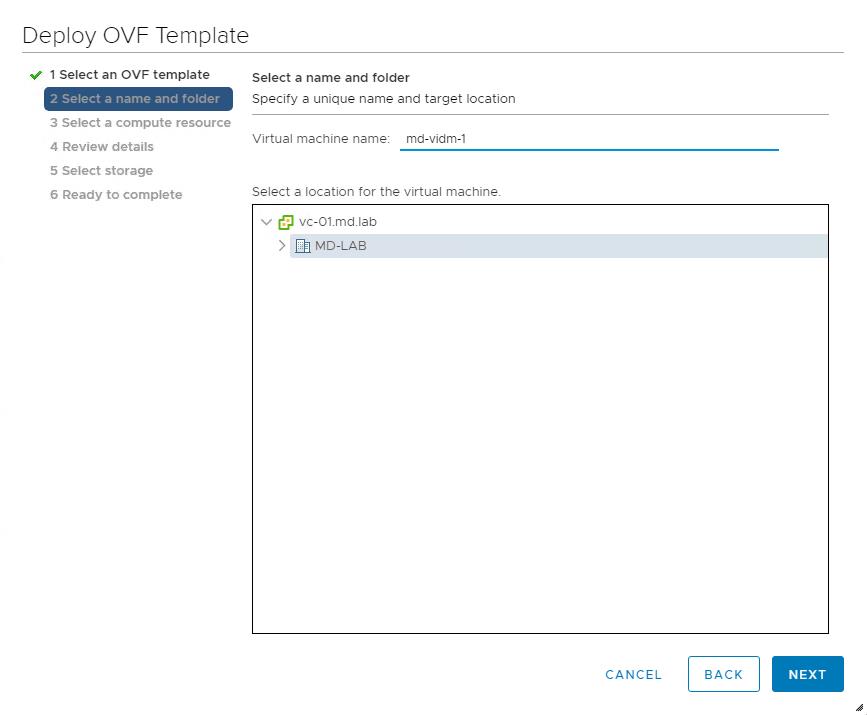
Specify the Name for the VIDM virtual machine and select the location to deploy the virtual machine. Click Next.
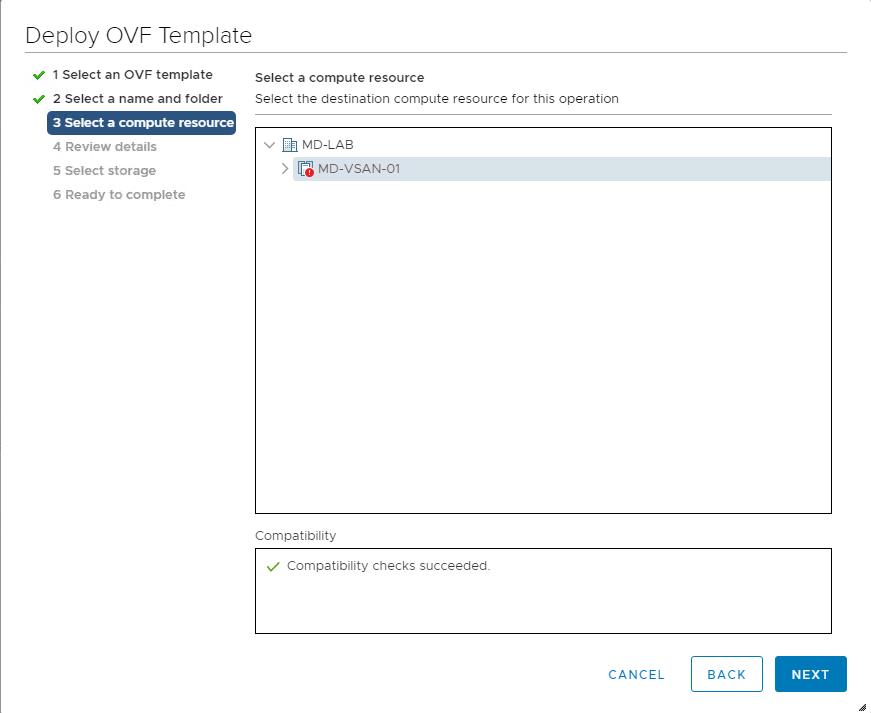
Select the destination to compute resources for the deployment. Click Next.
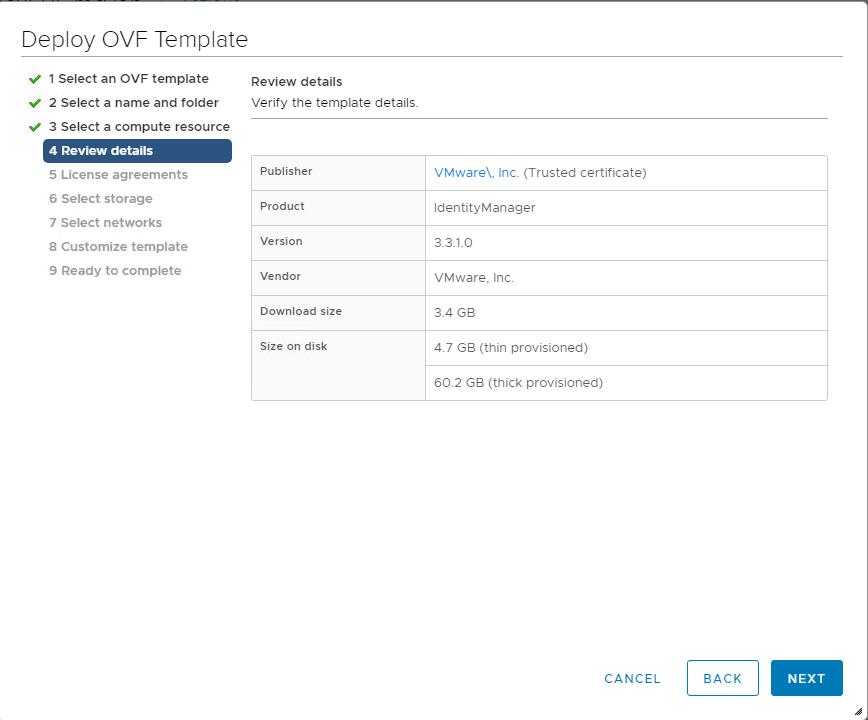
Review the template details of VMware Identity Manager OVA and click Next.
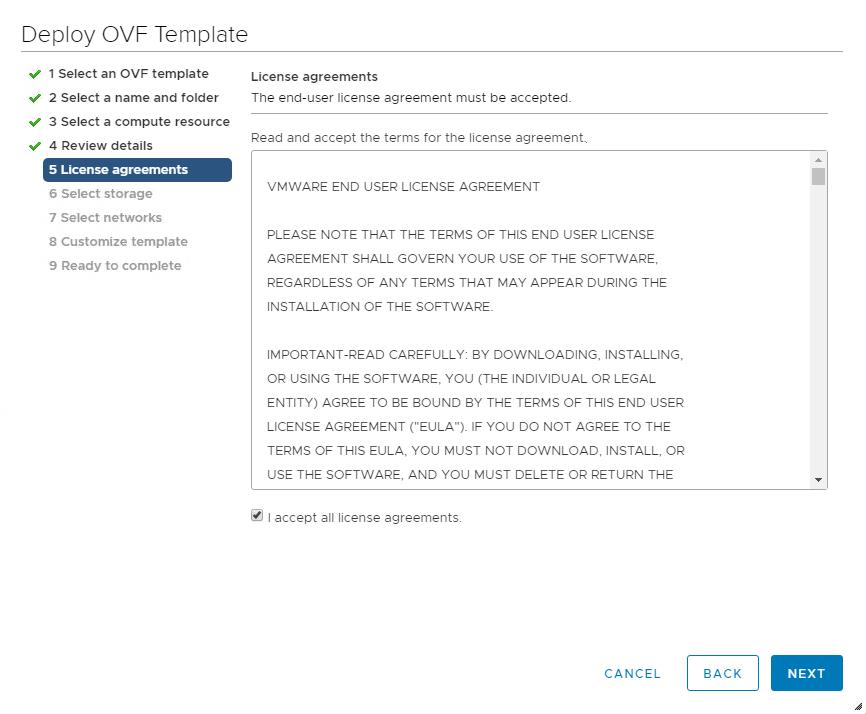
Accept the End-user license agreement and click Next.
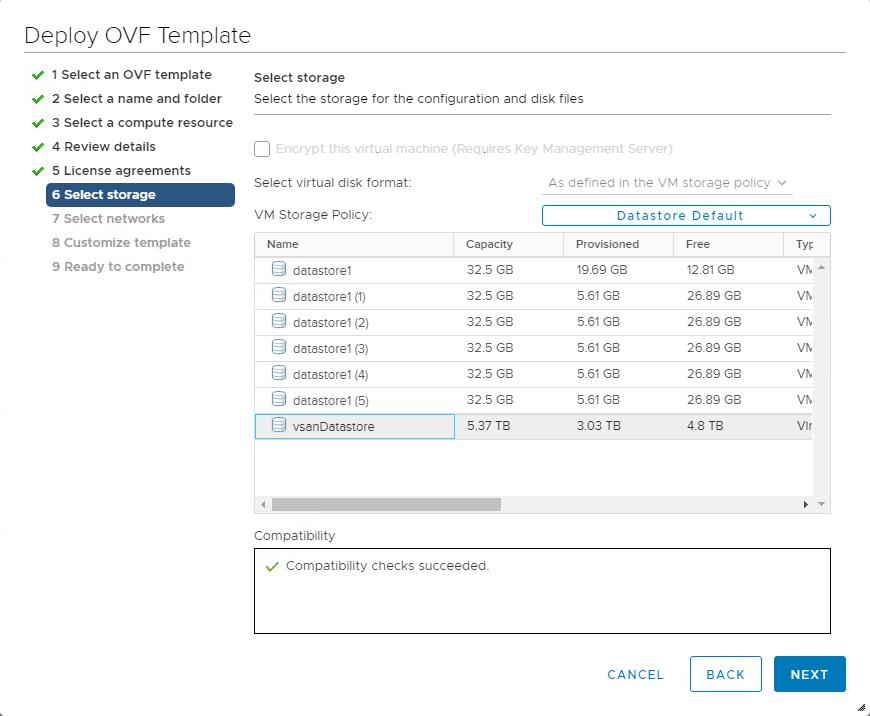
Select the Datastore location to deploy the VIDM VM and click Next.
Select the destination network “Port Group” from the drop-down to connect to the Mgmt network for VIDM. Select the IPV4 for IP protocol. Click Next.

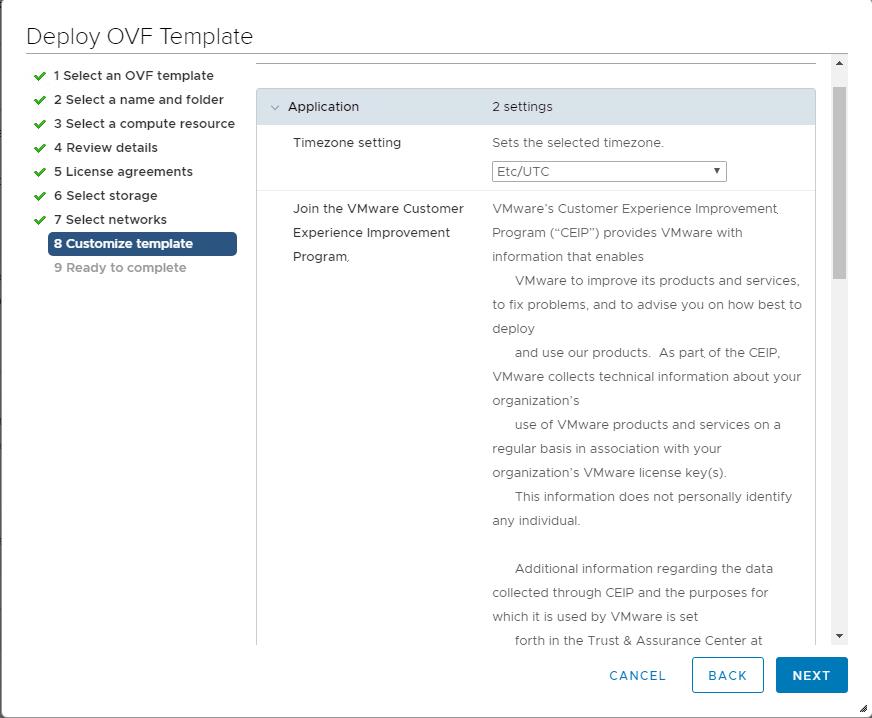
Select the TimeZone from the drop-down based on your organization policy. Scroll down to configure the more settings.
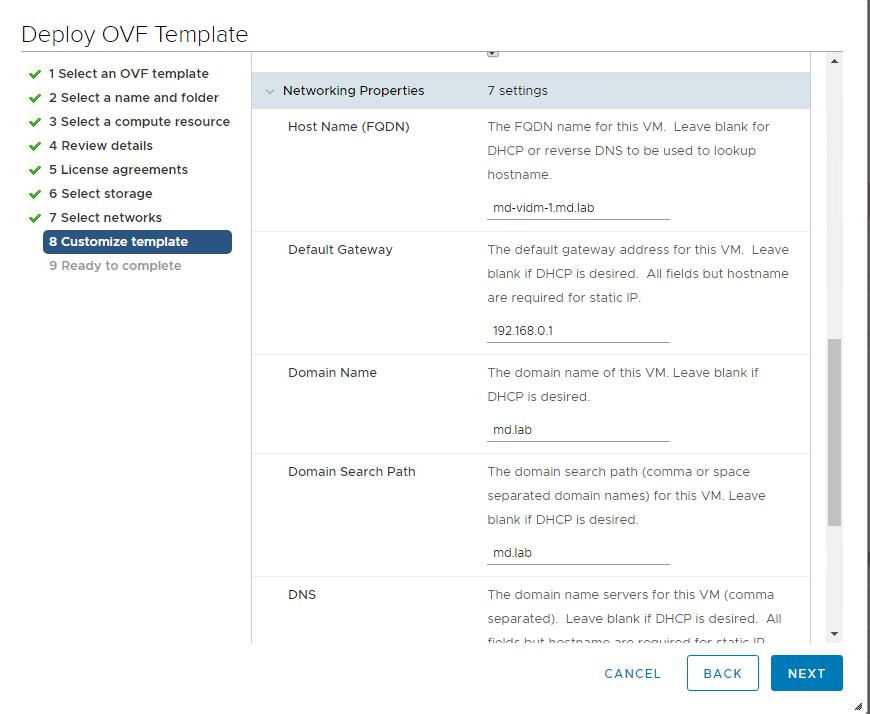
Specify the HostName (FQDN), Default Gateway, domain name, the domain search path, and IP settings. Click Next.
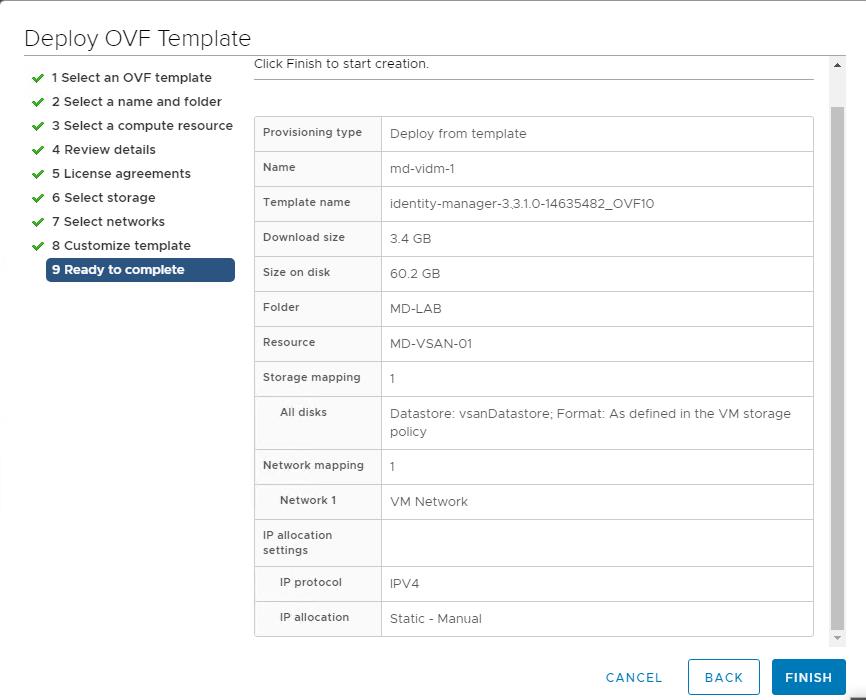
Review all the selected settings and click Finish to start the VIDM VM deployment.
Once the VMware Identity Manager VM is deployed. The deployment will Power on the identity Manager VM. You can validate the server boot up from the VM console.

Initial configuration of VMware Identity Manager
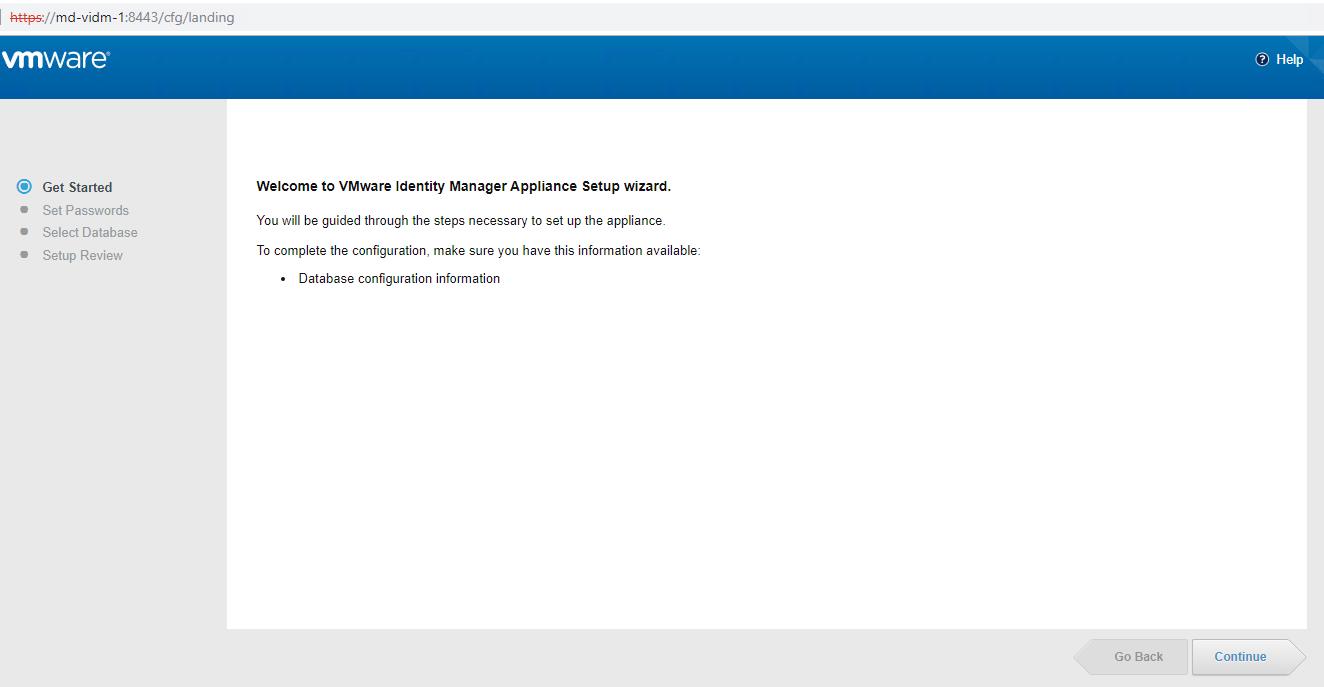
After the VM deployment, we need to perform the configuration of the VMware Identity Manager appliance. To access the VIDM appliance setup wizard. Open up the web browser and type https://<dns-name of vidm-Manager>:8443
In the Welcome Page of VMware Identity Manager Appliance Setup wizard, click Continue.
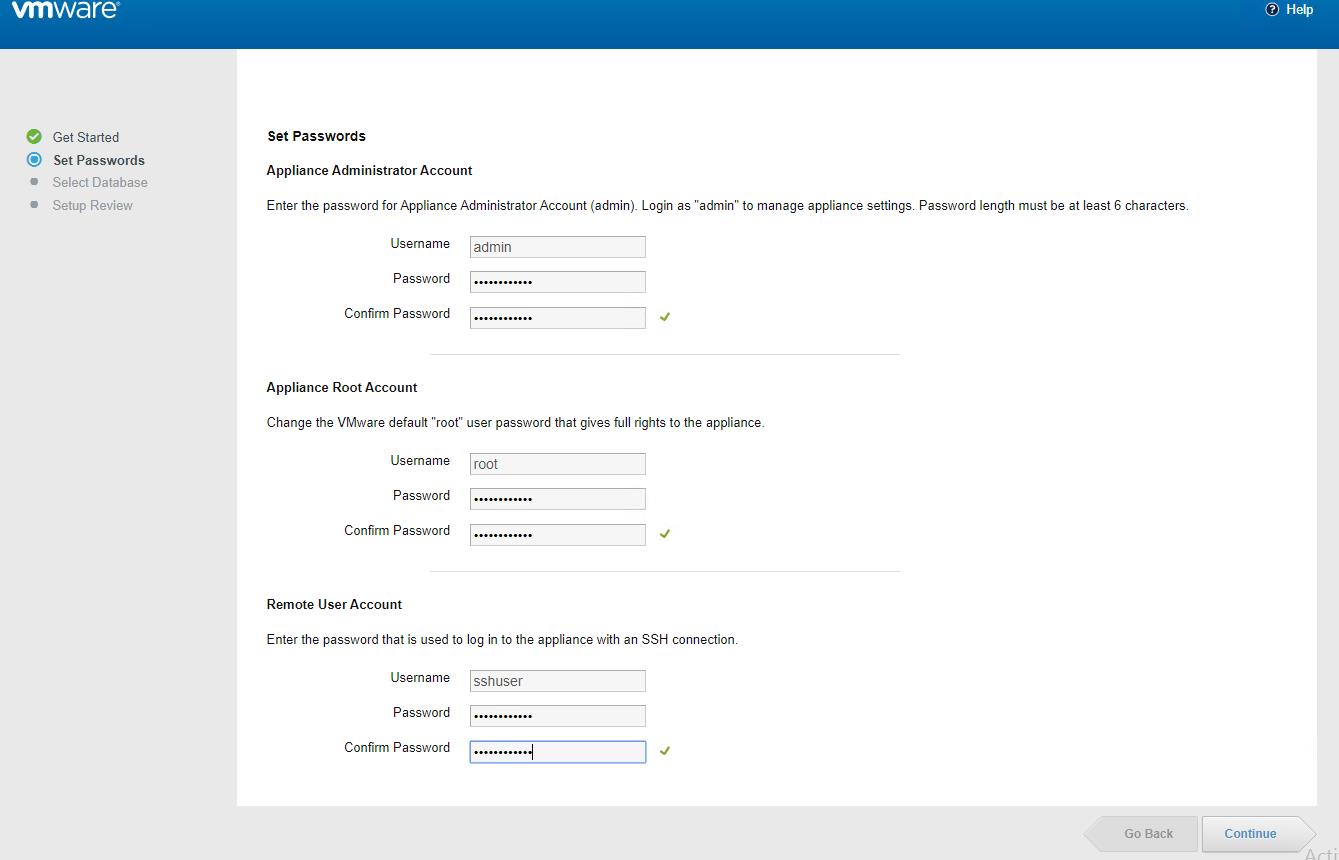
Set the passwords for the user accounts “admin”, “root” and “sshuser”. Click Continue.
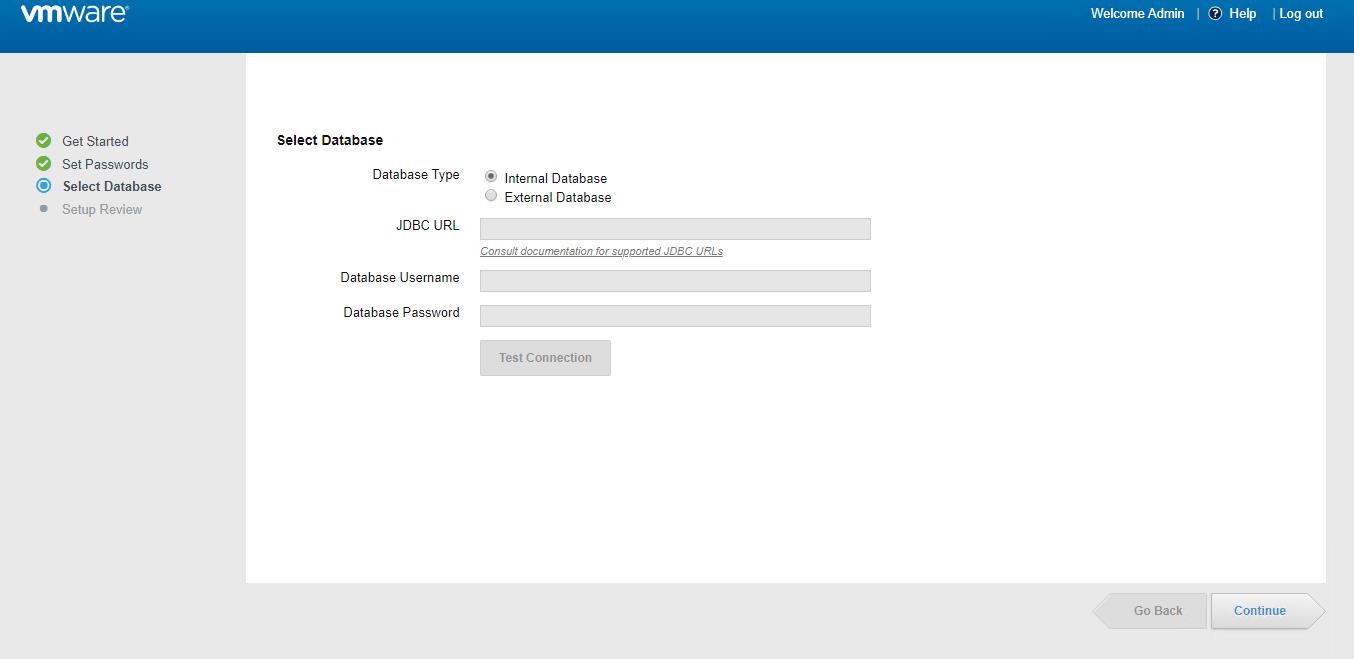
There are two database type is supported both internal and external databases. The internal database will be similar to the embedded database. In this lab setup, I have selected the Internal Database and click Continue.
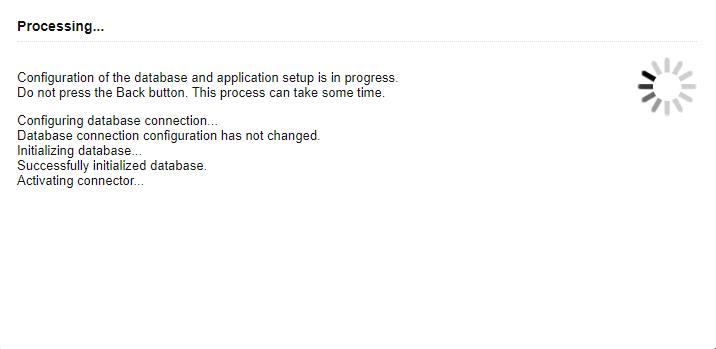
It will take few minutes to complete the configuration of the database and application.
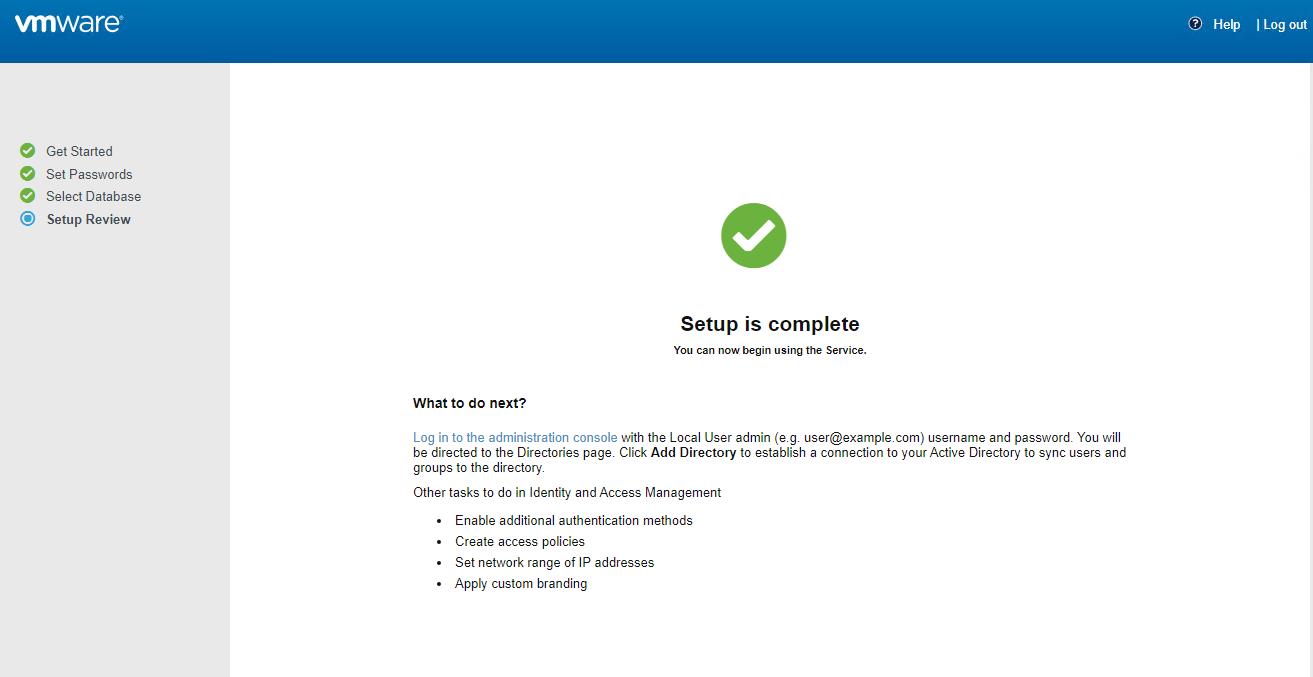
The initial configuration of the VMware Identity Manager is completed.
After the initial setup, Login to VIdm administrator console with the “admin” user account to configure the identity and access management.
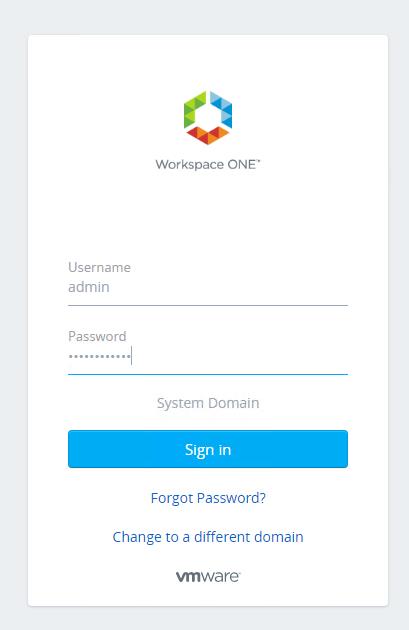
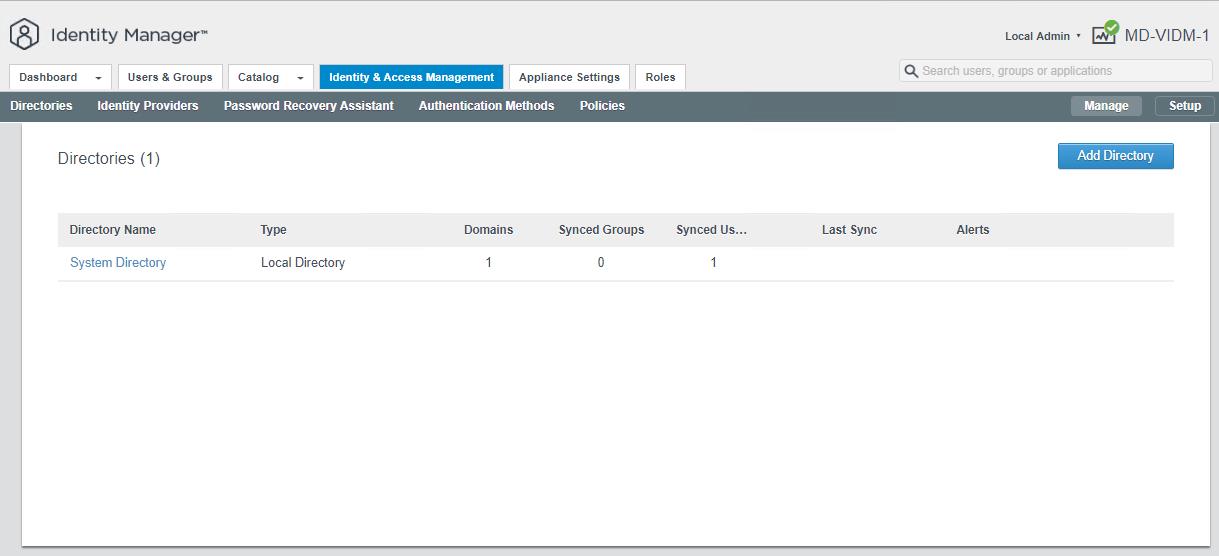
We have logged into the Identity Manager administrator dashboard.
That’s it. We are done with the deployment and initial configuration of the VMware Identity Manager appliance. In the upcoming article, we will discuss in detail about how to integrate VMware Identity Manager with Active directory. I hope this article is informative for you. Thanks for Reading!!!. Be social and share it with social media, if you feel worth sharing it.