

Once we are done with the installation and configuration of the Microsoft Hyper-V Server 2016, It is very important to enable remote management in the Microsoft Hyper-V server to allow the server to be able to be managed remotely. Remote Management is very important in managing and troubleshooting Microsoft Hyper-V. This article will help you understand the procedure to enable Remote Management features of Microsoft Hyper-V Server 2016. In Hyper-v 2016 Server, There is no GUI and most of configuration and administration needs to configured either via command line or via Powershell. Most of the windows administrators will not be comfortable in managing the server using command lines. For that administrator, You need to Enable Remote Management in the Hyper-V Server. Once you enabled, Hyper-V server remotely managed via Hyper-V Manager, Computer Management and even disk management remotely.
Enable Remote Management in the Hyper-V Server
Login to the Hyper-V server with administrative credentials. Sconfig.cmd will be automatically opened after the login. Enter number “4” to configure the Remote Management of the Hyper-V Server.
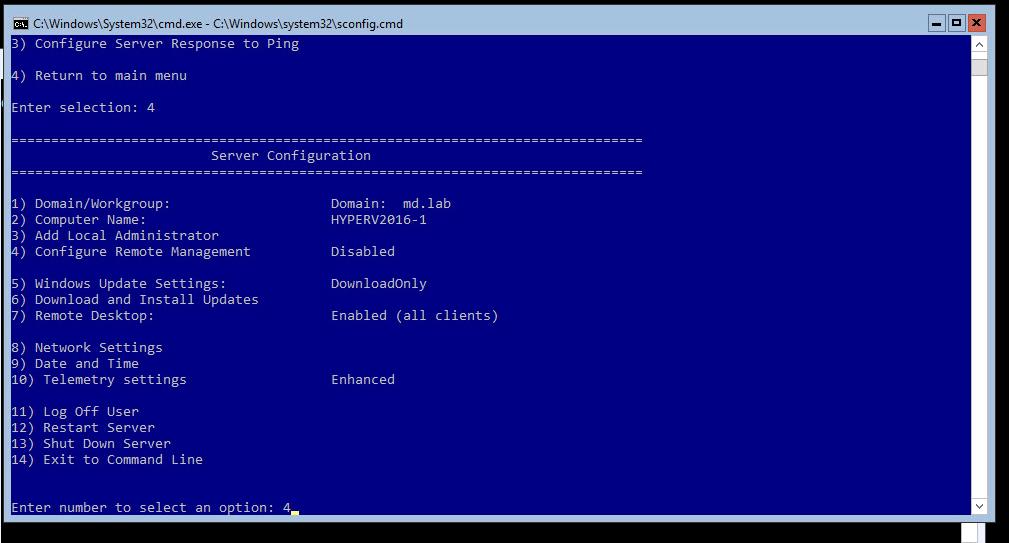
- Enable Remote Management
- Disable Remote Management
- Configure Server Response to Ping
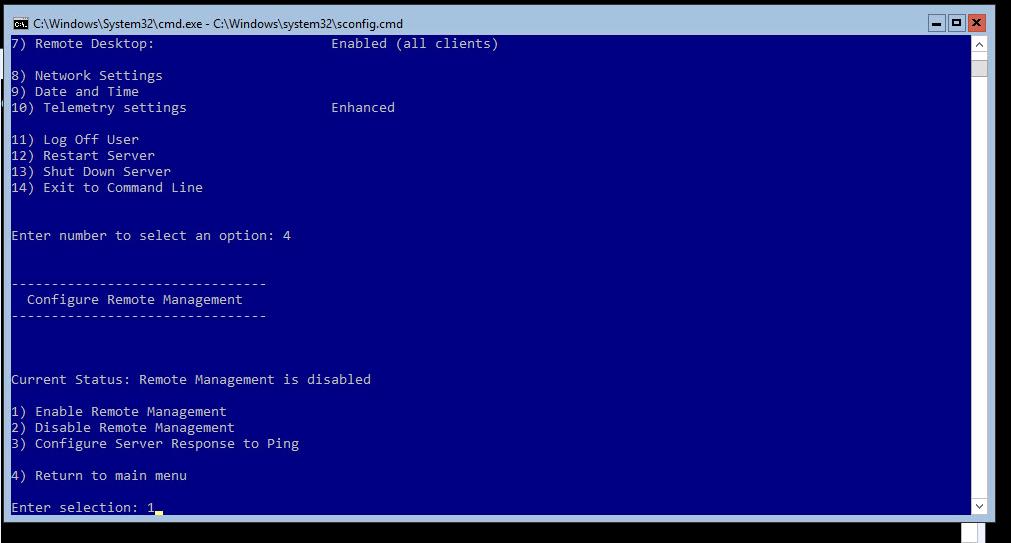
To Enable, Enter number “1” to enable the Remote Management of Hyper-V server.
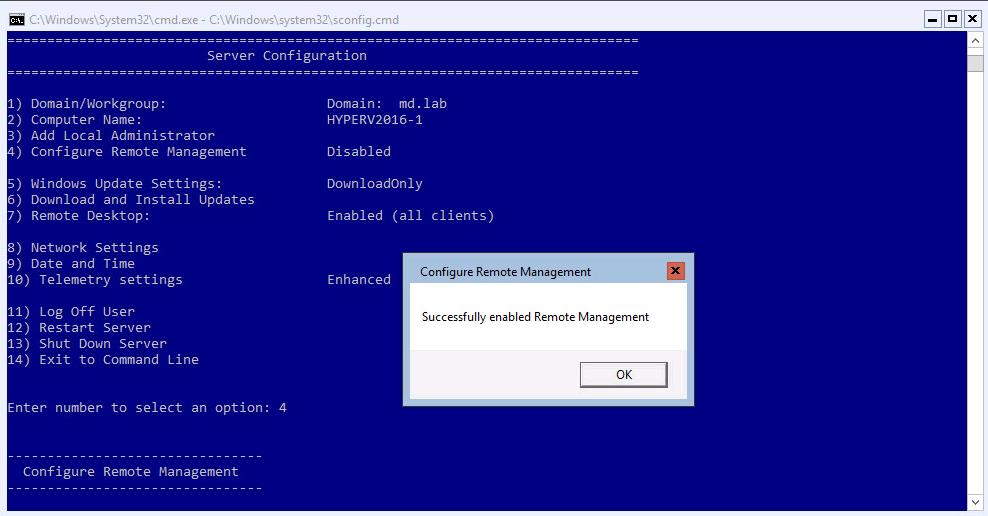
 Popup “Successfully enabled Remote Management” will appear after enabling the remote management of Hyper-V 2016. Click on Ok.

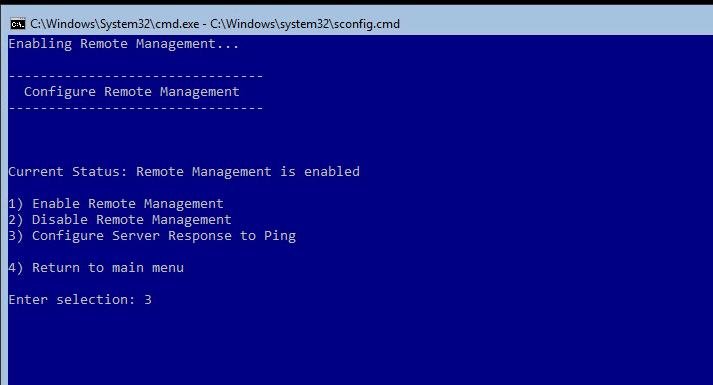
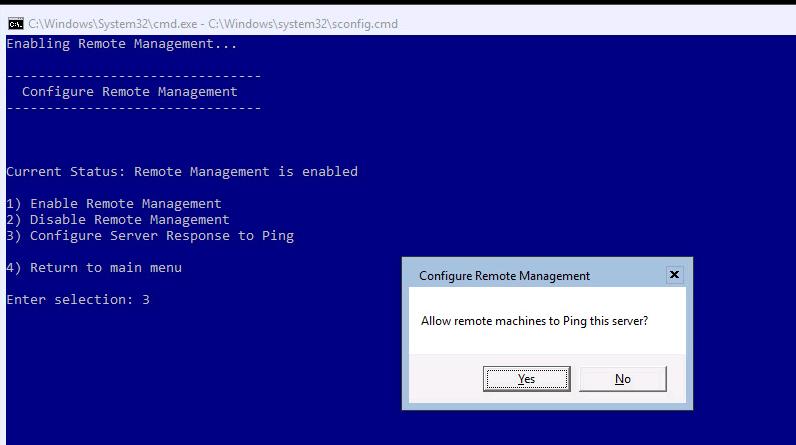
Until you enable the Server Response to Ping, the Hyper-V Server will not be reachable via ICMP ping. So We need to enable the Server response to ping. To enable Ping, Enter number “3” and Hit Enter.

Popup “Allow remote machines to Ping this server” will appear. Click Yes to enable the Ping response.

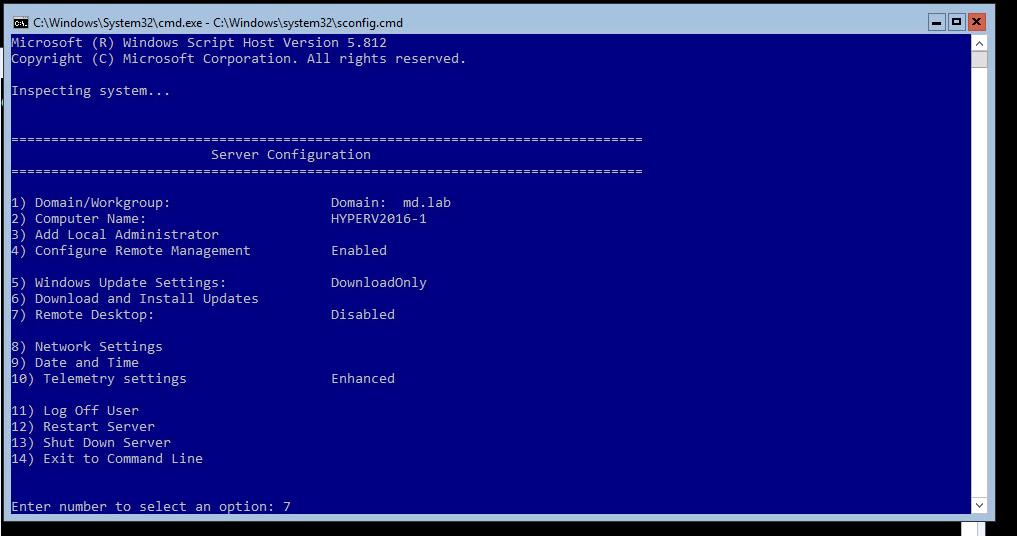
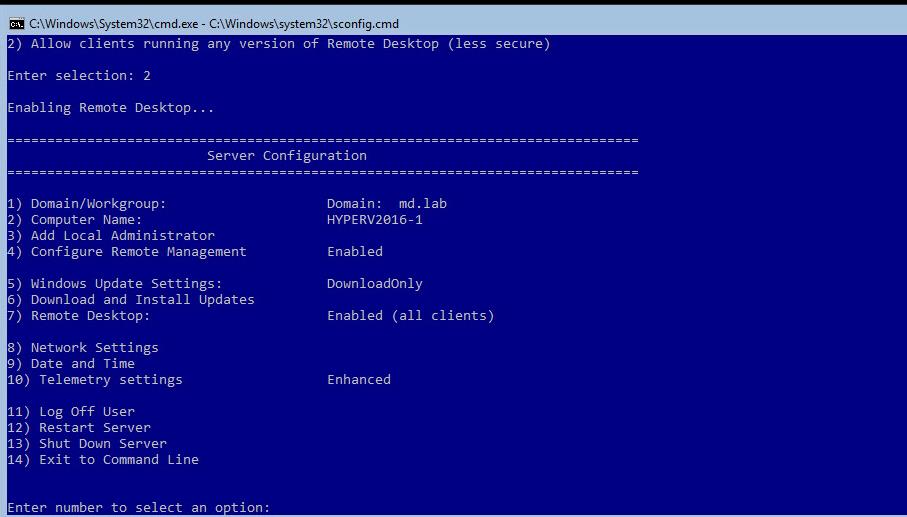
You can also enable the Remote desktop of Microsoft Hyper-V 2016 using “SConfig.cmd”. To enable Remote desktop, Enter number “7” and Hit Enter
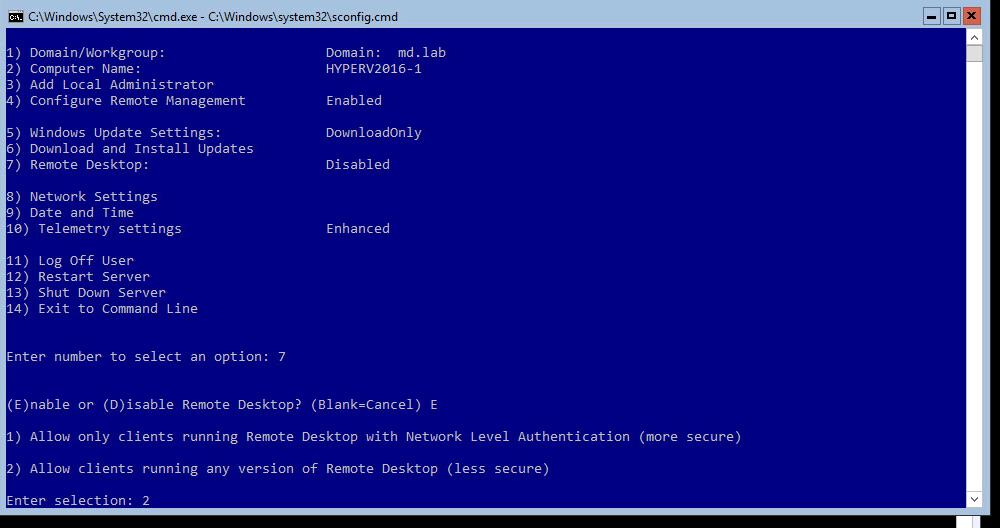
The current status of remote desktop settings is displayed on the screen. Enter “E” to enable the Remote desktop and “D” to disable the remote desktop.
You can configure the following Remote Desktop settings by accessing the Remote Desktop main menu option and following the instructions on the screen.
- Enable Remote Desktop for Clients running Remote Desktop with Network Level Authentication (More Secure)
- Enable Remote Desktop for clients running any version of Remote Desktop
Depend on your requirement, You can choose either 1 or 2.

That’s it. We are done with configuring Remote Management and Remote desktop of Microsoft Hyper-V Server 2016. We will discuss lot more about Hyper-V 2016 in the upcoming posts. I hope this post is informative for you. Thanks for Reading!! Be social and share it in social media, if you feel worth sharing it.