In my previous post of File integrity monitoring Series, We have discussed about Cimtrak Master repository installation. This post talks about cimtrak management console and its installation procedure. The CimTrak Integrity Suite includes a Management Console which features a Graphic User Interface (GUI) that allows Administrators the capability to manage and configure the application from a separate Administrator management workstation within the network. The Management Console supports the selection of files and configurations on attached components to “lock” and configure an action to take in the event a change is detected. This acts as a front end of file integrity monitor. The Management Console provides access to a series of reports that detail changes made based on a series of saved baselines stored in the Master Repository. This capability can be used to superimpose changes over the stored baselines to immediately identify what aspects of the “locked” file were changed.
Cimtrak File Integrity Monitor – Cimtrak Management Console Installation
Cimtrak master repository can be installed either on windows or linux platform but cimtrak management console can only be installed on windows platform. Cimtrak management console allows you to perform file integrity monitor your ESXi host. Download the cimtrak 30 days trail and navigate to the downloaded location. Run the installer file “setupWin32.exe” to begin the installation of cimtrak master repository.


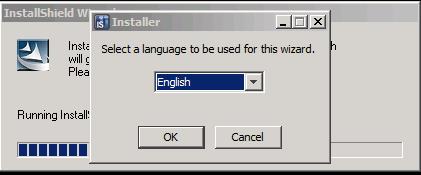
Please select the preferred language for the installation process from the drop down and then click “OK” to continue the CimTrak Installation Wizard.

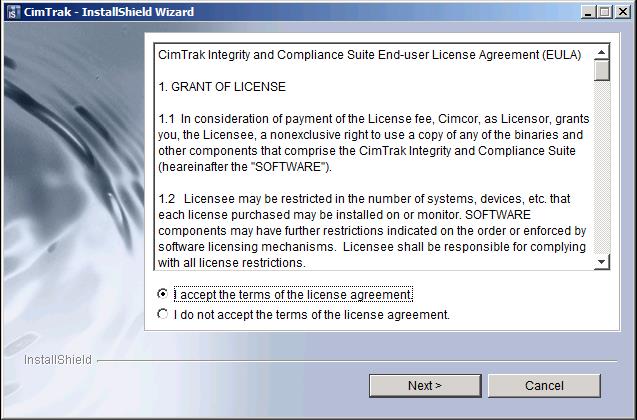
Click on “I accept the terms of the license agreement” radio button to accept the license agreement and click on “Next”.

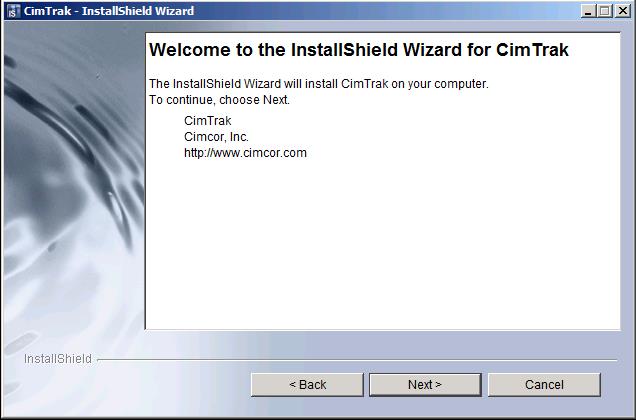
In the welcome screen of Install shield wizard for cimTrak, click on next to continue.

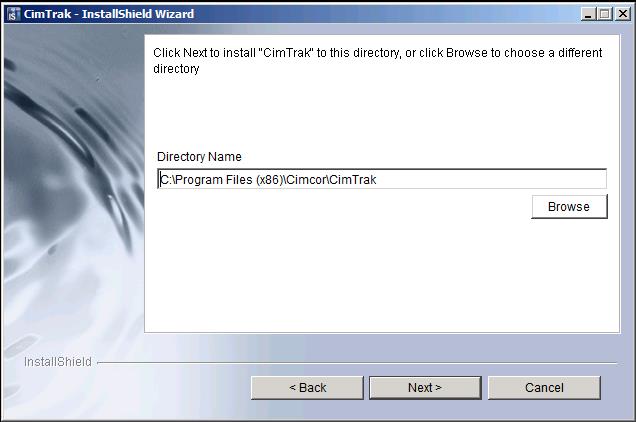
CIMCOR recommends leaving the installation path as its default to facilitate with any future support needs or product update requirements. Changing the installation directory is possible by either manually typing the installation directory path in the “Directory Name” text box or graphically selecting the installation location by clicking the “Browse” button

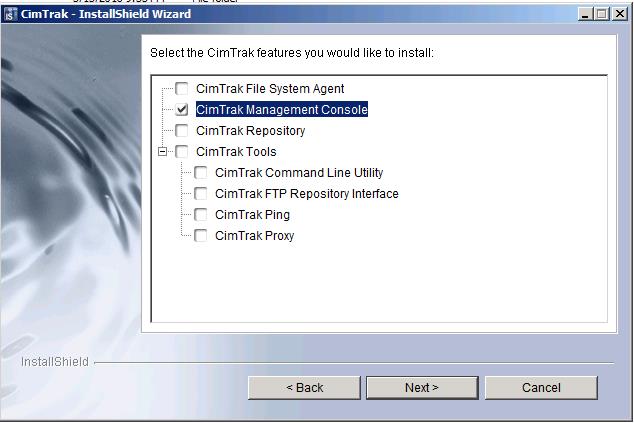
In the cimtrak features like, select “cimtrak Management” to begin the installation of cimtrak management console and click on “Next”. CIMCOR recommends installing the File System Agent, Master Repository, and Management Console on separate systems. However, it is also possible to install all the components on a single system

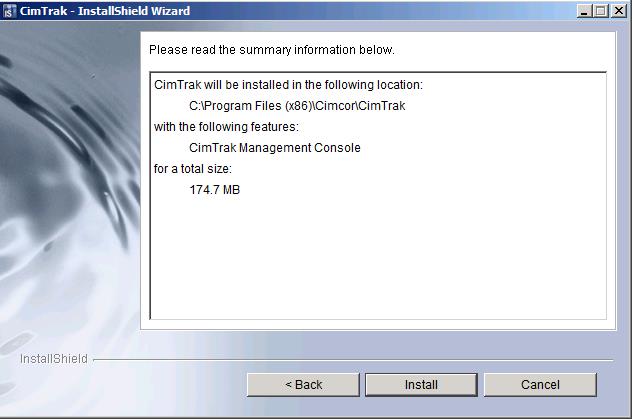
Read the installation summary and click on “Install” to proceed with the installation.

Cimtrak management installer will install .NET framework 2.0. Uninstalling the .NET Framework on the server in which management console is installed will prevent the Management Console from launching.


Once installation is completed, Click on Finish to close the installation wizard of cimtrak management console.


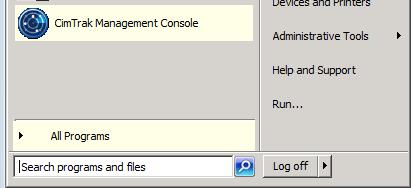
Once installation is completed, Go to Start and click on “CimTrak Management Console” to launch it.

Cimtrak management will be launching and it shows the build version of management console.


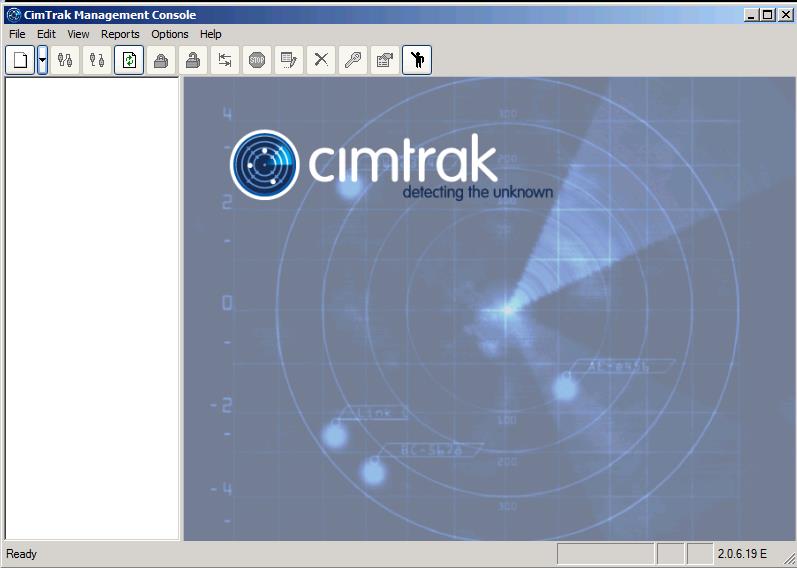
Cimtrak Management console is loaded. we need to add the master repository to the management console to start configuring our file integrity monitor. we will perform this steps in upcoming posts.

That’s it. we are done with the installation of CimTrak Management console which will help you to manage your file integrity monitor. We will discuss about initial configuration of cimtrak integrity suite using management console in upcoming posts. I hope this is informative to you. Thanks for Reading!!. Be social and share in social media like google+, facebook and twitter, if you feel worth sharing it.