VMware Arena

vCloud Automation Center (vCAC 6.0) Installation Part 3 – Deploy VMware Identity Appliance

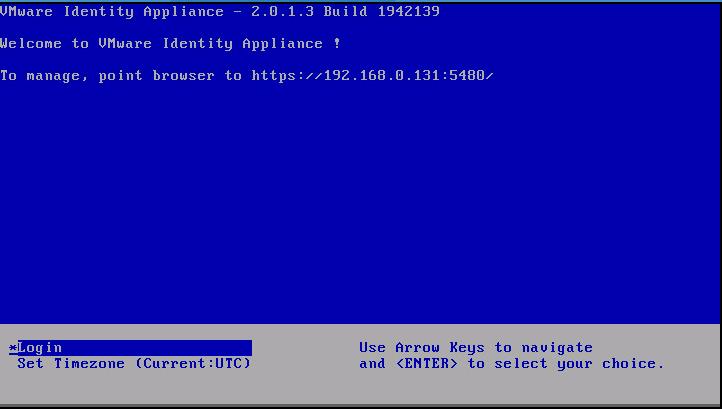
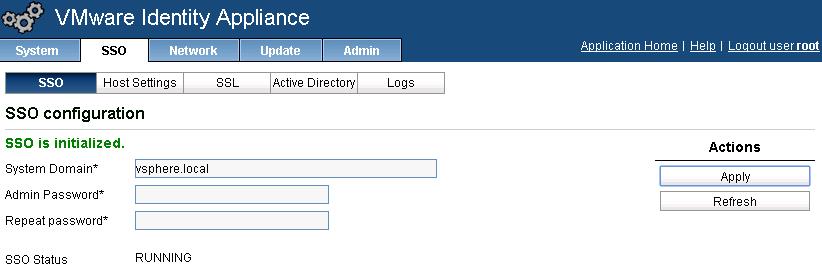
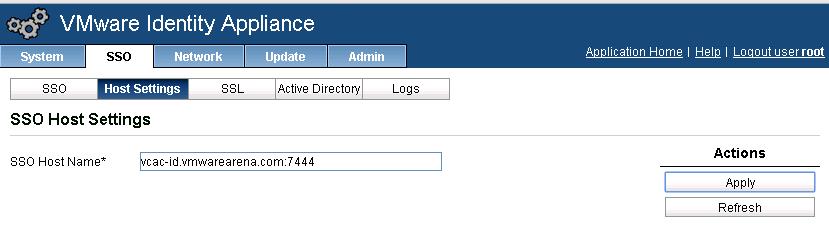
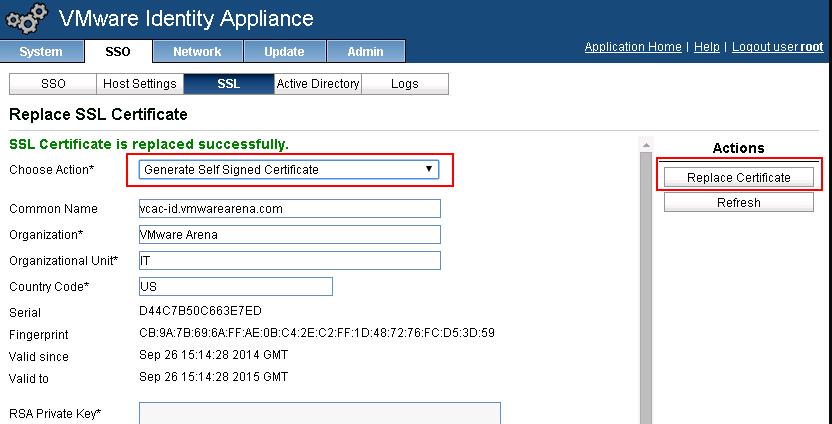
First Step before deploying vCloud automation Center vCAC (6.0) is deploying VMware Identity Appliance.VMware Identity Appliance provides single sign-on (SSO) for vCloud Automation Center. Multiple instances of Identity appliance can be deployed for availability purposes.You can use the SSO services from the VMware vCenter ™deployment, if you are running vSphere 5.5 Update 1. Identity appliance is not a mandatory requirement. You can use the existing SSO which should be vSphere 5.5 Update 1.With single sign-on (SSO), Active Directory users who are granted access to the vCloud Automation Center portal can log in l with their AD credentials.The Identity Appliance can be deployed using OVA (Open Virtualization Format).

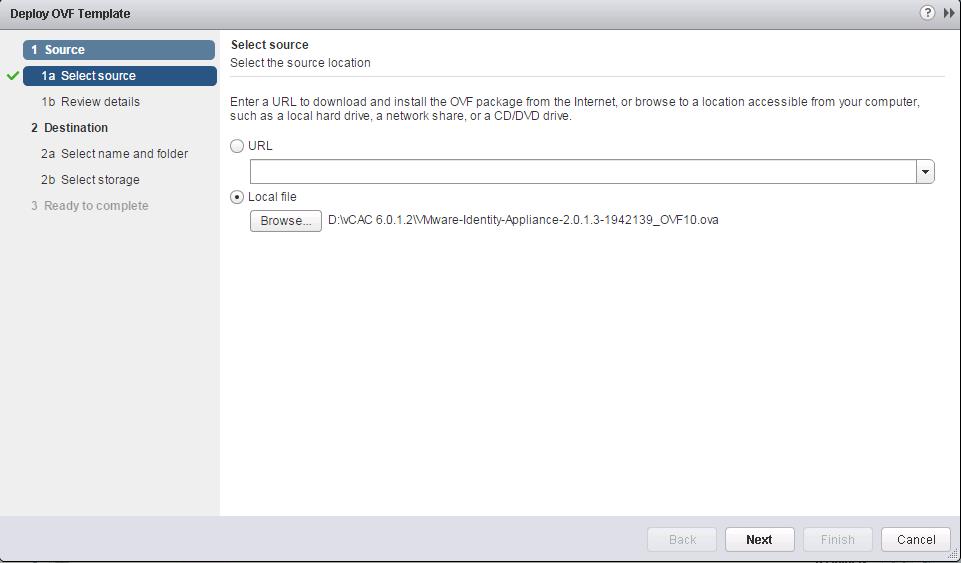
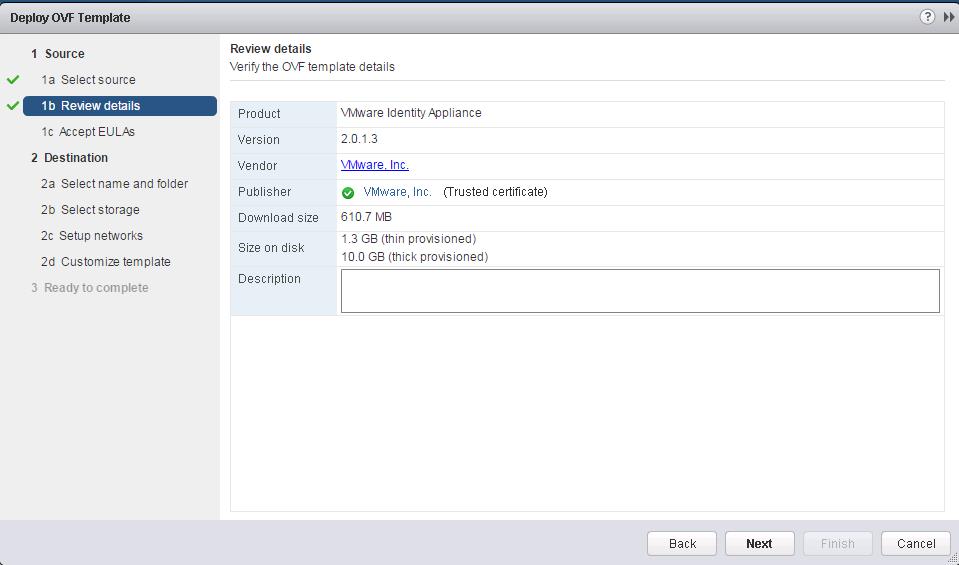
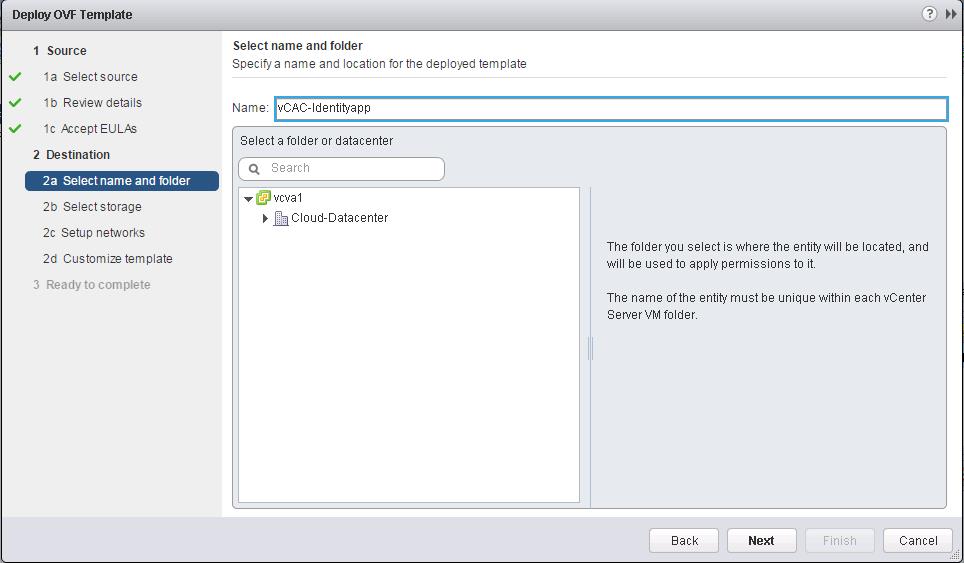
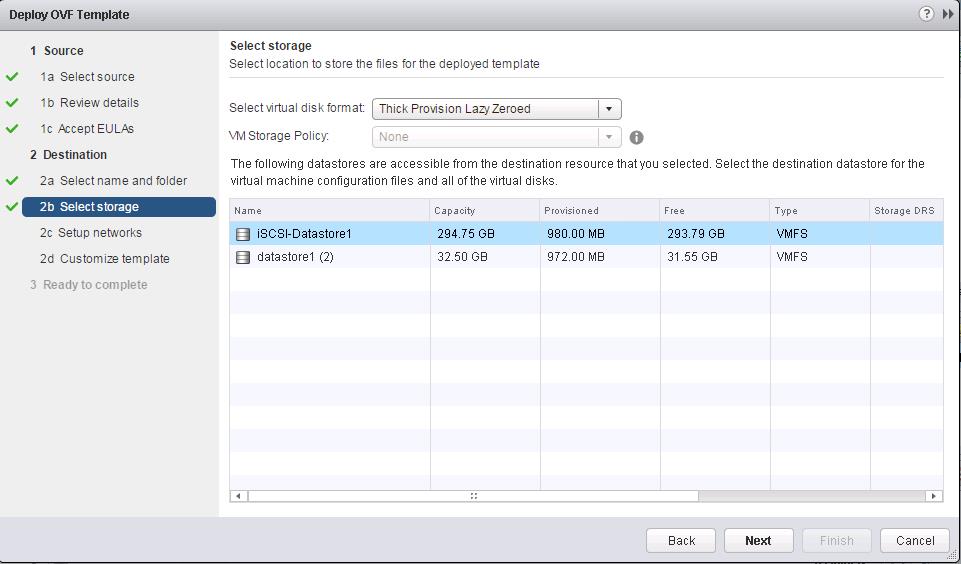
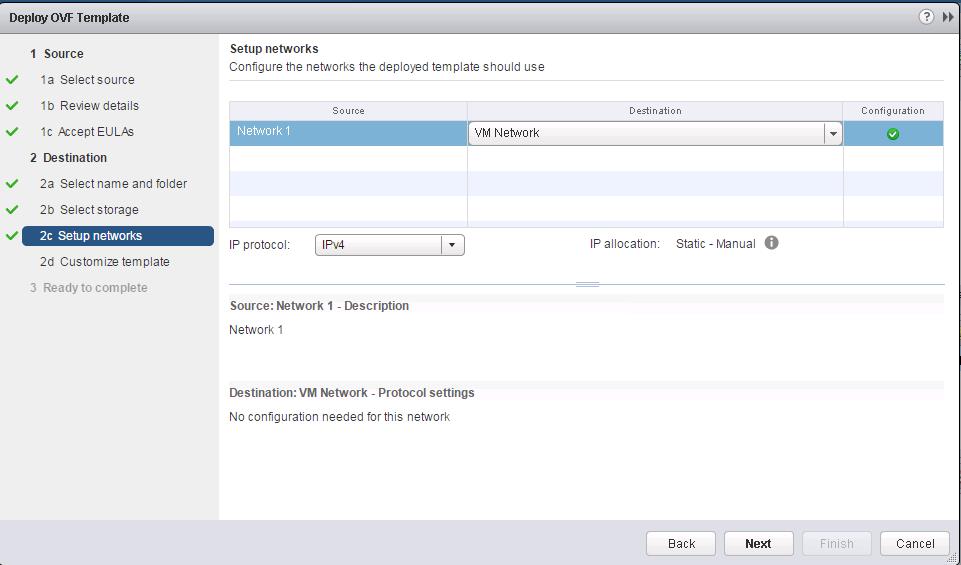
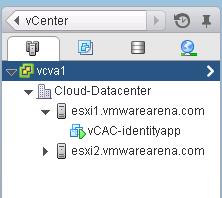
Ensure you have downloaded  vCAC ID Virtual Appliance (SSO) from VMware Website. Connect your vCenter Server using vSphere Web Client. Right-Click on the Cluster where you want to deploy the vCAC ID appliance and Select “Deploy OVF Template”.  and browse towards the directory of vCAC ID appliance OVA file.
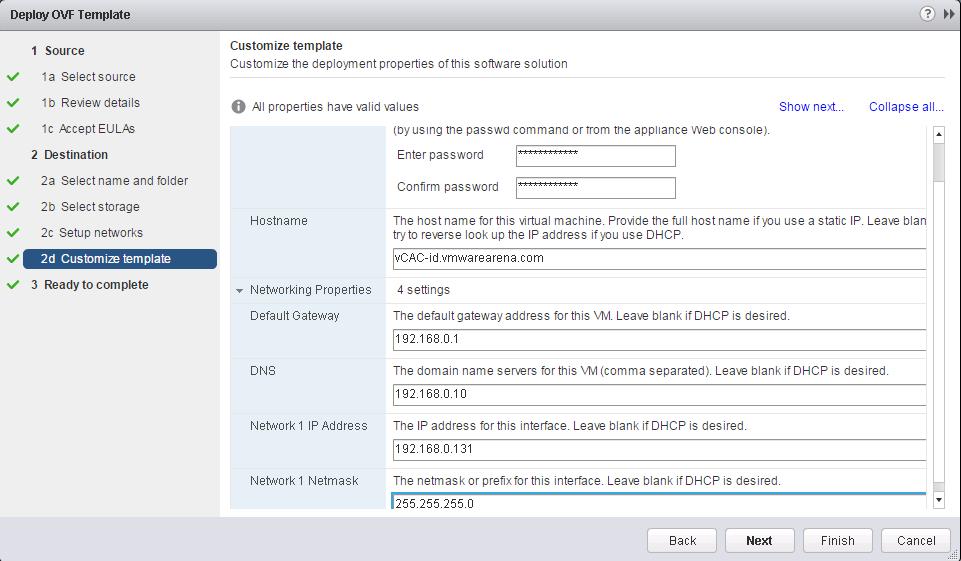
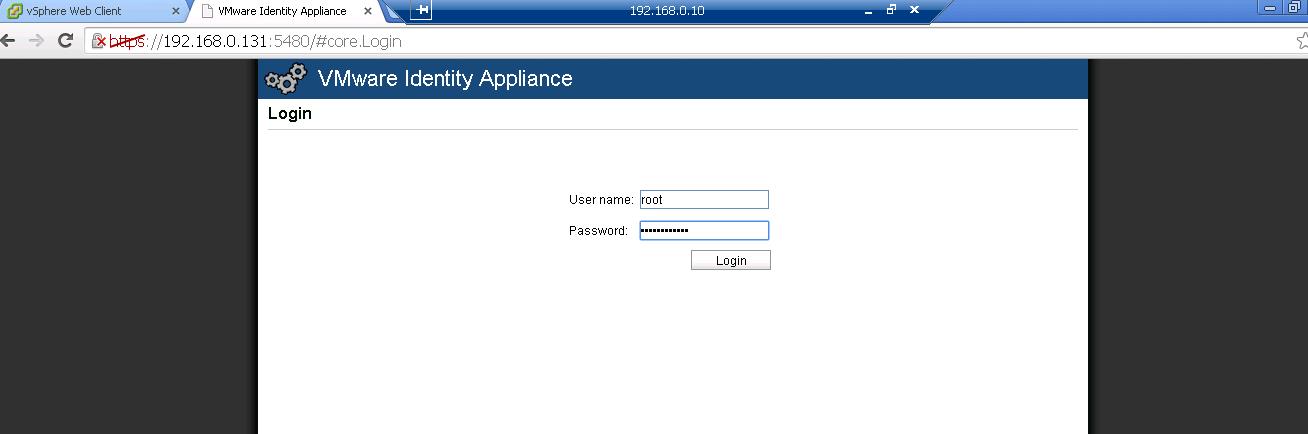
Verify the Product name and Version to ensure you are deploying the appropriate version of VMware Identity Appliance and Click on Next.

Click on “Accept” to accept the end user license agreements and click on Next to continue.

Specify the Name and Location for the Identity Appliance and Click on Next.

Select the  Virtual Disk Format and Datastore location to place the identity appliance. Click on Next.

Select the PortGroup from the Drop-down to connect the network for the identity appliance and Click on Next.

Enter the Below details to customize the deployment properties of Identity appliance and Click on Finish to start the  Identity Appliance deployment.

Once Identity Appliance Deployment is completed. You will be able to see the Identity appliance VM under the specified cluster with IP address and hostname configured during the deployment.

Open the VM Console of the Identity Appliance VM to ensure it is properly booted and note down the URL of the Identity appliance admin page URL. Default URL is https://<IP of ID Appliance>:5480

Access the Identity appliance Admin Page using the URL ” https://<IP of ID Appliance>:5480 ” and Login with root and credentials specified during the OVF deployment.

Click on Admin tab and Select Time Settings. It is recommended to keep your time synced with NTP server.  Enter the Time server details and click on Save Settings.

Click on System and Select the System Time Zone from the drop down and click on Save settings.

Configure the SSO by entering the password for the SSO system domain “vsphere.local” and click on Apply. Ensure that SSO status is changed to “Running”.

In the host settings tab, type FQDN of identity appliance and append SSO port 7444 to host name, In My case, vcac-id.vmwarearena.com:7444 and click on Apply.Generate the Self signed Certificate or import the Signed Certificate. Select General Self Signed Certificate from the Choose Action drop down menu and click on Replace Certificate. Ensure Status is changed to SSL Certificate is replaced successfully.


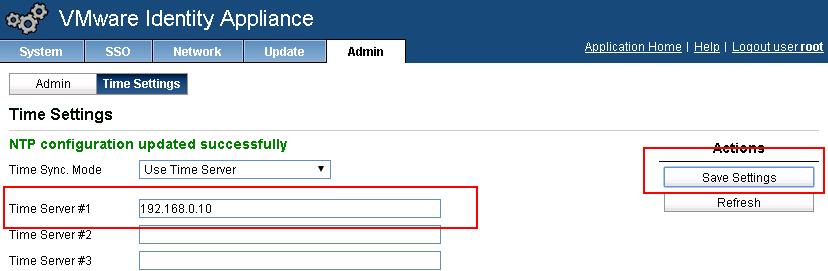
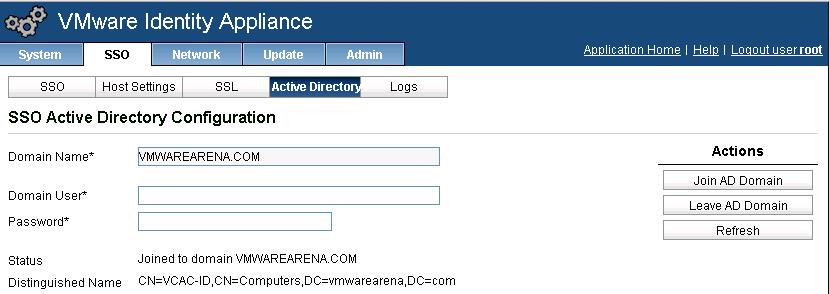
Configure the Active Directory authentication  under SSO Tab -> Active Directory. Enter the Domain Name , Domain credentials and click on “Join AD Domain” to join the VMware Identity appliance to Active Directory.

Thats’it. We are done with configuring VMware Identity Appliance and we are now ready to deploy vCAC appliance. I hope this is informative for you. Thanks for Reading !!!. Be Social and Share it in Social Media, if you feel worth sharing it.


Exit mobile version