

In this post, we will talk about how to configure Nakivo Backup & Replication Transporter. The Transporter is the product component that does all of the heavy-lifting: it performs backup, replication, and recovery, as well as data compression, deduplication, and encryption. The transporter is also responsible for backup repository. Each backup repository must have an assigned transporter.After you have installed a Transporter, you need to add it the product so the Transporter can be used for backup, replication, and recovery tasks.
Configure Nakivo Backup & Replication Transporter
- Login to Nakivo Backup & Replication web console. Click Configuration in the upper right corner of the product.
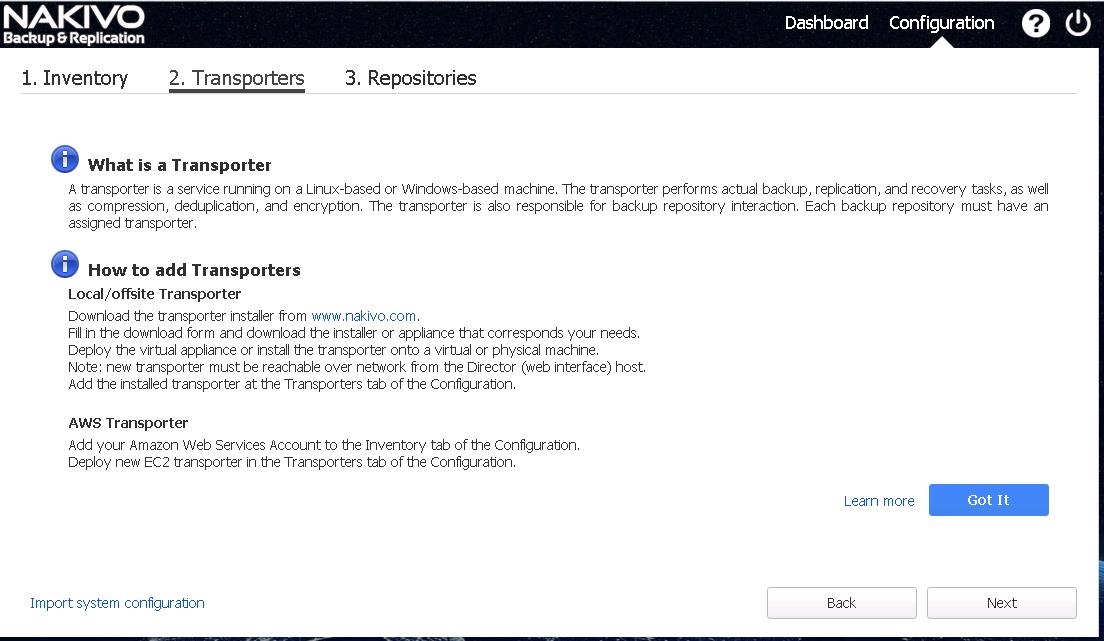
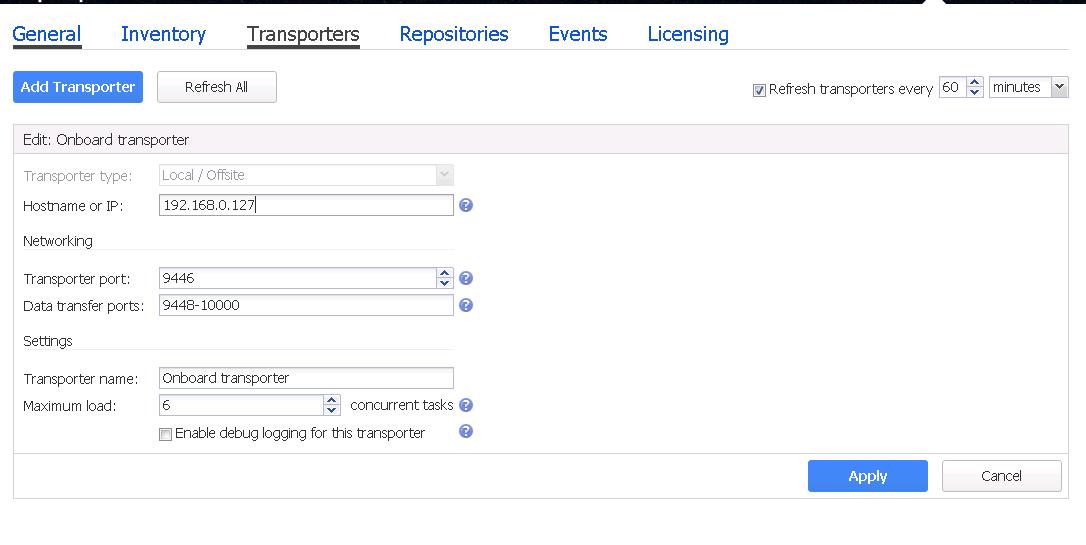
Go to the Transporters tab and click Add Transporter to add existing transporter. Fill out the fields as described below:
- Transporter type: choose Local/Offsite from the drop-down list
- Hostname or IP: Specify the IP or hostname of the machine where the Transporter is installed.
NOTE: If you are adding the Transporter by a DNS name, make sure this DNS name can be resolved on the machines where the Director and any other Transporters (which you plan to use in conjunction with the current one) are installed.
- Transporter name: Specify a display name for the Transporter.
- Port: Specify the port number that will be used to connect to the Transporter.
- Data transfer ports: Specify a range of port numbers (from 1 to 65535) that will be used to transfer data. The range you specify should contain at least 100 ports. Make sure that the ports you specify are open in your firewall.
- Maximum load: Specify the maximum number of tasks that the Transporter should process simultaneously. A task, for example, is a backup or replication of a single VM disk, or one granular recovery session.
- Enable debug logging for this Transporter: Enables debug level logging for the current transporter. It is not recommended to use this option on a permanent basis.
Once all the information are entered, Click on Apply.
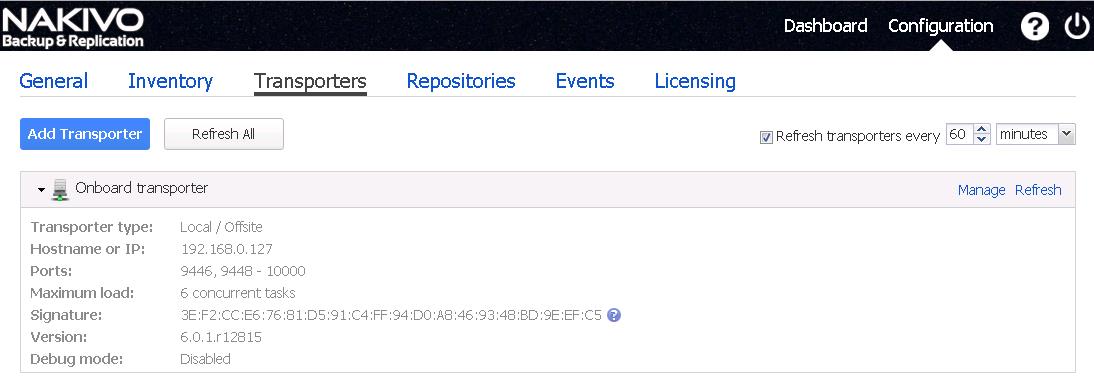
 The Transporter is added to the product and can be used for backup, replication, and recovery.
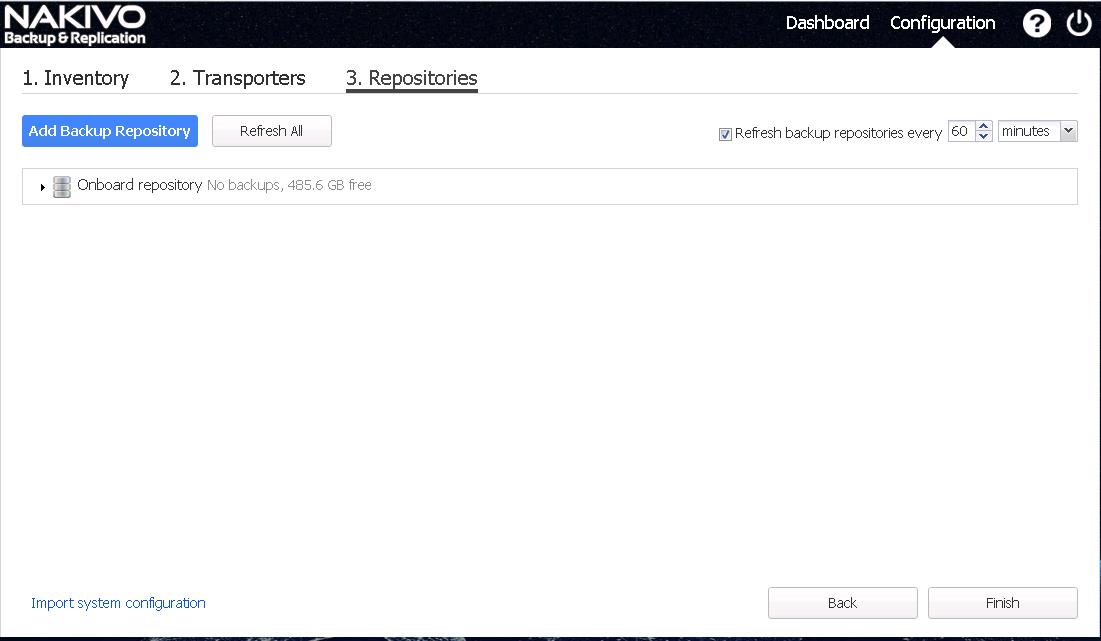
Additionally you can also add backup repository. Since I have already one created during the appliance deployment, I am not going to add further backup repository into my lab. To add backup repository, Login to Nakivo Backup & Replication web console. Click Configuration in the upper right corner of the product. Click on Add Backup Repository to add one.
That’s it. we understand how to configure to Nakivo backup & repository v6 Transporter and Backup repository. I hope this is informative to you. Thanks for Reading!!! Be social and share it in Social media, if you feel worth sharing it.