

In our previous posts in the NSX-T series of posts, we have discussed deploying the first NSX-T unified appliance and added vCenter server as NSX-T compute manager. To have the high availability of NSX-T Manager, It is recommended to have 3 NSX-T managers node. We have deployed the first NSX-T Manager manually using the OVF file from the vSphere client. We need to deploy the remaining two nodes of the NSX-T Manager cluster on the management cluster to form the high available NSX-T Manager cluster. Once the vCenter server is added as a compute manager, we can directly deploy additional NSX-T Mangers from the NSX-T Manager UI. No need for Manual OVF deployment as we did for the first node. In this article, we will discuss how to deploy Additional NSX-T Managers from NSX-T UI.
Deploy Additional NSX-T Managers
Login to NSX-T Manager UI using admin credentials. Click System ->Overview -> Appliances -> Add Nodes

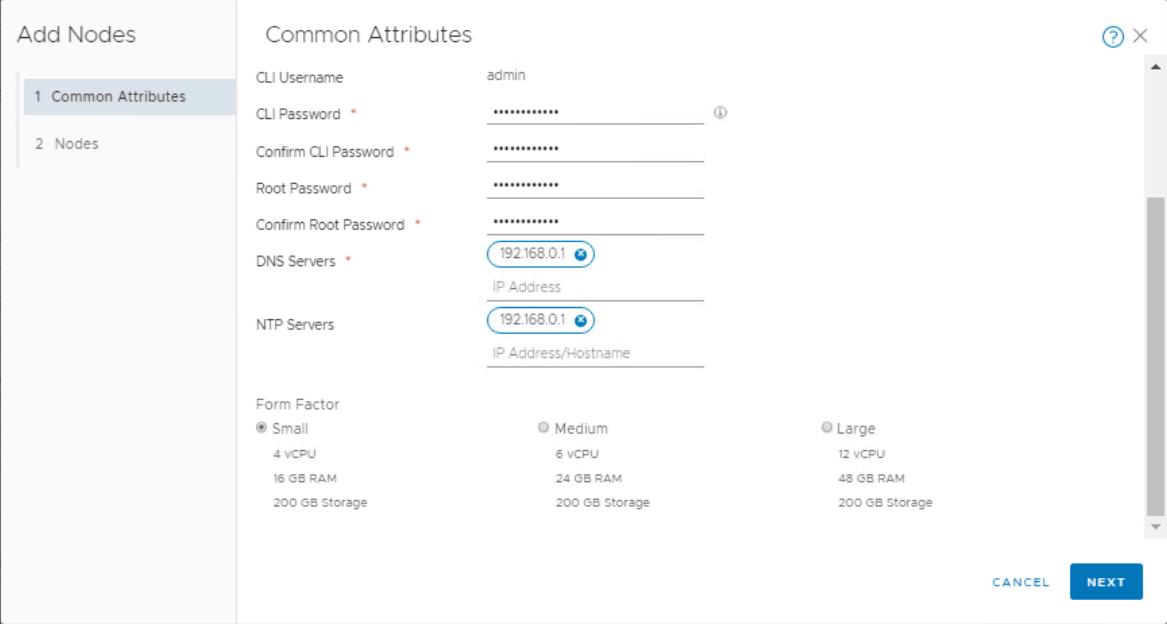
Enter the NSX-T Manager common attribute details as follows:
- Compute Manager: Select the Compute Manager from the drop-down. It will appear once we registered the vCenter server as compute manager
- Enable SSH: Toggle the button to allow an SSH login to the new NSX Manager node.
- Enable Root Access: Toggle the button to allow the root access to the new NSX Manager node.
- CLI Username and Password Confirmation: The CLI username is set to
admin. The password must comply with the password strength restrictions. - Root Password and Password Confirmation: Set the root password for the new node. The password must comply with the password strength restrictions.
- DNS Servers: Enter the DNS server IP address available in the vCenter Server.
- NTP Servers: Enter the NTP server IP address.
- Form Factor: Select Medium (default) or Large.

Enter the second NSX-T Manager node details as follows and click on Finish to start the deployment of the additional NSX-T Managers.
- Name: Enter a name for the NSX-T Manager node
- Cluster: Select the cluster from the drop-down to deploy the NSX-T Manager into
- Resource Pool or Host: Select the resource pool from the drop-down menu.
- Datastore: Select a datastore from the drop-down menu to store the NSX-T manager virtual machine files
- Network: Assign the network from the drop-down menu.
- Management IP/Netmask: Enter the IP address and netmask.
- Management Gateway: Enter the gateway IP address.

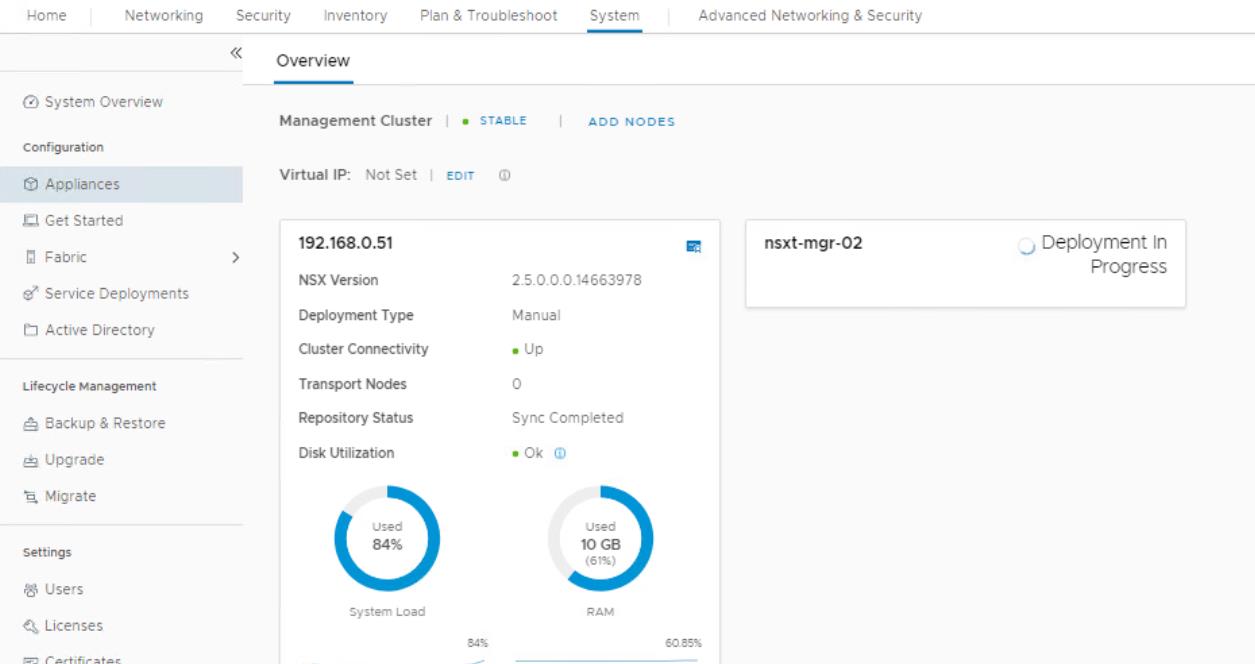
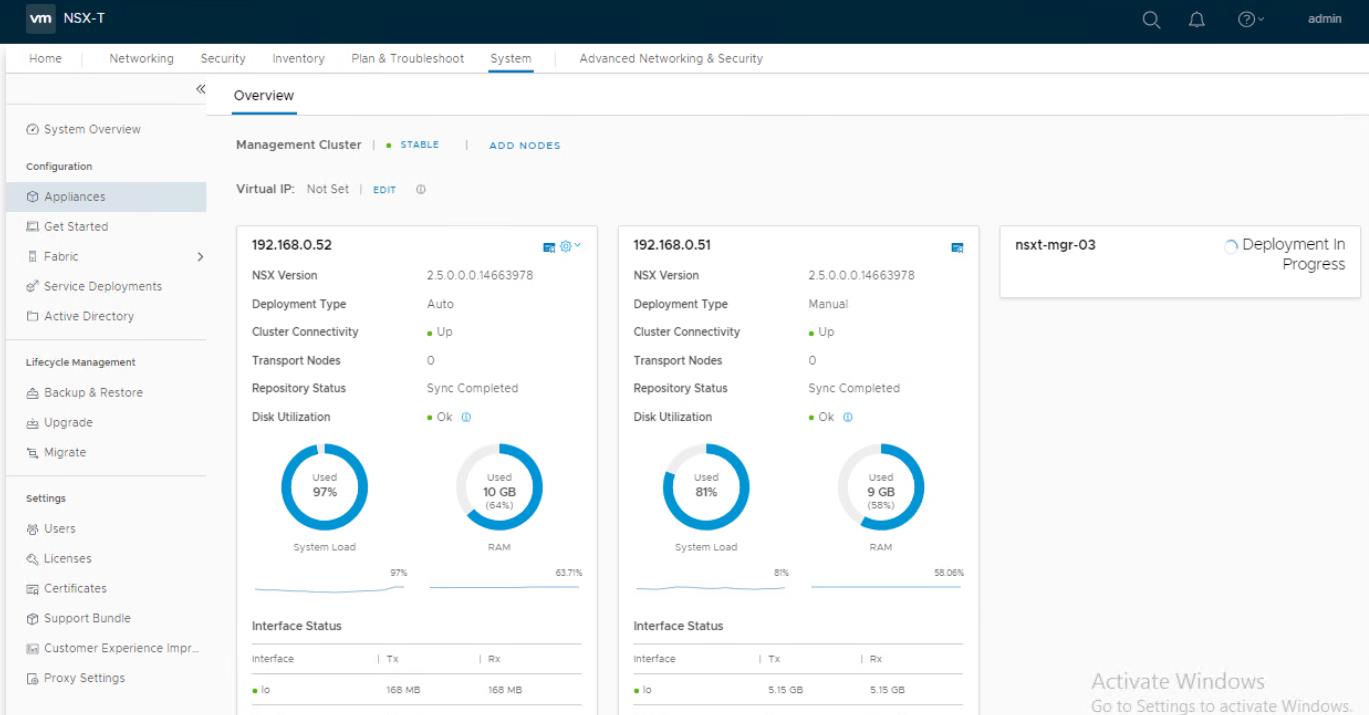
You can check the status of the additional NSX-T manager deployment from the appliances view. You could see the status “Deployment in Progress”
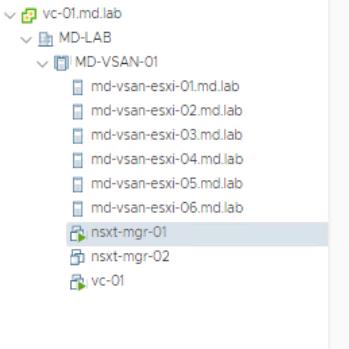
You can also monitor the status of the deployment from the vCenter server recent tasks

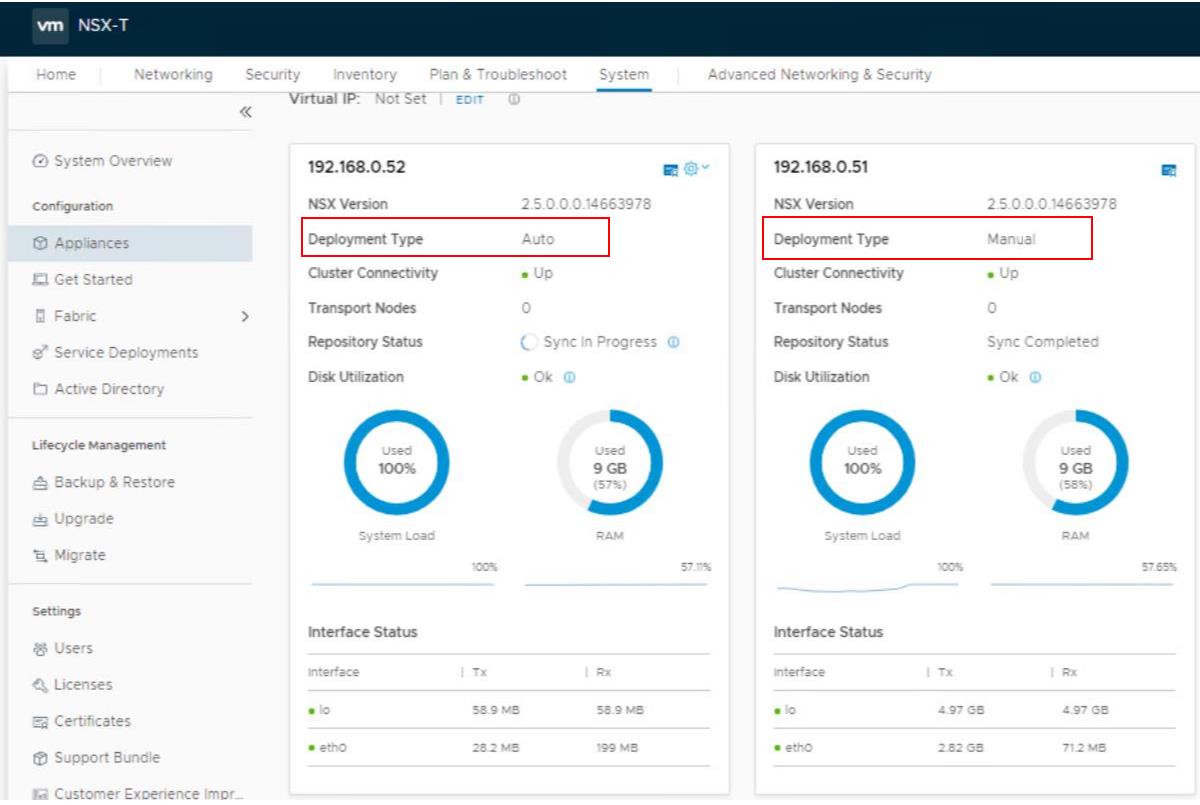
You could see the difference between the First NSX-T Manager and the second one from the deployment type. You could see the first NSX Manager which deployed via OVF will show the deployment type as “Manual” and the second one which we deployed from NSX-T UI will show the deployment type as “Auto”
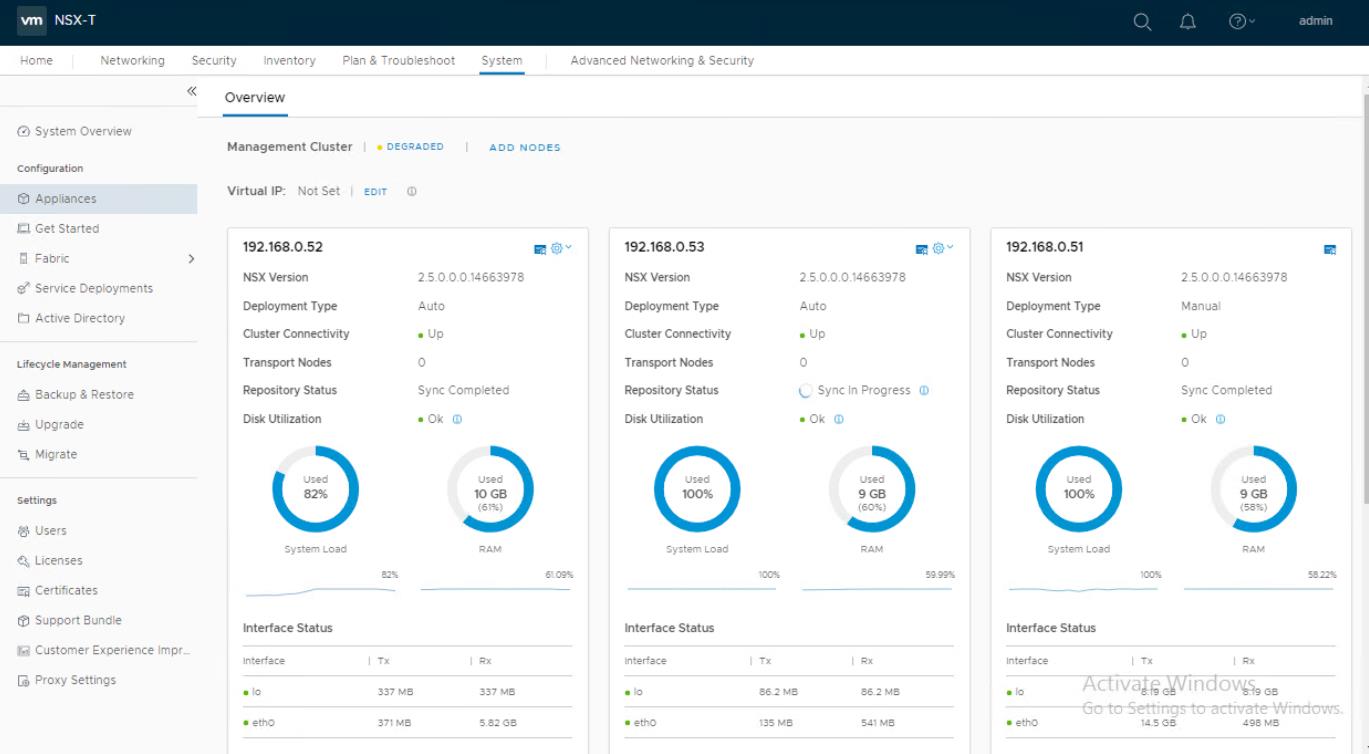
Once the second NSX-T Manager is deployed, validate the status is same as below
Management Cluster = STABLE
Cluster Connectivity = UP
Repository Status = Sync Completed
You can start deploying the third NSX-T manager as a procedure as the second one from the NSX-T Manager UI.
Once the third NSX-T Manager is deployed, you could see all the three NSX-T Manager under the appliances. we are ready with the highly available NSX-T Management cluster.
VMWare Recommends only 3 nodes NSX-T Manager. If you try to deploy one more, It shows warning that “There are 3 nodes in your cluster. You are adding 1 more node in the cluster. Minimum 3 Node cluster is recommended”

That’s it. we are done with the task of deploy additional NSX-T Managers. In the upcoming posts, We will discuss in detail about configuring the Virtual IP for NSX-T management cluster. I hope this is informative for you. Thanks for Reading!!!. BE social and share it in social media, if you feel worth sharing it.