

What is VMware Converter?
VMware Converter is the free utility from VMware which helps to convert your Windows and Linux based physical machines and third-party image formats such as backup images, also other virtual machines to VMware virtual machines. VMware vCenter Converter converts local and remote physical machines into virtual machines without any downtime.
VMware Converter standalone has Centralized management console allows you to queue up and monitor many simultaneous conversions, both local and remote, such as in headquarters and branch offices. In addition to the P2V conversion, VMware Converter can also be used to perform Virtual to Virtual (v2v) migrations too.
VMware Converter provides hot cloning capability which makes conversions non-disruptive, with no source server downtime or reboot. It helps us to perform reliable conversion by making use of Quiescing and snapshot of the guest operating system on the source machine before migrating the data.
In addition to the P2V and V2V, VMware Converter can also be used to reconfigure the virtual machines such as Shrinking a VMDK of virtual machine, Converting VMDK disk format from Thin to Thick and vice versa, Upgrading virtual machine Hardware version or compatibility.
How to Download VMware Converter?
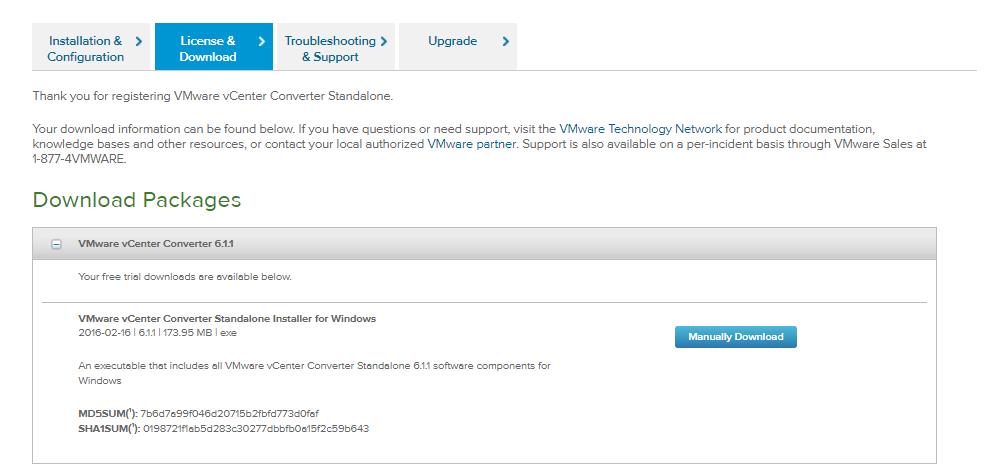
Procedure to download VMware Converter is same as other VMware software. You need to login to Myvmware portal to download the VMware vCenter Converter Standalone. VMware vCenter Converter 6.1.1 is the latest version. It is also compatible with VMware vSphere 6.5.
Is there any Linux version of VMware converter installer available? No VMware Converter installer is only available to install on windows but you can convert both windows and Linux physical machines and the virtual machine using VMware Converter Standalone.
Download VMware vCenter Converter Standalone 6.1.1
How to install VMware vCenter Converter Standalone?
You can install VMware Converter Standalone on a physical or a virtual machine. The local setup installs the Converter Standalone server, Converter Standalone agent, and Converter Standalone client for local use.
If you install Converter Standalone in local mode, you can create and manage conversion tasks only from the machine on which you installed the application.
- Download the latest version of VMware Converter Standalone from the VMware website as mentioned in the previous step
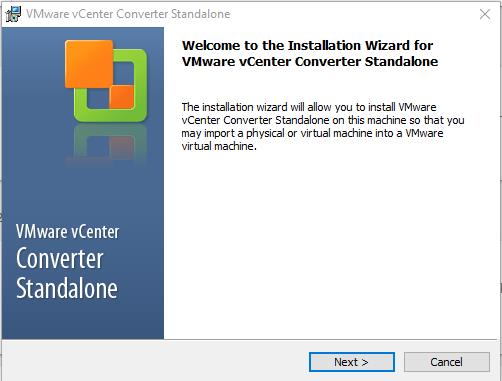
- Double-click the VMware Converter installer “VMware-converter-6.1.x- .exe file”. Click Next on the Installation welcome page to start the installation.
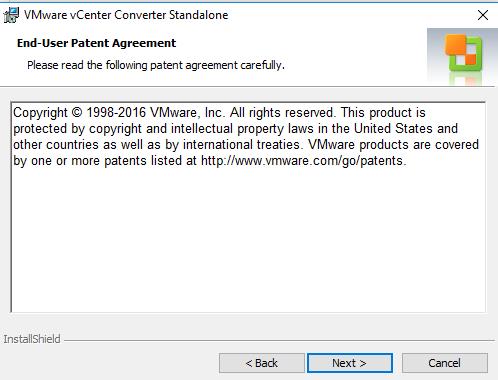
3. Click on Next to accept the End-User Patent Agreement.
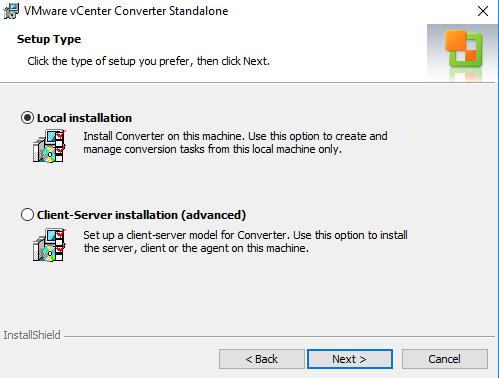
4. Select the type of the installation. I have selected “Local Installation”. Click on Next.
- The local Installation installs the Converter Standalone server, Converter Standalone agent, and Converter Standalone client for local use. If you install Converter Standalone in local mode, you can create and manage conversion tasks only from the machine on which you installed the application.
- Perform a client-server installation so that you can create and manage conversion tasks remotely. During the client-server installation, you can select the Converter Standalone components that you want to install on your system
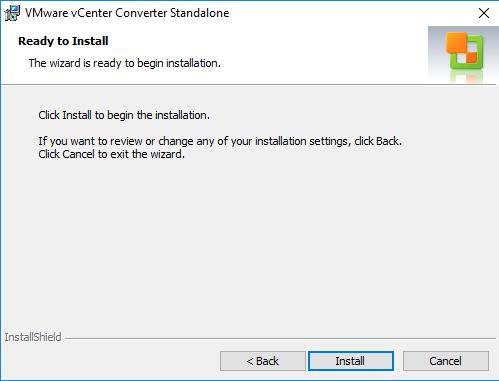
5. Click on Install to begin the VMware vCenter Converter installation.
6. Once the installation is completed. Click on Finish. Select the Checkbox “Run Converter Standalone Client now” to start the VMware Converter client after the installation. Once the installation is completed, You need to reboot the server for the configuration changes to takes place.

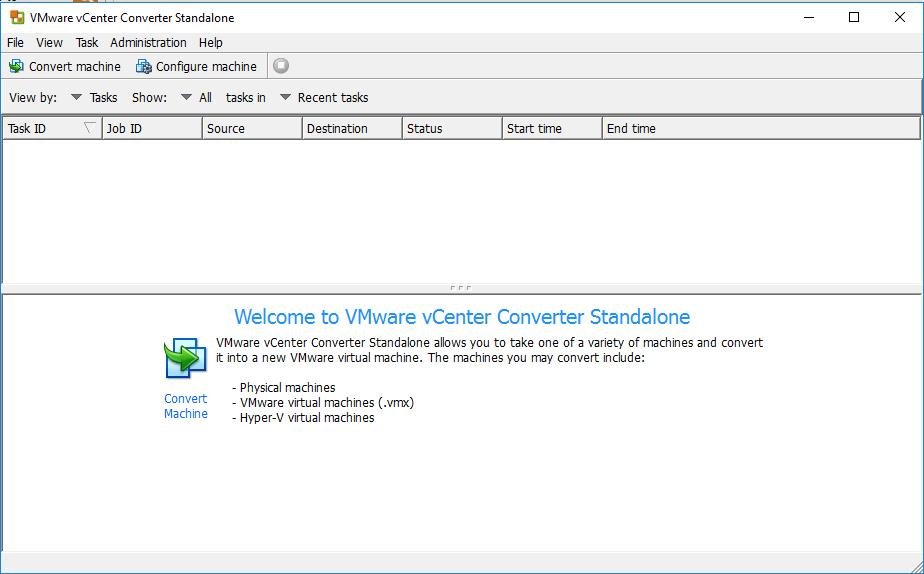
Below is the Console of Converter Standalone Client. You need to use the converter client to start your P2V or V2V conversions and also Configuring the virtual machines.
How to use VMware Converter for P2V & V2V migration: Step by Step
Let me explain the step by step procedure to convert the Powered-on Remote windows virtual machine. It can be either a physical server or even virtual machine.
Prerequisites to perform P2V & V2V of Powered on Windows Machine
- Make sure that the Windows version installed on the powered on machine is supported.
- Make sure that the Converter Standalone server machine has network access to the Windows source machine.
- Turn off firewall applications running on the source machine.
- Disable simple file sharing on the source Windows machine.
- Stop or disable anti-virus software running on the source machine.
- Turn off UAC or use a local Administrator account on the source machine.
- Make sure that no other conversion job is using the source you select.
- Remove any VMware Converter 4.x and VMware Converter 5.x installations manually from the source machine.
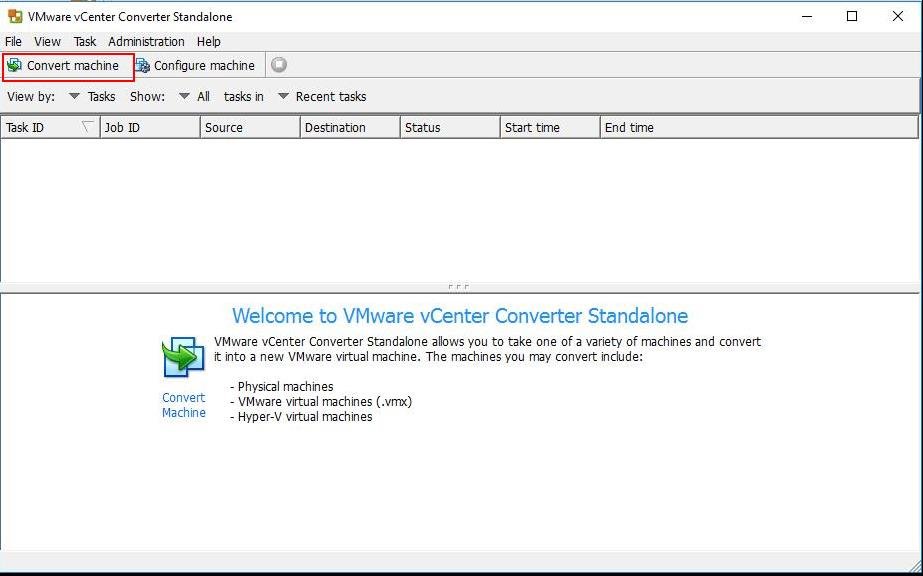
To perform P2V or V2V migration using VMware Converter Standalone, Launch the VMware vCenter Converter Standalone client. Click on “Convert Machine”
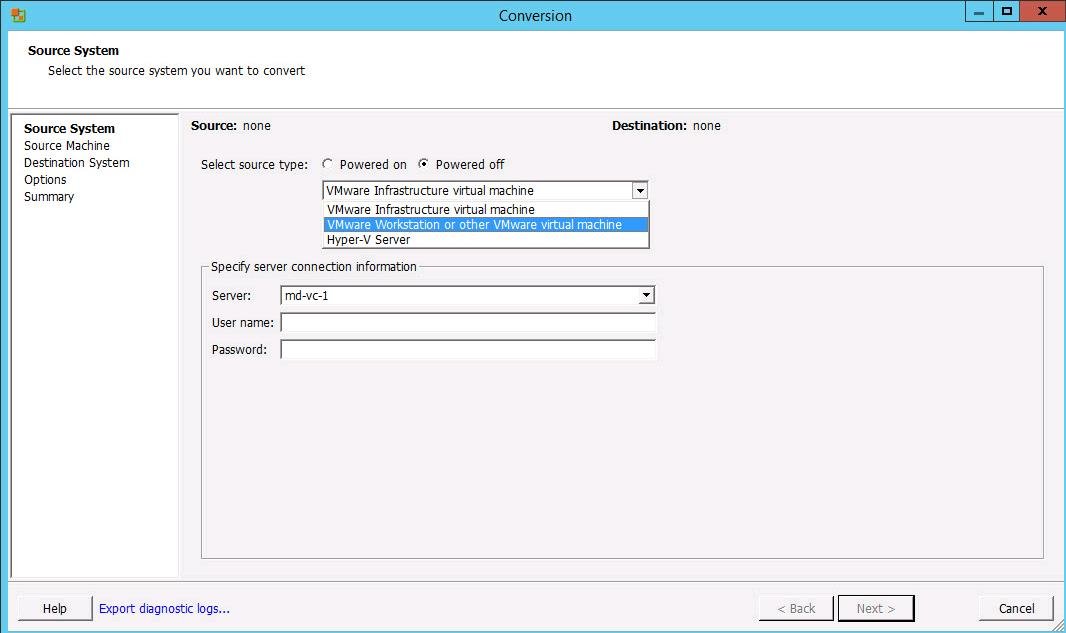
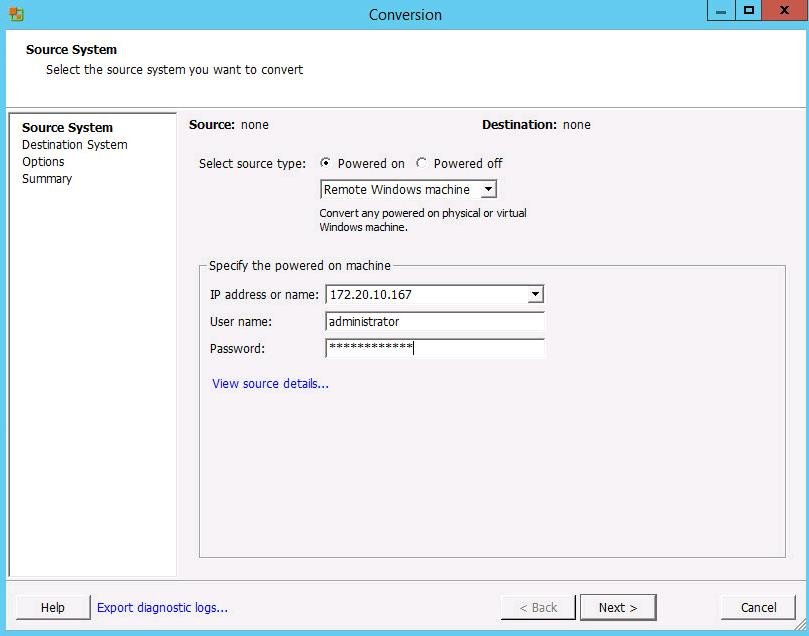
We have 2 options to select the source type
- Powered On (Select the type of machine either “Remote Windows Machine”, “Remote Linux Machine or This Local machine)
- Power Off (Select Type of machine either VMware Infrastructure virtual machine, VMware Workstation or other VMware Virtual machine such as backup images and also option to convert Hyper-V virtual machine to VMware compatible VM.)
I am performing the conversion of Remote windows machine. So I have selected the source type as “Powered on” and “Remote Windows Machine. Specify the IP address and also the local administrator credentials of the remote windows machine. Click on Next.
VMware Converter will install “VMware Converter standalone agent” on the remote windows machine. You can choose one of the options for uninstalling Converter agent. I have chosen “automatically uninstall the files when import succeeds.”

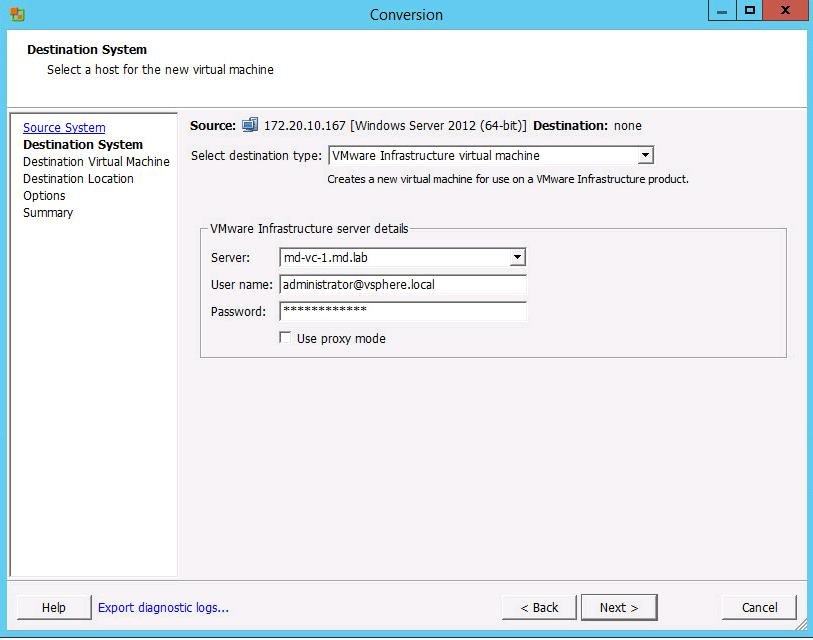
Once converter agent is installed on the remote windows machine. Select “VMware Infrastructure virtual machine” from the destination type. Specify the vCenter Server or ESXi server hostname or IP address along with the admin credentials.
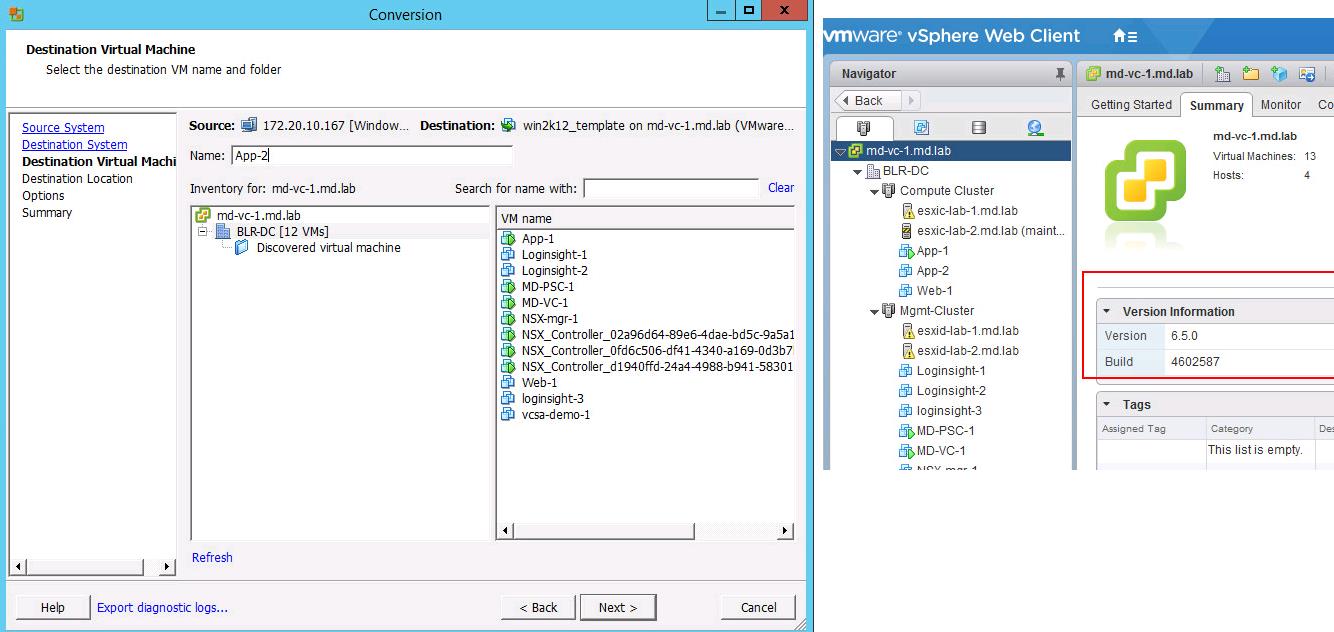
Once Converter connected to vCenter Server, It will display the vCenter Server inventory items. I have connected to one of my vCenter Server (vCenter 6.5). Specify the name of the destination VM and Select the datacenter location to deploy the virtual machine.
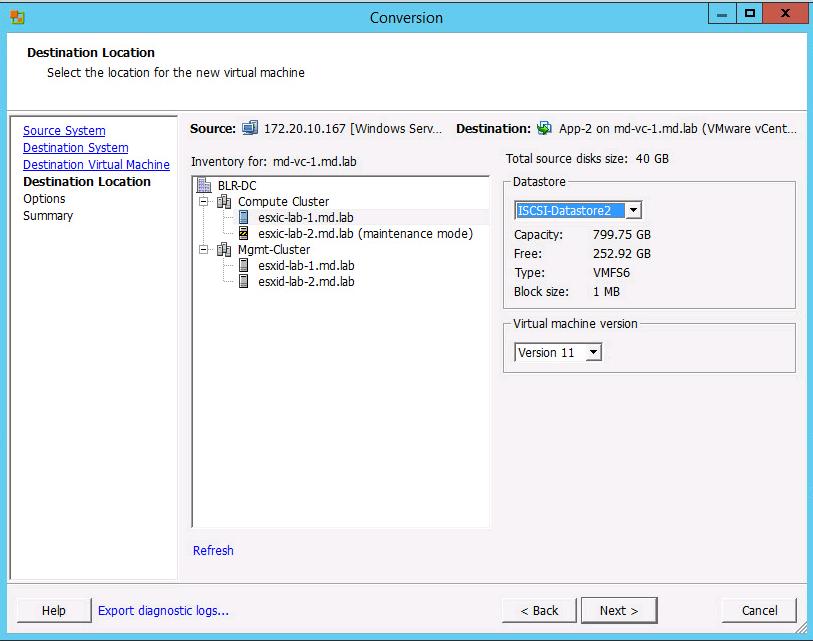
Select the ESXi host or cluster and Datastore to place the converted virtual machine. You can even choose the Virtual machine Hardware version from the drop-down. Click on Next.
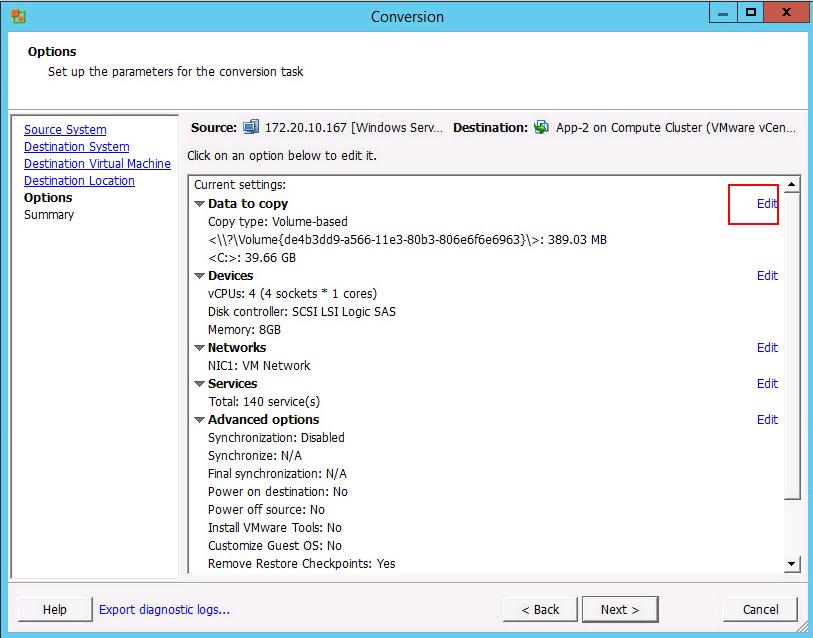
Wizard will display the current configuration. You can click on Edit option to edit the parameters for the conversion task.
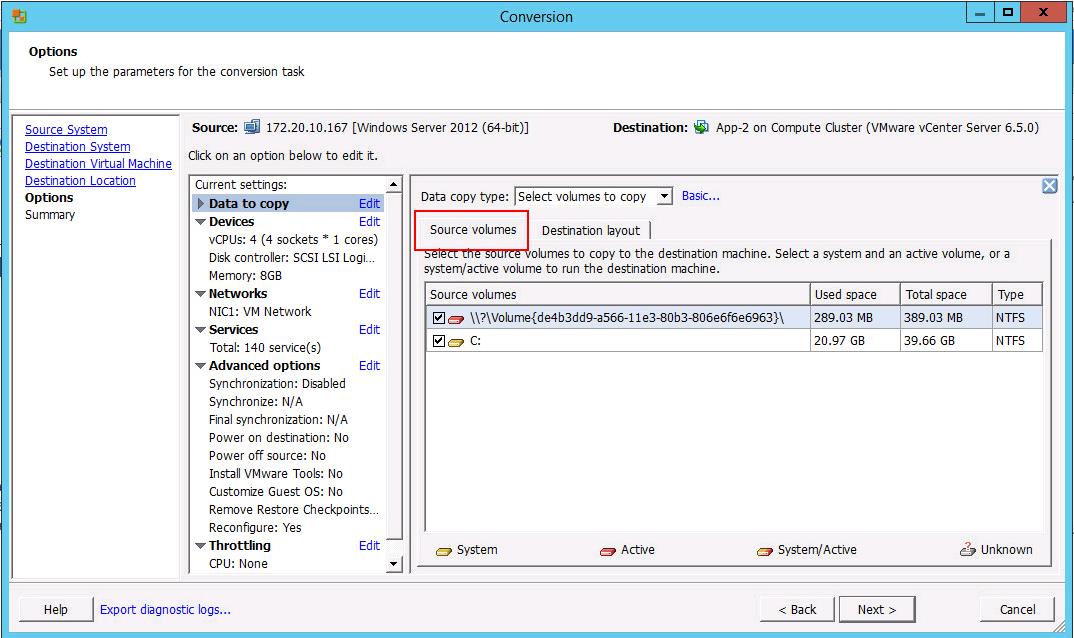
You can even select or deselect the volumes to copy during the P2V or V2V migration. Source windows server contains only one hard disk with C: drive and system partition. You can find the volume information of source machine under “Source Volume”
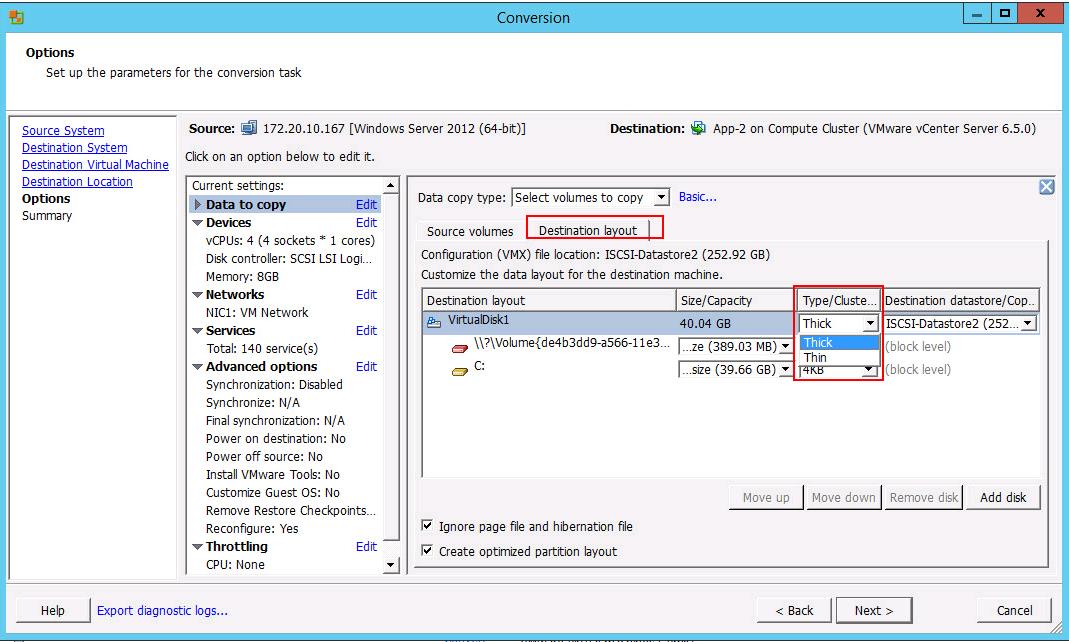
Click on Destination volume to edit the disk information. Let’s take an example, You have only one hard disk on a physical server with multiple partitions such as C: d: & E: drive. You have an option in VMware Converter to define each partition as one VMDK. You can click on Add Disk and move the partition to different VMDK disk or you can even add new disks to converter VM’s during the conversion. One more option is you can change the Virtual machine disk format too. Click on Next.
Select the virtual machine port group to connect to the destination converted virtual machine. Click on Next.

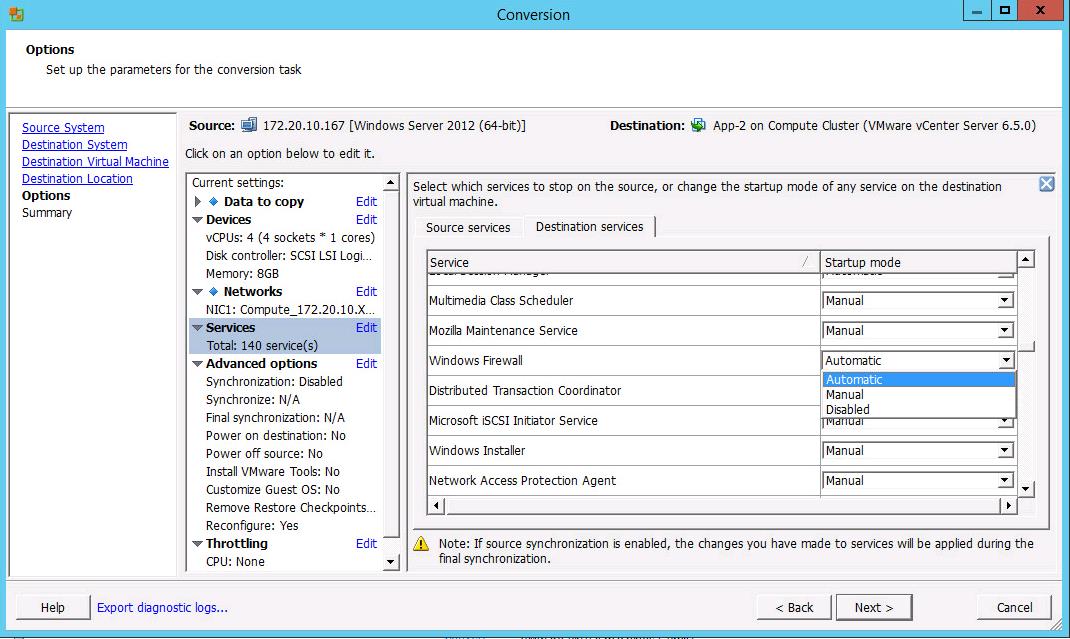
There are many services such as Hardware related agents or services running on your physical hardware. It will not be needed once it is converted to a virtual machine. You can define the service startup mode for the destination virtual machine. Click on Next.
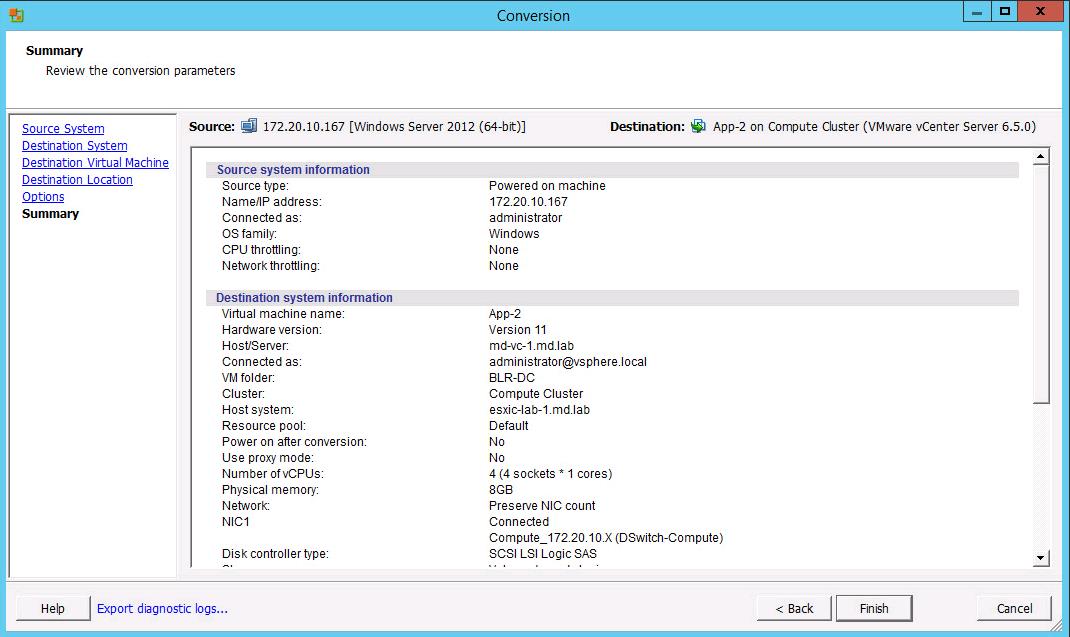
Review all the Conversion parameters carefully. Click on Finish to start the P2V or V2V conversion.
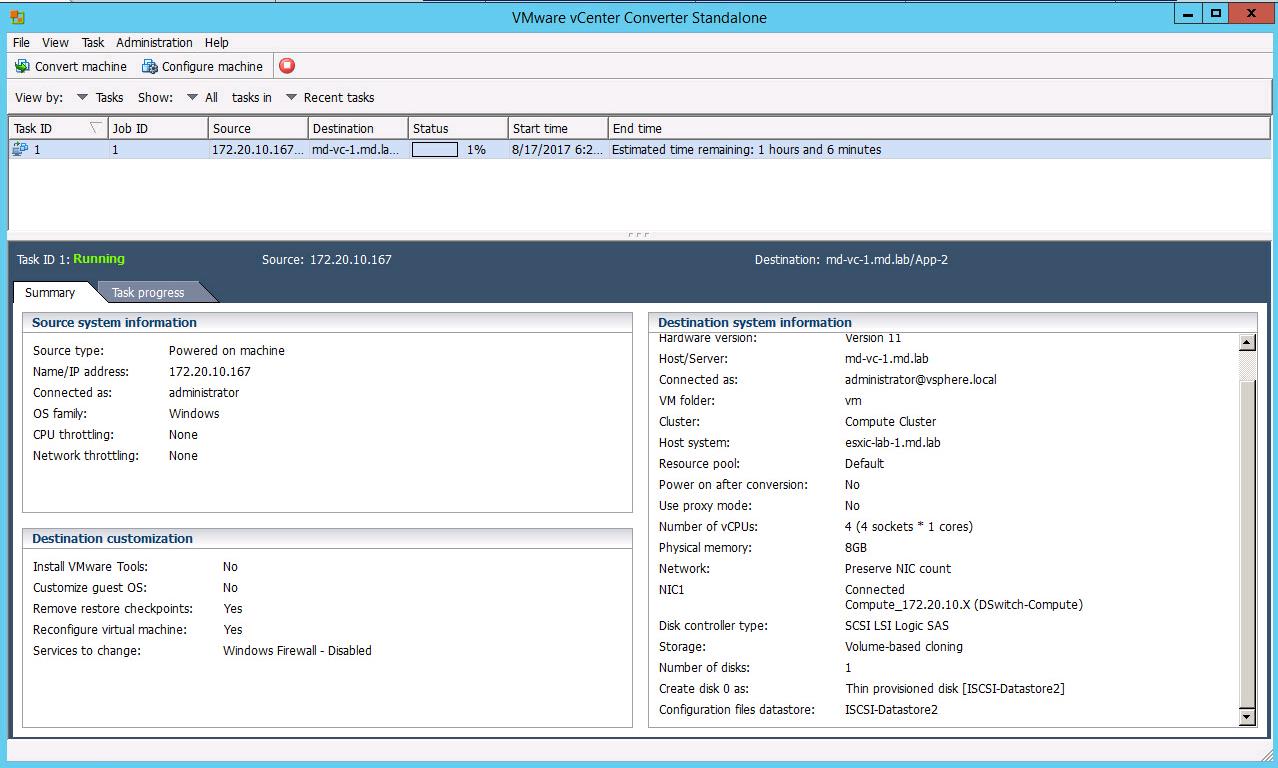
Once the Conversion started, VMware converter Client will display the progress of the conversion job. Based on the amount of data and network transfer speed. The client will display the Estimated time to convert the virtual machine.
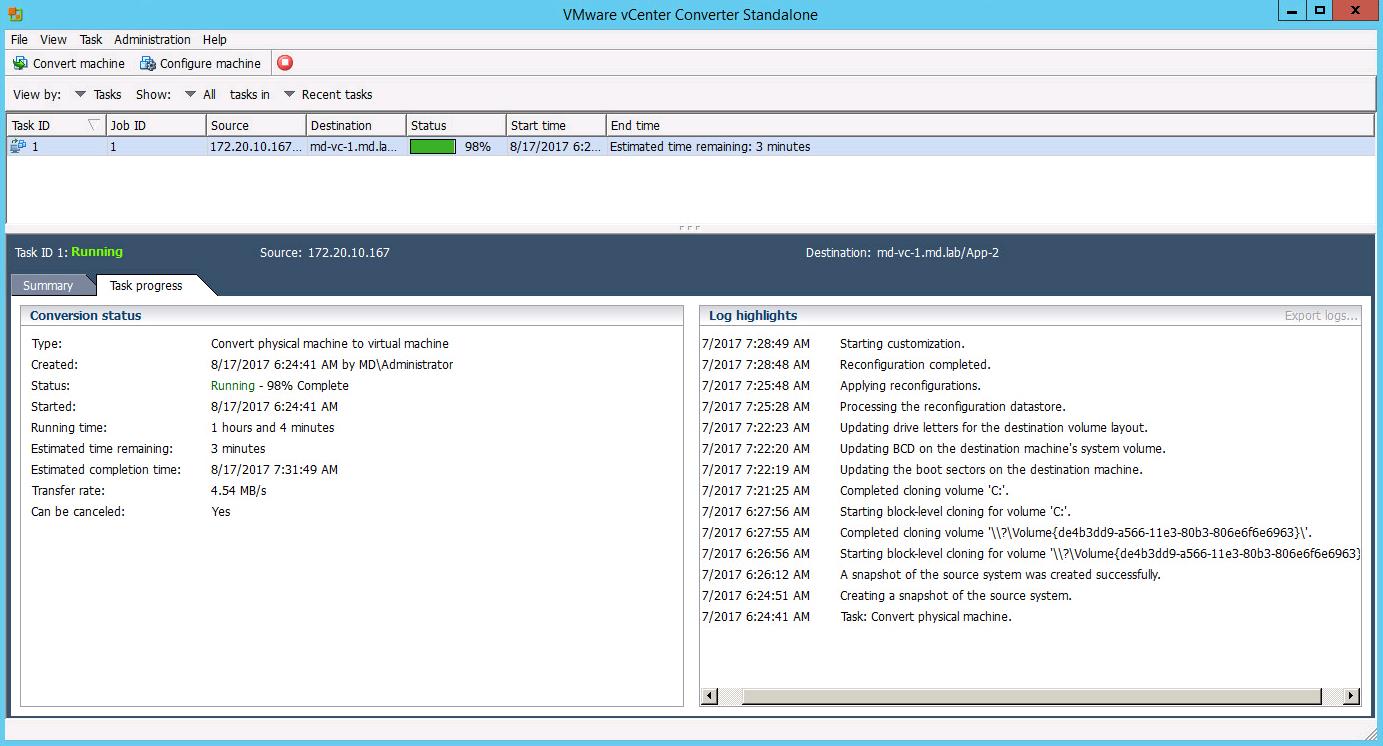
It will display the each task during the migration process and Transfer rate under “Task Progress” tab. Take a look at my article Improving Transfer Rate of P2V and V2V Conversion in VMware vCenter Converter Standalone 5.0
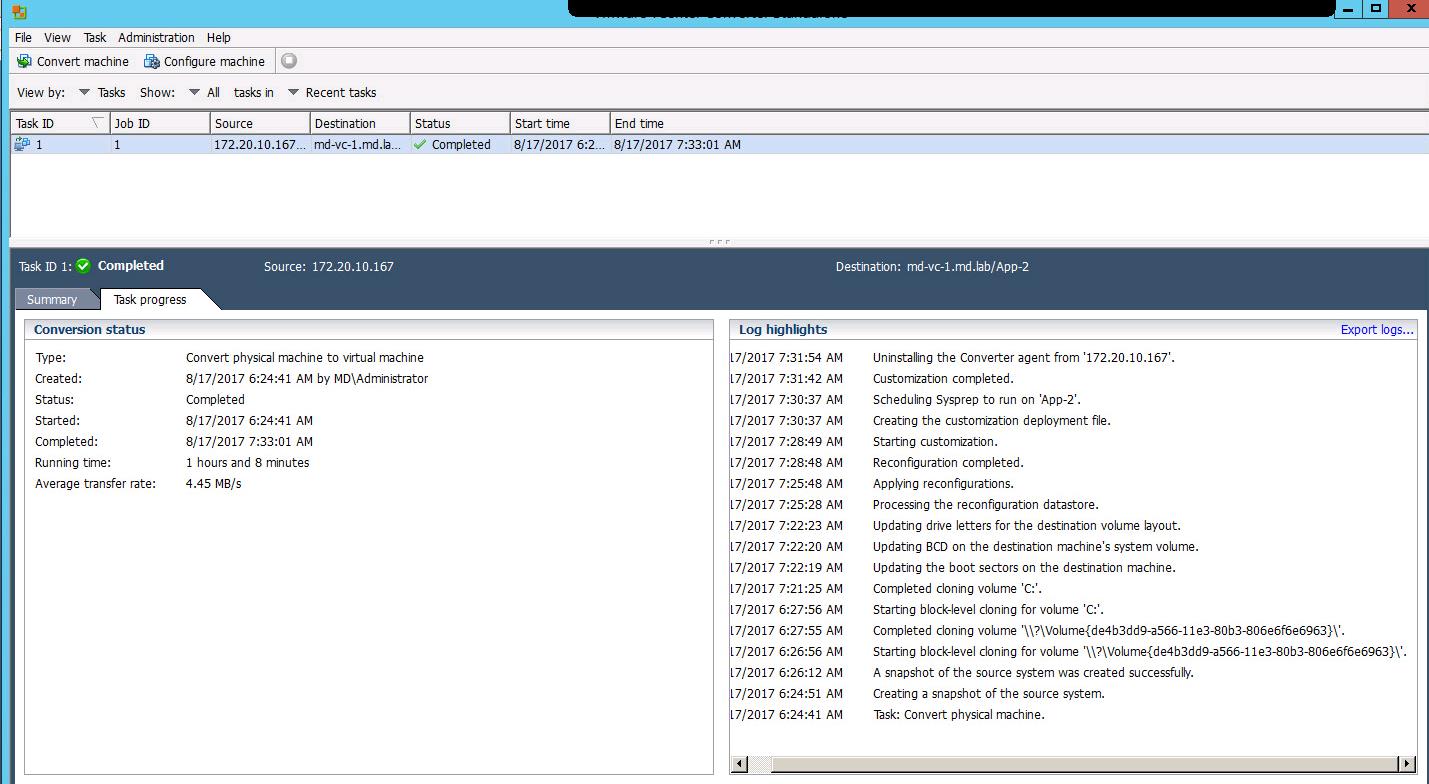
P2V Migration is completed successfully. You can notice the migration status is “Completed. It took around 1 hours and 8 minutes and the average transfer rate is 4.45 MB\s. Once the conversion is completed. It uninstalls the converter agent on the source machine as per the option provided in the migration wizard.
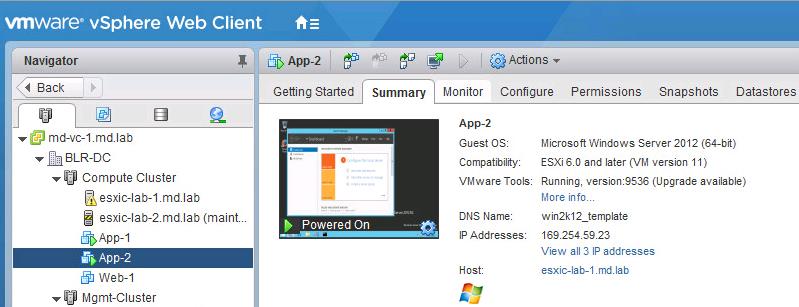
I can notice the converted virtual machine “App-2” is running on the specified vCenter Server.
That’s it. We are done with performing P2V & V2V migration using VMware Converter. I hope this article is informative for you and Thanks for Reading!!!. Be social and share it with social media, if you feel worth sharing it.
Article’s related to VMware Converter
Shrink a VMDK disk using VMware vCenter Converter
P2V Error: IP address already assigned to another adapter
P2V ADMIN ISO: Bundle of Free Tools for your End to End P2V Migrations
Improving Transfer Rate of P2V and V2V Conversion in VMware vCenter Converter Standalone 5.0
P2V – VMware Converter Standalone 5.0 may Close Unexpectedly while accessing vCenter 5.1
P2V Error: A General System Error Occur Invalid Fault for windows 2008 using VMware Converter 4.3